Choosing the right windshield height for the 2026 Sharknose fairing is not a style decision alone; it is an ergonomics, airflow, visibility, and fatigue-management calculation that directly changes how a Harley-Davidson feels on the highway. In practical terms, “windshield math” means matching the screen to the rider’s torso length, seat position, helmet shape, and cruising speed so the air stream passes either cleanly over the helmet or hits the chest in a controlled way. Riders talk about buffeting, pressure, and wind noise as if they are random quirks, but after years of setting up touring Harleys, I have found that these issues usually come from measurable fit errors. A windshield that is one inch too short can put the helmet in turbulent air; one that is too tall can force the rider to look through distortion in rain or at night. For the 2026 Sharknose platform, where fairing design, fork-mounted mass, and rider triangle all interact, getting height right matters even more. This hub article explains the core geometry, the test process, the tradeoffs between comfort and control, and the model-specific setup recipes that help riders build a calmer, clearer, and less fatiguing cockpit.
What “perfect height” actually means on a Sharknose Harley
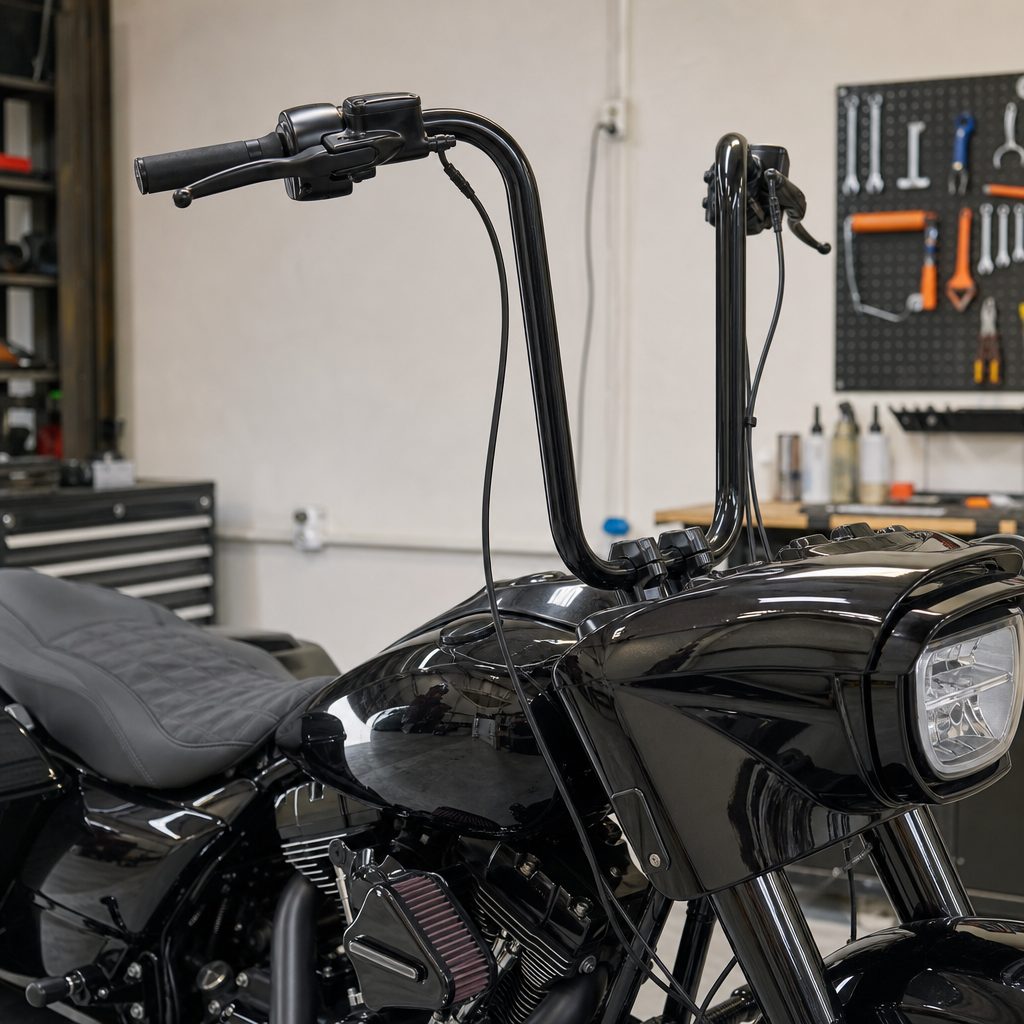
The perfect windshield height on a 2026 Sharknose fairing is the one that places the main airflow transition just above your helmet when you sit in your normal riding posture at your normal touring speed. That sentence sounds simple, but several variables hide inside it. “Normal posture” means the way you actually ride after an hour, not the straight-backed pose you hold in the garage. “Touring speed” matters because air reattaches and separates differently at 45 mph than it does at 78 mph. The Sharknose fairing, used on Harley-Davidson performance baggers and touring models with frame-mounted aerodynamic bodywork, creates a more structured air pocket than a naked bike, but its effectiveness depends heavily on windshield height and vent management.
In workshop terms, I define a good baseline this way: with eyes level and shoulders relaxed, the top edge of the windshield should sit somewhere between the rider’s mouth and the tip of the nose when viewed from the saddle. That old touring rule still works because it usually allows the rider to look over the screen in all conditions while keeping the most violent turbulent layer above the helmet. It is not universal, though. Riders with long torsos and low-profile seats often need more height than their total body height suggests. Riders using a tall Sundowner-style seat, thick boot soles, or a modular helmet with a large peak effect may need a shorter screen than expected.
The reason this topic deserves a hub page is that windshield choice does not stand alone. On Harley-Davidson touring bikes, seat height, handlebar pullback, floorboard position, suspension sag, passenger load, and even fork geometry changes can move your head relative to the fairing by enough to alter airflow significantly. That is why “Model-Specific Ergonomics and Performance Recipes” is a better framing than a simple buyer’s guide. A recipe connects parts and measurements. If a Road Glide rider adds a Tallboy seat, 14-inch bars, and heavier rear preload for two-up travel, the windshield solution changes with that package. The best result comes from treating the cockpit as a system, not as separate accessories.
The four measurements that determine windshield height
When I fit a touring Harley, I start with four measurements: seated eye height above the tank line, seat-to-peg relationship, bar reach, and loaded ride height. Seated eye height is the big one. Have the rider sit on the bike in boots, with the usual helmet if possible, feet on the floorboards, hands on the grips, and spine relaxed. Measure vertically from the top edge of the fairing reference point to the rider’s eye line. That tells you how much windshield is needed before aerodynamic fine-tuning. A rider who is 5’10” can have the same eye height as a 6’1″ rider if the first rider has a long torso and a tall seat. Total body height is a weak predictor.
Seat-to-peg relationship changes pelvic tilt, which changes spine angle and head position. A deeper pocket seat rotates the pelvis differently from a flatter performance saddle. Handlebar reach matters because excessive reach pulls the rider forward into dirtier air. I have seen riders blame a stock windshield for buffeting that disappeared after switching to bars with one inch more pullback. Loaded ride height is the hidden variable. Add luggage, a passenger, or softer shock preload and the chassis attitude changes, which can alter the rider’s effective head position behind the fairing. On long-wheelbase touring machines, small changes here are noticeable at speed.
The easiest mistake is to choose a windshield based only on rider height charts. Those charts are useful starting points, especially from brands like Klock Werks, Memphis Shades, Freedom Shields, and Harley-Davidson Genuine Motor Accessories, but they cannot account for posture. The better approach is to start with geometry, then road test. On the 2026 Sharknose fairing, where the airflow pocket is broad and the front profile is designed to manage highway stability, a half-inch change can be meaningful. That is especially true for riders using low-profile performance helmets, because wind noise often reveals turbulence before the rider feels strong buffeting in the neck.
A practical recipe for Road Glide and other 2026 Sharknose setups
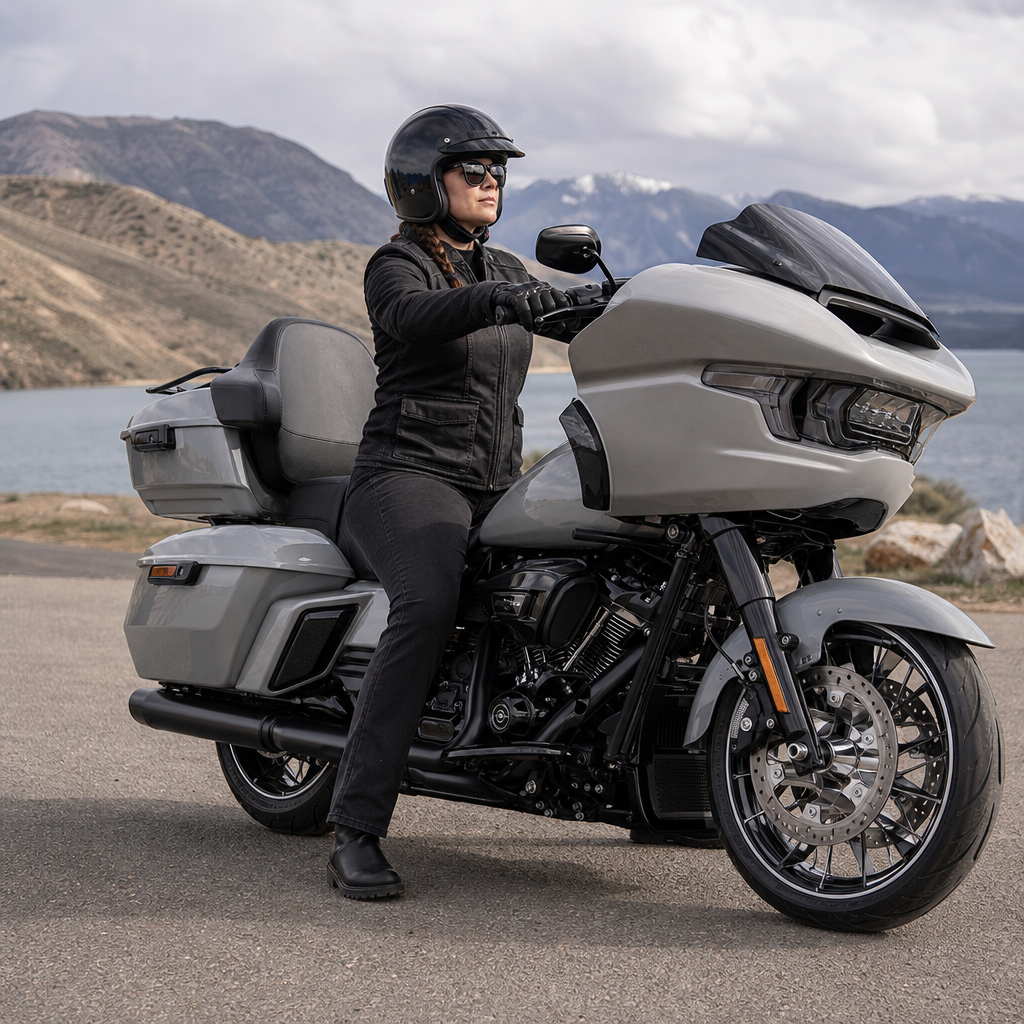
The most reliable field method is a three-step test I use on Road Glide-family bikes. First, establish a visual baseline in the garage. Sit naturally and note where the windshield top falls relative to your face. Second, do a controlled road test at 35, 55, and 75 mph on the same stretch of road if possible. Third, evaluate four sensations: chest pressure, helmet shake, low-frequency booming, and eye dryness. If chest pressure is high but the helmet is calm, the screen is often too short. If the chest is calm but the helmet shakes or the noise pulses, the top edge is usually putting your helmet in the shear layer. If you must look through the shield in normal posture, it is probably too tall for all-weather riding.
For many average-build riders on a stock-seat 2026 Sharknose bagger, the correct screen ends up in the medium range rather than the tallest option in the catalog. Riders often assume taller is better for touring comfort, but that only works if the top edge moves turbulence fully above the helmet. A screen that almost does the job can be worse than one that is slightly shorter and cleaner. This is why recurve designs matter. A well-shaped recurve lip can add effective aerodynamic height without forcing the rider to stare through a huge slab of acrylic. In plain language, it kicks the air upward at the last inch.
| Rider setup | Typical airflow problem | Usual windshield direction | Supporting changes to check |
|---|---|---|---|
| Stock seat, average torso, solo touring | Helmet noise at 65 to 80 mph | Try one step taller or recurve shape | Verify relaxed posture and preload |
| Tall seat, upright bars | Wind hits upper chest and chin | Usually taller shield needed | Measure seated eye height again |
| Low seat, forward lean from bar reach | Buffeting around visor | Often shorter shield or more pullback | Correct bar reach before buying screen |
| Two-up with luggage | Changed airflow after loading bike | May need taller screen for trips | Increase rear preload and retest |
That table illustrates an important point for this Harley-Davidson hub: windshield math is part of a larger ergonomics recipe. The right answer for a Road Glide CVO-style setup, a performance bagger with taller suspension, or a long-distance Ultra-oriented build will differ because rider position differs. In my own fit sessions, the fastest path is to identify whether the rider wants a “look over” setup for all-season confidence or a maximum cocoon setup for interstate mileage. Most experienced touring riders still prefer to look over the screen, especially because bug strikes, rain beading, and nighttime glare are unavoidable.
How vents, recurve lips, and windshield shape change the result
Height gets most of the attention, but shape often determines whether the bike feels refined or merely acceptable. The Sharknose fairing responds strongly to pressure equalization. If the fairing creates a low-pressure pocket behind the screen, outside air wants to rush in and tumble, producing the headshake riders describe as buffeting. Vents help by feeding controlled air into that pocket, reducing the pressure differential. This is why vented windshields and fairing vent systems can outperform taller non-vented screens. The goal is not to block all air; it is to organize it.
Recurve lips, flip edges, and double-bubble profiles all change the departure angle of the airflow. On a Harley touring bike, a recurve design often gives the best compromise because it increases effective lift without excessive visual bulk. Freedom Shields, for example, has built much of its reputation on recurve touring screens that create a higher exit stream than their raw measurement suggests. Klock Werks Flare-style profiles use a different concept, widening and lifting the air around the rider and passenger. Neither approach is universally better. The best option depends on helmet shape, shoulder width, handlebar width, and whether the rider values reduced hand blast as much as helmet calm.
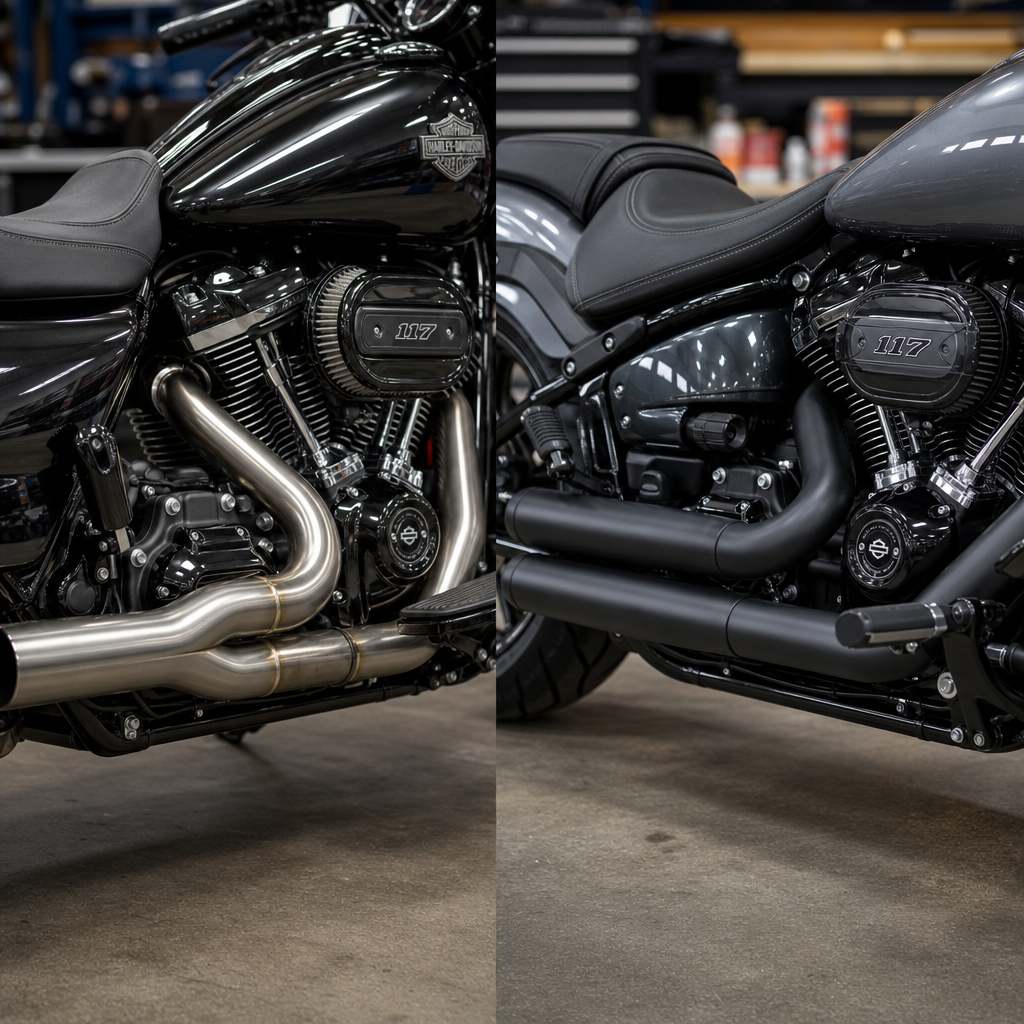
Material quality matters too. Optical clarity is not marketing fluff. Lower-grade acrylic can distort headlights, lane markings, and rain reflections, especially in taller shields where riders may occasionally look through the upper area. Hard-coated polycarbonate offers impact resistance, while quality cast acrylic often provides excellent clarity and surface finish. Thickness also changes vibration characteristics. A thin shield may flex at speed and alter the airflow pattern enough to create inconsistent noise. That is one reason premium windshield brands cost more: the mold quality, edge finishing, and thickness control affect the ride.
Common mistakes riders make when sizing a 2026 Sharknose windshield
The first common mistake is evaluating a windshield during a single short ride. Wind fatigue is cumulative. A setup that feels fine for fifteen minutes can become exhausting after two hours when low-frequency noise and small helmet movements start loading the neck. The second mistake is testing in dirty air. If you ride behind trucks, through crosswinds, or with a large top case changing wake behavior, it becomes hard to isolate the windshield’s effect. Find a calm day and repeat your loop. The third mistake is chasing silence. No windshield makes a motorcycle quiet. The target is smooth, non-turbulent airflow and manageable pressure.
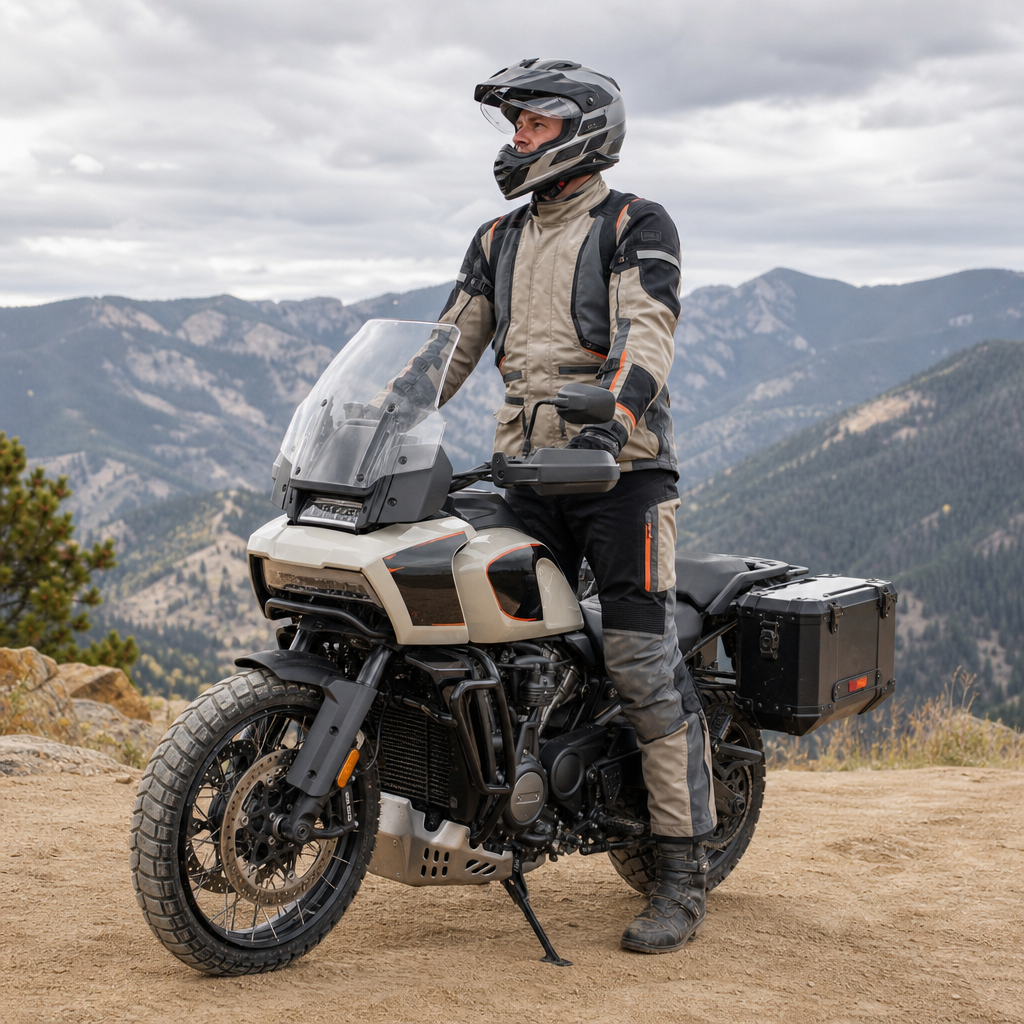
Another mistake is ignoring helmet design. Adventure-style peaks, large vents, and certain shell shapes can amplify turbulence. On Harley-Davidson touring bikes, I have watched riders swap from one premium helmet to another and gain more comfort than they did from a windshield change. Earplugs matter as well. According to long-standing hearing conservation guidance, sustained wind noise at highway speed can be hazardous over time. A good cockpit setup should reduce noise, but proper ear protection remains smart practice on any long ride. Windshield math improves comfort; it does not replace hearing protection.
Finally, riders often forget passenger effects. A passenger changes chassis attitude, creates a second body in the airflow, and can alter the rider’s own posture by shifting weight rearward. If the bike spends real time two-up, test it that way. On some Sharknose setups, the rider may prefer one screen for solo use and another for long tours. That is not overthinking it; it is matching equipment to use case. Because windshields can be swapped relatively quickly, seasonal or trip-specific changes are practical.
Building a full ergonomics and performance recipe around the windshield
A windshield should be the final tuning element after the main rider triangle is fixed. Start with the seat, because seat height and pocket shape establish the torso angle. Then set bars so elbows remain slightly bent and shoulders neutral. After that, adjust suspension preload to restore proper ride attitude with the usual load. Only then should you finalize windshield height. This order saves money and prevents false conclusions. In Harley-Davidson fit work, I regularly see riders buy two or three shields before discovering that a seat swap moved their head nearly two inches.
Performance-oriented Sharknose builds add another layer. Taller rear shocks quicken steering and improve cornering clearance, but they can also change how the rider sits in the pocket of air. Lower bars may reduce frontal area yet increase neck strain if they force a forward lean into turbulence. Wide handlebars can expose the shoulders to more wind, which some riders enjoy because it reduces heat and pressure behind the fairing, while others find it tiring. There is no single “best” formula. The best recipe is the one that supports your mileage, roads, pace, and body dimensions with the fewest compromises.
As the hub for model-specific ergonomics and performance recipes, this article should guide the next step: document your current setup before buying parts. Record seat model, bar rise and pullback, rider inseam, loaded sag, helmet type, typical cruising speed, and where the wind currently hits. That simple worksheet turns guesswork into a repeatable fitting process. Once you know those inputs, selecting the right 2026 Sharknose fairing windshield becomes much easier, and every future change on the bike can be evaluated against the same baseline.
The perfect height for the 2026 Sharknose fairing is not a universal number; it is the result of measured rider position, real road testing, and an honest understanding of how you use your Harley-Davidson. If you remember one rule, make it this: choose a windshield that lets you look over it comfortably while moving the turbulent edge above your helmet at cruising speed. Everything else—vents, recurve shape, material quality, and accessory choices—fine-tunes that core target. Riders who approach windshield selection this way end up with less fatigue, better wet-weather visibility, and a bike that feels more composed over long distances.
The larger benefit goes beyond comfort. A well-matched windshield supports concentration, reduces the constant muscular corrections caused by buffeting, and makes the entire ergonomics package work as intended. That is why windshield math belongs at the center of any Sharknose setup recipe. It connects riding position, chassis attitude, weather protection, and long-haul performance in one decision. Whether you ride solo on weekend runs, build a performance bagger for fast back-road travel, or load up for cross-state touring, the right height turns the fairing from a styling feature into a functional aerodynamic tool.
Use this hub as your starting point for every Harley-Davidson cockpit change. Measure your position, test methodically, and adjust the system in the right order. When your setup is documented and your goals are clear, the right windshield becomes obvious. Start with your seated eye line and build from there.
Frequently Asked Questions
How do I determine the right windshield height for a 2026 Sharknose fairing?
The right height starts with rider fit, not appearance. On a 2026 Sharknose fairing, windshield performance is tied to where your eyes, helmet, shoulders, and torso sit in relation to the top edge of the screen. A practical starting point is to sit on the bike in your normal riding position, with your usual seat, boots, and suspension preload settings, and look straight ahead. In many cases, riders want the top edge of the windshield to sit somewhere around nose level to upper-lip level when viewed from the saddle, because that often allows airflow to travel just over the helmet rather than directly into the face shield. That said, there is no universal “perfect number” because torso length, handlebar reach, helmet design, and speed all change the equation.
A good way to think about windshield math is by managing where the air breaks. If the screen is too short, the airflow may hit the rider in the upper chest or chin area, which can be acceptable for some riders who prefer more clean air. If it is too tall, the rider may end up looking through the windshield in poor weather or at night, which can reduce clarity and safety. The sweet spot is usually where you can comfortably see over the windshield while the airstream either clears the top of your helmet or contacts you low enough to avoid headshake and turbulence. On a fixed fairing like the Sharknose, small changes in height can have a surprisingly large effect, so even a one- or two-inch adjustment can completely change highway comfort.
What causes helmet buffeting with a Sharknose fairing windshield, and how does height affect it?
Buffeting happens when the airflow reaching your helmet is turbulent rather than smooth. Instead of one clean stream of air moving past your head, you get unstable pressure pulses that create shaking, booming, and fatigue. On a 2026 Sharknose fairing, windshield height is one of the biggest factors because the top edge of the screen determines where the main airflow separates and how it reconnects around the rider. If that disturbed air lands right at helmet level, you will usually feel constant thumping or vibration, especially at highway speeds.
Height matters because moving the top edge up or down changes the strike zone of that airflow. A slightly taller windshield may push the turbulent stream above the helmet, while a slightly shorter one may drop it to the chest and put the rider’s head back into smoother air. The mistake many riders make is assuming taller automatically means better. In reality, a windshield that is just a little too tall or a little too short for your specific posture can place the worst turbulence exactly where you do not want it. Helmet shape also plays a role. Some helmets are more aerodynamic and resist side-to-side movement better, while others are more sensitive to dirty air. That is why two riders on the same bike can have completely different opinions about the same windshield.
The fairing itself also contributes. Air coming around the sides, under the fairing, and around mirrors can mix with the flow coming off the windshield. If your setup creates a low-pressure pocket behind the screen, you may get backdraft and head toss even with a seemingly correct height. That is why the best approach is not just “go taller,” but “find the height that puts your helmet either fully above or fully below the turbulent zone.”
Is it better to look over the windshield or through it on a 2026 Sharknose fairing?
For most riders, it is better to look over the windshield rather than through it. That is the standard recommendation because it preserves the clearest possible line of sight in rain, fog, road grime, glare, and nighttime conditions. Even a high-quality windshield can collect bugs, water spots, fine scratches, and haze that reduce optical clarity over time. When you ride a Harley-Davidson with a Sharknose fairing on long highway stretches, those small visibility issues add up, especially when lighting is poor or weather changes quickly.
Looking over the windshield also gives you more flexibility if road conditions become unpredictable. You are not depending on the shield to remain perfectly clean or distortion-free. In practical fit terms, many experienced riders aim for a windshield height that allows them to see comfortably a few inches over the top edge while seated naturally, not stretched up and not slouched down. That lets the windshield do its job of redirecting airflow without forcing you to ride “inside” the screen.
There are exceptions. Some riders who prioritize maximum wind protection in cold climates may prefer a taller setup that puts them closer to looking through the windshield, especially on long-distance touring rides. But even then, the best configurations usually still preserve an over-the-top sightline in normal posture. On the 2026 Sharknose fairing, the ideal solution is a windshield tall enough to reduce fatigue and helmet turbulence, but not so tall that it compromises safe, clear, real-world visibility.
How do seat height, riding posture, and handlebar position change windshield height needs?
They change everything. Windshield height is not measured only from the fairing; it is measured from where your body sits behind it. A taller seat, a lower seat, a seat with more rear pocket, or one that pushes you forward can all change how much windshield you need. If your seating position raises your eye line by even an inch, that can move your helmet directly into the airflow that used to pass over it. Likewise, a seat that drops you deeper into the bike may make the same windshield feel much taller and calmer.
Riding posture has the same effect. A rider with upright bars and a relaxed spine sits higher in the wind than a rider with more reach to the bars and a slight forward lean. Torso length is especially important. Two riders of the same overall height can need very different windshield sizes if one has longer legs and the other has a longer upper body. On a Sharknose fairing bike, the windshield interacts primarily with your torso and head position, so inseam alone is not a reliable guide.
Handlebar position matters because it subtly controls your posture over long miles. If bars pull you back, you may sit taller and more open in the chest. If they put you farther forward, your helmet may sit lower and slightly more into the protected air pocket. This is why windshield shopping should happen after major ergonomic changes, not before. If you swap to a different seat or bars later, the windshield that once felt perfect can suddenly create buffeting or force you to look through it. The most accurate way to choose for the 2026 Sharknose fairing is to evaluate windshield height only after your final seat, bar, and suspension setup is dialed in.
What is the best way to test windshield height before committing to a final setup?
The best method is controlled real-world testing at the speeds and in the riding conditions you actually use. Start by identifying your baseline: note where the wind currently hits your body at 45, 60, and 75 mph, and pay attention to whether the pressure is smooth or turbulent. A smooth push on the chest can be less fatiguing than turbulent air on the helmet, so comfort is not just about reducing wind, but about placing it in the right area. During testing, keep your usual helmet, jacket, seat, and posture consistent so you are evaluating the windshield rather than changing multiple variables at once.
If possible, compare windshield heights in small increments. A one-inch change can shift airflow enough to solve or create buffeting. During a test ride, note whether you can comfortably see over the shield, whether your head experiences shaking or booming, and whether crosswinds make the turbulence worse. Also test at the end of a longer ride, not just in the first few minutes. Some setups feel acceptable initially but become tiring after an hour because of constant low-level helmet movement and wind noise.
It helps to pay attention to simple field indicators. If you slightly raise yourself off the seat and the buffeting disappears, the airflow problem is likely tied to the windshield being too low for your current posture. If ducking down an inch or two behind the screen suddenly makes the air smooth, you have identified the location of the turbulent stream relative to your helmet. That kind of on-road feedback is valuable because it shows whether you need the next height up, the next height down, or a different overall airflow strategy. For a 2026 Sharknose fairing, the perfect windshield is rarely the tallest or shortest option; it is the one that matches your exact ergonomics and puts airflow where it reduces noise, strain, and fatigue over real highway miles.