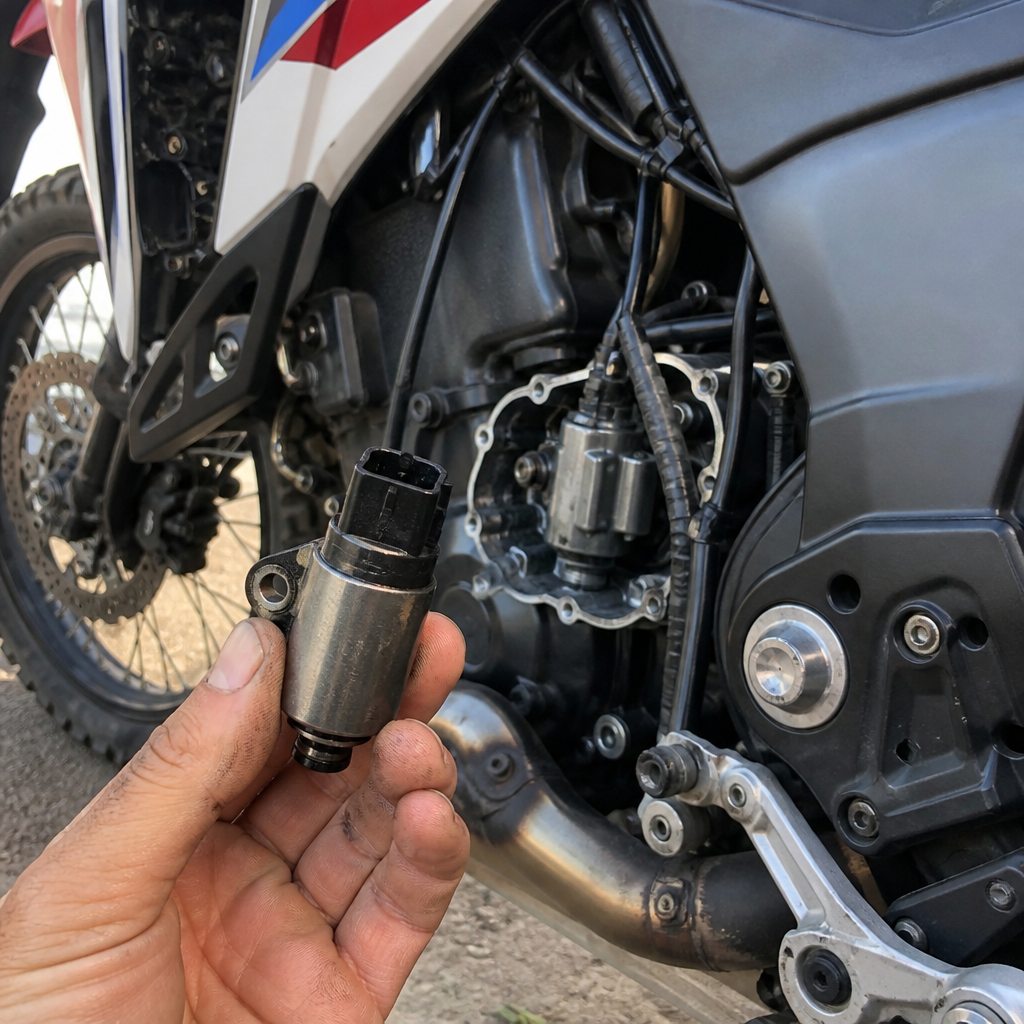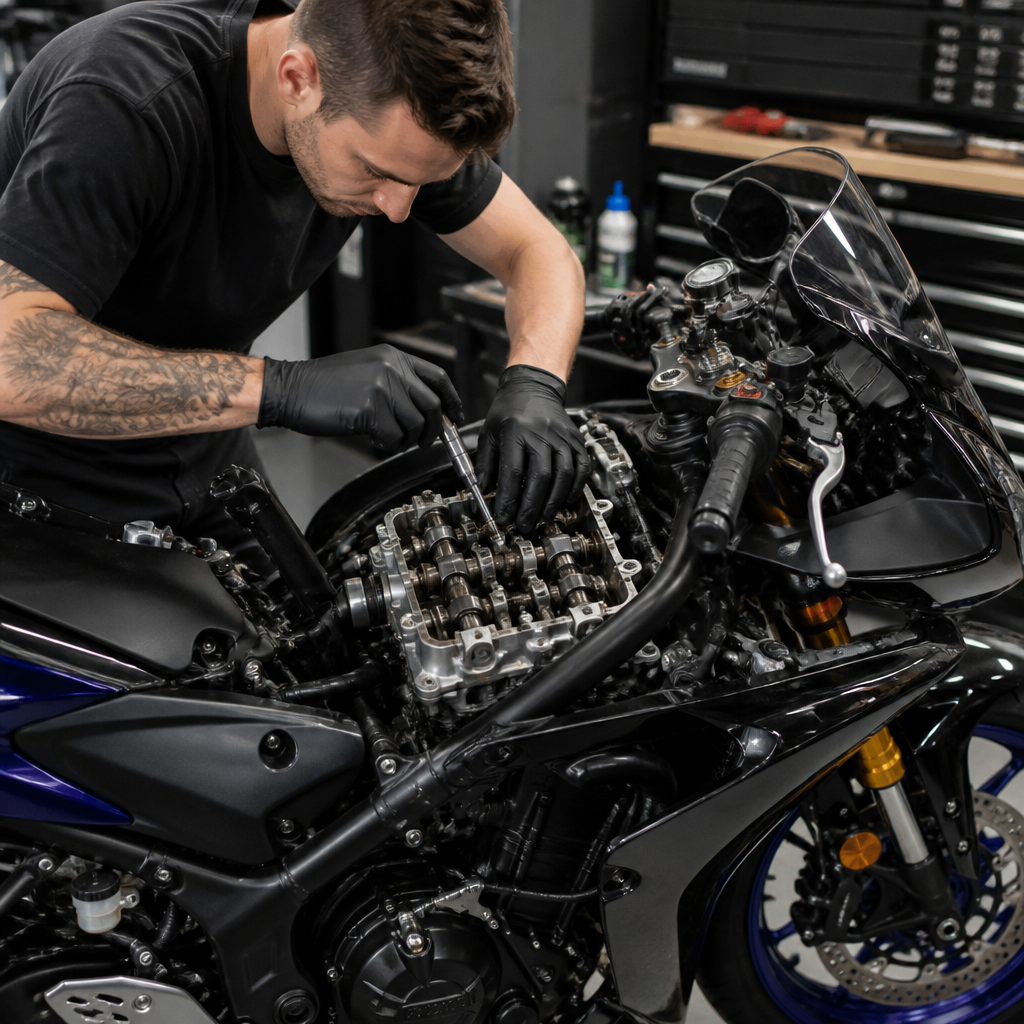
The Yamaha R3 rewards riders who respect precision. Its 321cc parallel twin is built to spin freely, make power high in the rev range, and survive repeated heat cycles, but only when valve clearances stay within specification and service work follows metric-first practices. In this guide, I will walk through Yamaha R3 valve adjustments for the 2026 model year while also connecting the bigger maintenance themes riders constantly run into: the JIS standard used on Japanese fasteners, dual-clutch transmission maintenance as a related modern service discipline, and the metric quirks that turn straightforward jobs into stripped screws, bad measurements, and expensive rework. That broader context matters because the R3 sits inside a Japanese engineering tradition where tool fit, torque values, thread pitches, and measurement units are not small details. They are the job.
Valve adjustment means measuring the gap between camshaft lobes and valve lifter components, then correcting that gap so the valves open and close exactly as designed. On the Yamaha R3, the process uses shim-under-bucket valvetrain architecture, a durable design common on high-revving sport motorcycles because it holds settings well at speed. JIS refers to Japanese Industrial Standards, especially important for crosshead screws that look like Phillips but are not identical. DCT maintenance, while not part of the R3 because the bike uses a conventional six-speed gearbox and clutch, belongs in this hub because many riders and technicians move between Japanese motorcycles and carry assumptions from one platform to another. Metric quirks include everything from 8, 10, and 12 millimeter fastener conventions to torque values in newton-meters, feeler gauges in hundredths of a millimeter, and coolant hose clamps that punish improvisation.
Why does this matter? Tight valves can lead to hard starting, low compression, burnt valve faces, and poor idle quality. Loose valves create extra noise and altered valve timing, though they are usually safer than tight clearances. On the service side, using a Phillips bit on a JIS screw, reading an inch feeler gauge incorrectly, or substituting an SAE socket that almost fits can ruin a simple afternoon service. I have seen more damage from wrong tools than from worn engines. A careful, metric-minded approach keeps the 2026 Yamaha R3 reliable, protects resale value, and gives riders a repeatable method they can apply across Japanese motorcycles and related technical systems.
Understanding the Yamaha R3 Valvetrain and Service Interval
The 2026 Yamaha R3 continues the proven 321cc DOHC eight-valve twin layout that made the platform popular in entry-level sport riding, track schools, and lightweight racing. Double overhead cams control four valves per cylinder, and the engine uses shim-under-bucket tappets rather than screw-and-locknut adjusters. That design matters for two reasons. First, it supports stable valve action at high rpm because there is less chance of an adjuster backing off or adding excess mass to the valvetrain. Second, adjustment takes longer because changing clearance requires camshaft removal and shim selection, not a simple turn of a screw.
Most owners first ask a direct question: when should Yamaha R3 valves be checked? The answer is at the manufacturer’s scheduled inspection interval, then earlier if symptoms appear. Exact regional schedules can vary by market publication, so the service manual for the 2026 model and VIN range is the authority. In practical workshop use, inspection timing is driven by mileage, heat cycles, riding style, and whether the bike sees frequent high-rpm operation. Track use, repeated cold starts, dusty environments, and neglected air filter service all accelerate wear patterns that justify careful inspection. On engines like the R3, exhaust valves deserve special attention because they run hotter and tend to tighten first as valve seats wear into the head.
Symptoms of out-of-spec valve clearance include difficult cold starts, unstable idle, reduced top-end pull, lower fuel economy, and in advanced cases a misfire that does not resolve with spark plugs or injector cleaning. The dangerous part is that many tight-valve engines become quieter, not louder. Riders often expect noise before trouble, but a shrinking clearance can silence the valvetrain while reducing the time the valve fully seals against the seat. That is why scheduled measurement matters more than listening alone.
Tools, Measurements, and the Metric Habits That Prevent Mistakes
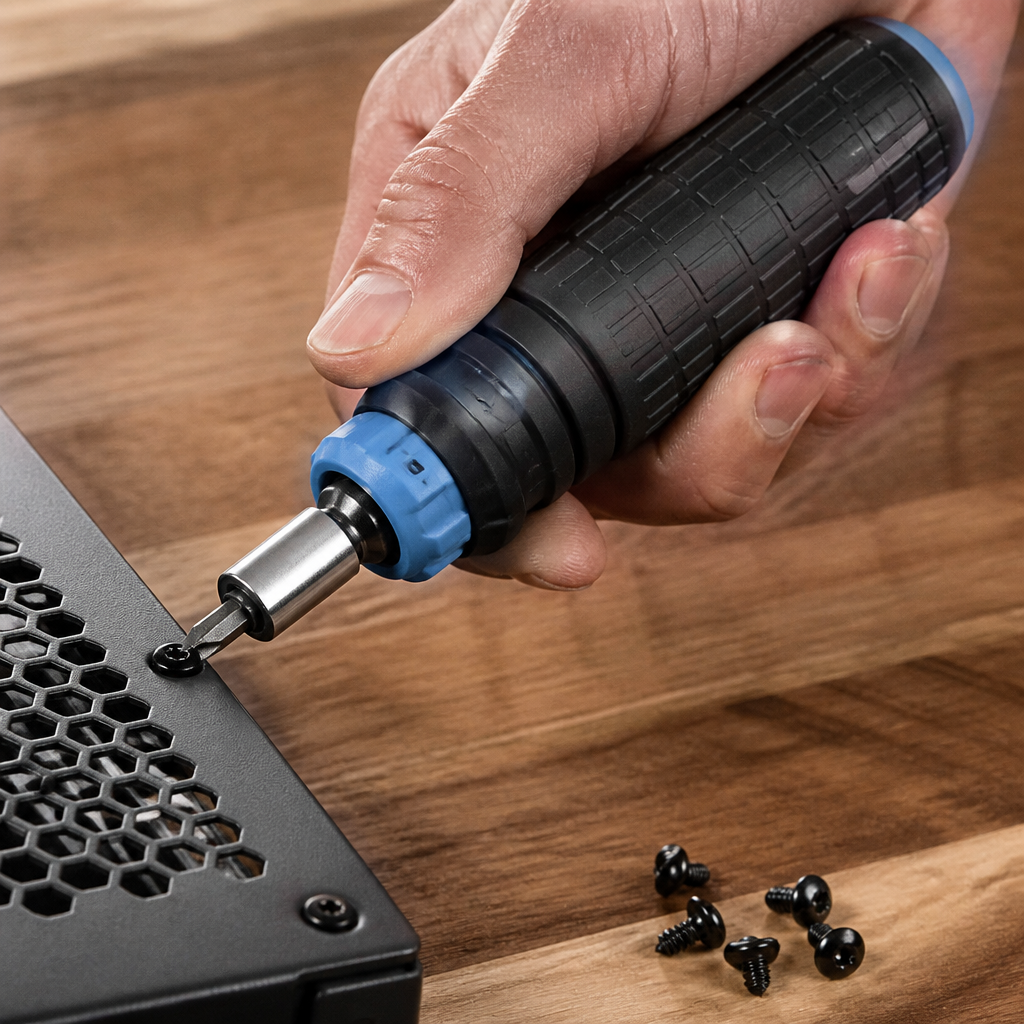
A successful Yamaha R3 valve adjustment starts long before the cam cover comes off. You need a complete metric tool set, a quality 1/4-inch drive torque wrench calibrated for low values, a second torque wrench for medium fasteners, metric feeler gauges in 0.01 millimeter increments, a micrometer or digital caliper accurate enough to verify shim size, a magnet pickup tool, and a service manual with the exact tightening sequence and timing marks. Add hose clamp pliers, a clean parts tray, and paint marker for timing chain reference marks. If you intend to remove stubborn Japanese screws from bodywork or clamps, include proper JIS screwdrivers or JIS bits from brands such as Vessel or Hozan.
The metric quirks here are not trivia. Yamaha specs are given in millimeters and newton-meters for a reason. Converting to inches invites rounding errors at exactly the point where precision matters most. A valve clearance difference of 0.02 millimeter can determine whether a bike starts cleanly on a cold morning. Likewise, small cover bolts are easy to strip when someone reads inch-pounds incorrectly or grabs a larger wrench that lacks sensitivity at the bottom of its range. I have corrected more than one previous service where a technician guessed at low torque values and distorted a magnesium or aluminum cover sealing surface.
| Service area | Correct practice | Common mistake | Result |
|---|---|---|---|
| Bodywork and clamps | Use JIS bits on Japanese crosshead screws | Use Phillips driver | Cam-out and stripped fasteners |
| Valve measurement | Read feeler gauges in millimeters | Convert loosely from inches | Wrong clearance judgment |
| Shim selection | Measure or confirm marked shim thickness | Assume markings are always legible and exact | Repeat labor after incorrect install |
| Cam cap installation | Follow torque sequence and low-range torque wrench | Tighten by feel | Thread damage or distorted caps |
| Reassembly | Document routing and timing marks | Rely on memory | Timing errors and teardown repetition |
One more metric habit matters: organize by cylinder, intake, and exhaust. On the R3, every clearance reading should be written down immediately with engine position noted. Do not trust memory between rotations. If a bucket, shim, or cap changes location unintentionally, the job becomes slower and riskier. Precision is not only about the measurement itself; it is about controlled handling of every matched component.
How to Check and Adjust Yamaha R3 Valve Clearances
Start with a completely cold engine, ideally left overnight in a stable environment. Remove the seat, body panels, fuel tank, and airbox as required for access. Disconnect electrical connectors carefully, cap exposed openings, and keep hardware grouped by panel location because Japanese bodywork often uses near-identical fasteners with different shoulder lengths. Remove the ignition coils and spark plugs so the engine can turn smoothly by hand. Then remove the valve cover, watching for breather hoses and gasket condition.
Rotate the crankshaft to top dead center for the relevant cylinder using the proper crank access points described in the manual. Align factory timing marks, not assumptions based on piston feel alone. Once the cam lobes for the valves being measured point away from the buckets, slide the feeler gauge between lobe and bucket. You are looking for slight drag, not force. Record every intake and exhaust reading. Compare each measurement against the 2026 Yamaha R3 service specification in the factory manual. If every valve is within range, reassemble with correct gasket handling and torque values. If one or more clearances are out of range, proceed with adjustment.
Adjustment requires timing chain control and camshaft removal. Before loosening anything, mark the chain and sprockets with paint as a secondary reference, even though factory marks remain primary. Release chain tension according to the manual, remove cam caps in sequence, and lift the cams carefully. Extract the bucket over the affected valve and remove the shim beneath it with a magnet or pick. Read the shim marking if visible, but verify thickness with a micrometer whenever possible. Then calculate the replacement shim using the standard formula: new shim equals old shim plus measured clearance minus target clearance. Select a target within specification, often toward the middle of the range for stability.
After installing the corrected shim, refit the bucket, reinstall cams with exact timing alignment, and torque caps in stages and sequence. Reset chain tensioner procedure exactly as Yamaha specifies. Then rotate the engine by hand at least two full revolutions and recheck timing marks before measuring the adjusted valves again. Never assume the math is enough. Real verification is the second measurement. Once all values are confirmed, inspect the valve cover gasket and half-moon seals, reassemble the intake and fuel system, and perform a careful startup check for oil leaks, even idle, and abnormal noise.
The JIS Standard: Why Japanese Screws Deserve Respect
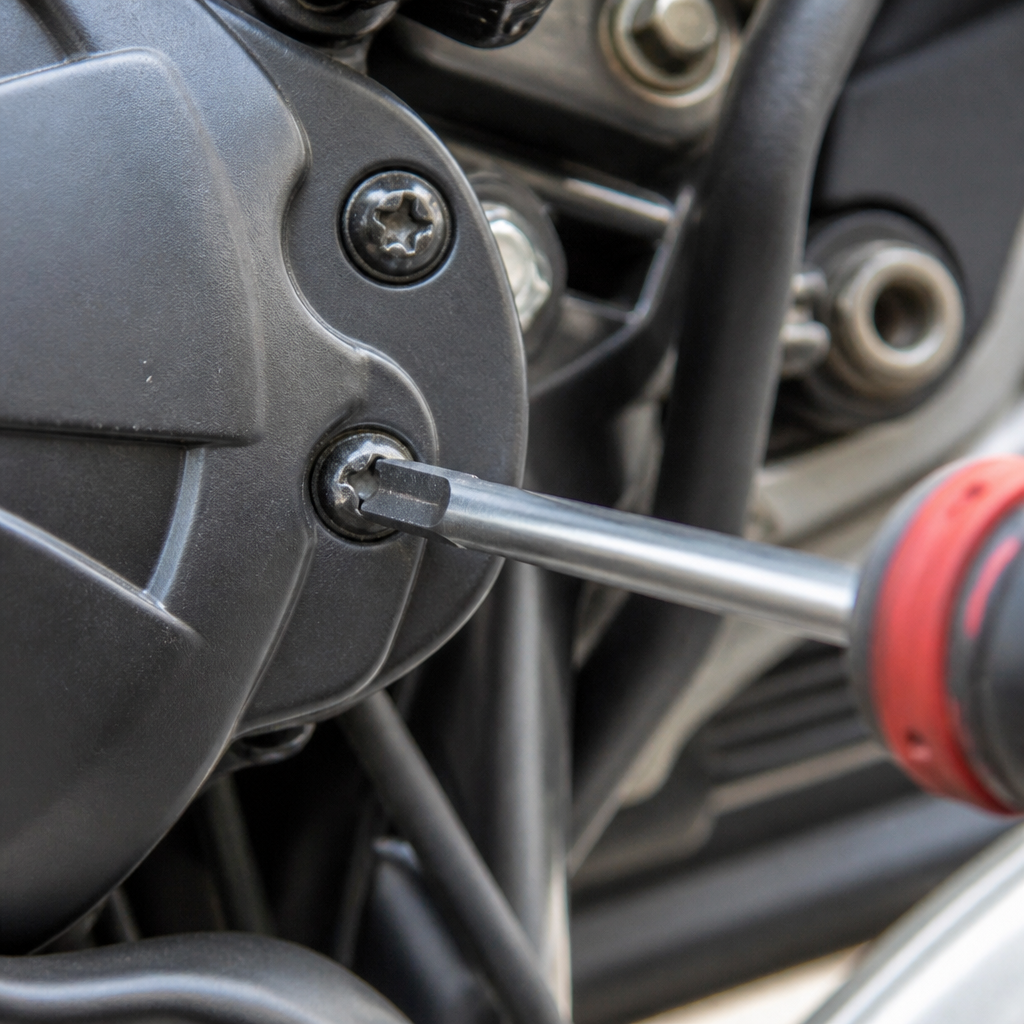
Many Yamaha R3 service frustrations begin with a screw head, not the engine internals. JIS crosshead screws are designed differently from Phillips. The flanks and recess geometry allow more positive engagement and less intentional cam-out. A Phillips driver can seem to fit, but under torque it rides up, damages the recess, and turns a minor removal step into extraction work. On motorcycles, those screws appear on switchgear, hose clamps, carbureted older models, reservoir covers, and occasional trim or bracket hardware. Even when the 2026 R3 uses more hex fasteners than older bikes, any Japanese machine owner should own JIS tools.
In practice, the difference is immediate. A Vessel JIS #2 bit seats deeper, transmits torque more cleanly, and breaks factory-set screws loose with less drama than a hardware-store Phillips. If a screw resists, add downward pressure, use a hand impact driver when appropriate, and apply penetrating oil or controlled heat based on location. Replacing damaged crosshead screws with quality flange hex bolts in non-cosmetic locations can improve future serviceability, but match thread pitch, shank length, and corrosion resistance. The point is not to modify blindly. It is to preserve service access without compromising fit.
This matters to valve work because access steps often involve clamps, electrical brackets, and airbox hardware. If one fastener strips, technicians rush, and rushed technicians make timing mistakes. Respecting the JIS standard is part of doing accurate engine service, not a separate trivia lesson.
DCT Maintenance as a Related Japanese Service Discipline
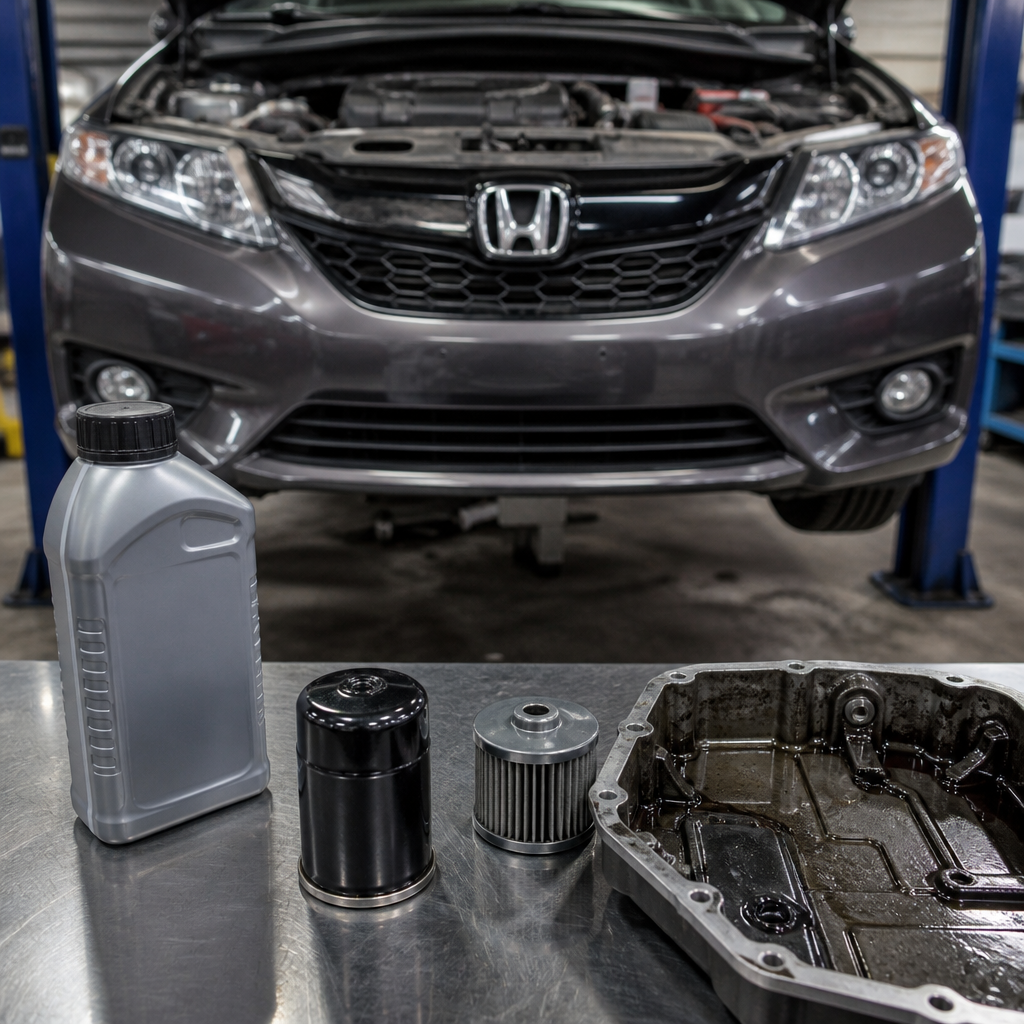
The Yamaha R3 does not use a dual-clutch transmission, so why discuss DCT maintenance in this hub? Because riders shopping Japanese motorcycles often compare platforms across brands, and the service mindset carries over. Dual-clutch systems, most famously on certain Honda models, combine hydraulic control circuits, clutch packs, electronic actuators, and strict fluid requirements. They teach the same lesson valve work teaches: precision maintenance beats improvisation.
DCT maintenance typically involves correct oil specification, filter service, learned behavior resets or calibration checks, and symptom-based diagnosis using scan tools rather than guesswork. Problems blamed on “bad transmission behavior” often trace back to fluid degradation, battery voltage issues, or skipped software procedures. That mirrors valve service on the R3, where owners may blame fueling or spark when the root cause is tightening exhaust clearances. Across both systems, Japanese engineering rewards technicians who follow the manual, use exact units, and verify results after reassembly.
If you maintain both conventional and DCT-equipped motorcycles, keep separate checklists. Do not let familiarity with one architecture create false confidence in another. The discipline transfers; the procedure does not.
Common Errors, Diagnostic Clues, and Long-Term Reliability
The most common Yamaha R3 valve adjustment errors are misread clearances, incorrect shim math, cam timing one tooth off, and overtorqued small fasteners. Diagnostic clues after a bad adjustment include sudden hard starting, backfiring through the intake, uneven compression, engine codes related to sensor disturbance, and abnormal mechanical noise immediately after startup. If the bike ran well before service and poorly after, stop and verify mechanical timing before chasing electronics.
For long-term reliability, combine valve inspections with spark plug evaluation, air filter service, throttle body synchronization where applicable, cooling system checks, and chain maintenance. A high-revving twin lives on airflow, stable temperature, and accurate mechanical timing. Clean oil of the correct viscosity matters too, because cam journals and chain tensioners depend on it. Owners who document every measurement create a valuable trend line. If one exhaust valve tightens steadily across inspections, you can watch it rather than being surprised later.
The main benefit of mastering Yamaha R3 valve adjustments is confidence. You protect engine health, avoid preventable fastener damage, and build a metric-first service routine that applies across Japanese motorcycles. Use the correct JIS tools, measure in millimeters, follow the factory sequence, and verify every change before closing the bike up. If you are building out your own maintenance reference library, make this guide your starting point, then continue with detailed articles on shim calculation, torque strategy, and Japanese fastener identification for the rest of your workshop practice.
Frequently Asked Questions
How often should valve clearances be checked on a 2026 Yamaha R3, and why does this service matter so much on a high-revving twin?
On a high-revving engine like the Yamaha R3’s 321cc parallel twin, valve clearance inspection is not optional maintenance—it is core reliability work. The R3 is designed to make its power higher in the rev range, which means the valvetrain sees constant rapid cycling, repeated heat expansion, and tight tolerance demands. Over time, valve clearances can drift as the valves, seats, and related components wear into one another. When those clearances tighten beyond specification, the valves may not fully close once the engine is hot, which can reduce compression, make starting more difficult, hurt idle quality, and in severe cases lead to burned valves or seat damage. If clearances open up too much, the result is often excess valvetrain noise, altered timing behavior, and unnecessary wear.
For the 2026 Yamaha R3, the best practice is to follow the factory service schedule in the owner’s and service manuals for inspection intervals rather than guessing based on mileage alone. Riders who operate in stop-and-go conditions, spend a lot of time near redline, ride in extreme temperatures, or use the bike on track days should be especially disciplined about those intervals. This is one of those jobs where “it seems fine” is not a substitute for measured data. The bike can still run reasonably well with out-of-spec clearances, especially early on, while wear quietly progresses in the background.
The reason this service matters so much is that the R3 rewards precision. Its engine architecture is robust, but it expects maintenance done with care: proper engine-cold measurements, exact shim selection if adjustment is needed, and reassembly using correct torque values and clean sealing surfaces. Riders often focus on oil changes and chain care first, and those are important, but valve service is what protects the engine’s breathing and long-term health. If you plan to keep the bike for years, ride it hard, or want predictable performance at high rpm, staying on top of valve inspections is one of the smartest maintenance decisions you can make.
What are the biggest mistakes people make during a Yamaha R3 valve adjustment, and how can they avoid damaging parts?
The biggest mistakes usually come down to rushing, using the wrong tools, or treating the R3 like a generic small motorcycle instead of a precision Japanese engine with specific hardware expectations. One of the most common errors is attempting disassembly with standard Phillips drivers on Japanese fasteners. Yamaha uses JIS-style screws on many components, and while a Phillips bit may seem close, it can cam out under load and damage the screw head. A proper JIS driver or high-quality bit set designed for Japanese industrial fasteners dramatically reduces that risk. This matters most around engine-adjacent hardware, covers, clamps, and bodywork fasteners where stripped heads can turn a straightforward service into a frustrating extraction job.
Another major mistake is measuring valve clearances with the engine warm. Valve lash must be checked under the temperature conditions specified by the service manual, typically with the engine completely cold. Even a mildly warm engine can produce misleading measurements because metal expansion changes the clearances. The next mistake is poor organization during teardown. The R3 requires careful handling of fasteners, ignition components, hoses, and timing-related parts. If bolts are mixed up, caps are not returned to their original locations, or shims are not tracked cylinder by cylinder and valve by valve, accuracy disappears fast.
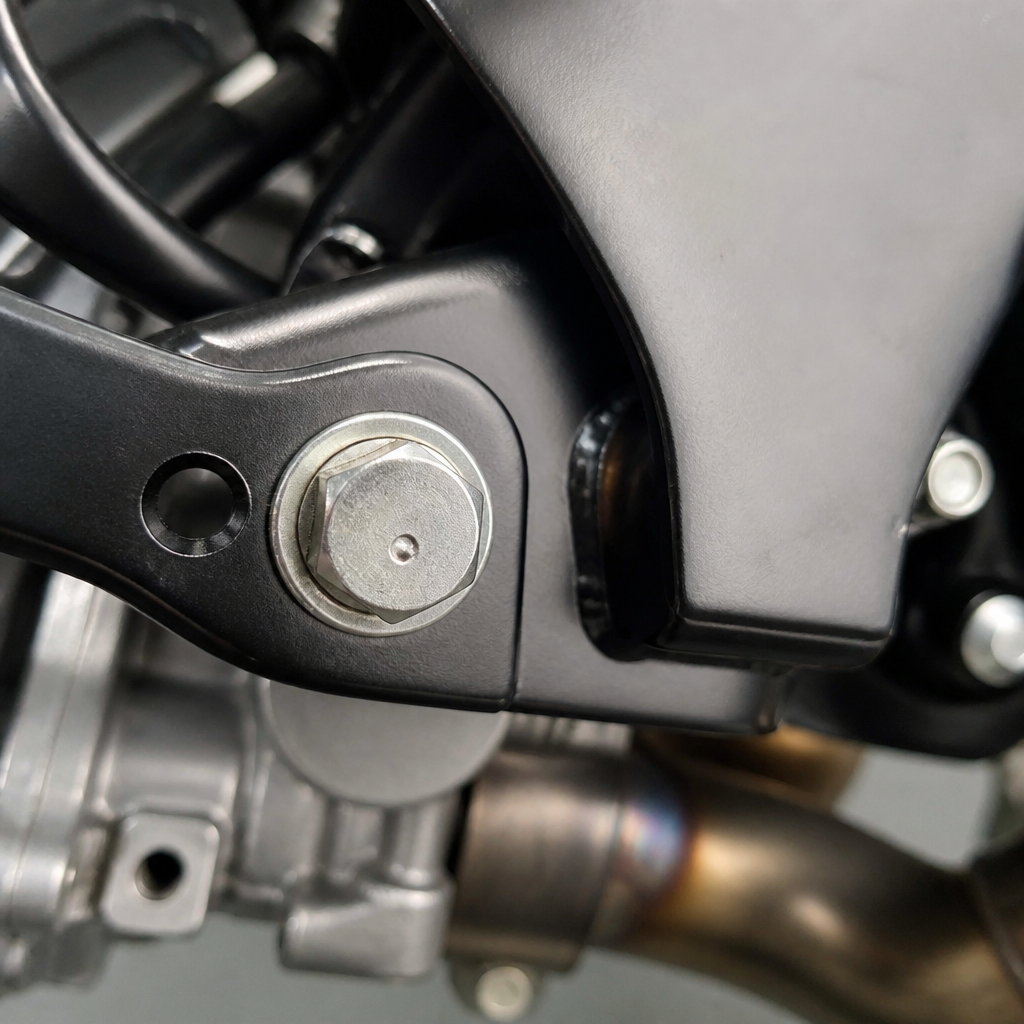
Timing errors are among the most serious risks. If the camshafts are removed for shim changes, the crankshaft and cam timing marks must be aligned exactly as specified before disassembly and verified again during reassembly. Turning the engine carelessly, misreading timing marks, or reinstalling the chain one tooth off can lead to poor running at best and engine damage at worst. Torque mistakes are another problem. Over-tightening small fasteners in aluminum threads can strip the cylinder head or distort sealing surfaces, while under-tightening critical components can create oil leaks or mechanical instability.
To avoid trouble, work methodically. Use a factory service manual, label everything, photograph each stage, keep parts in order, use metric tools only, and verify each measurement twice before making shim decisions. If a fastener resists, stop and reassess rather than forcing it. The R3 is very serviceable, but it responds best to calm, exact work. Precision saves parts, time, and money.
Do I need special tools to adjust valves on the 2026 Yamaha R3, or can a careful home mechanic handle the job?
A careful home mechanic can absolutely handle Yamaha R3 valve inspection and, in many cases, adjustment, but this is not a job to approach with a minimal toolbox. You do not necessarily need exotic dealership-only equipment, but you do need the right tools, the correct reference information, and enough patience to measure and recheck everything accurately. At minimum, expect to need a complete metric socket and hex set, a quality torque wrench suited to lower torque values, feeler gauges in the correct range and thickness increments, a magnet or pickup tool for handling shims, and a way to keep small parts organized. If camshaft removal is required, having tools that make timing verification easier is a major advantage.
Equally important is using the proper drivers for Japanese fasteners. Many riders learn this the hard way when they round off screws with Phillips tools. JIS-compatible drivers are one of the smartest low-cost purchases you can make if you work on Yamaha motorcycles. They fit more positively, reduce slippage, and help preserve factory hardware. Because the R3 is a metric motorcycle, all measurements, tools, and torque values should remain metric from start to finish. Mixing imperial approximations into a precision valvetrain service is simply inviting mistakes.
The home mechanic also needs the discipline to follow a procedure, not just general mechanical intuition. This means recording each measured clearance, calculating any required shim changes exactly, confirming cam timing before rotating the engine, and checking for smooth manual rotation after reassembly. It also means understanding where not to improvise. Sealant selection, gasket handling, torque sequence, and chain timing all deserve strict adherence to the manual.
If your goal is only inspection, the job is more approachable. If multiple valves require adjustment, the complexity increases because you move from measurement into disassembly, timing control, and shim selection. Many skilled owners still do it successfully, but they succeed because they prepare thoroughly. If you are comfortable with valve covers, top-end access, and methodical engine work, the R3 is within reach. If timing work makes you nervous, there is no shame in inspecting yourself and outsourcing the adjustment. The important thing is that the clearances get checked correctly.
What symptoms suggest the valves may be out of adjustment on a Yamaha R3, and can you tell which way the clearance has drifted just by how the bike feels?
There are some symptoms that may suggest valve clearances have moved out of specification, but the honest answer is that you cannot reliably diagnose exact clearance direction by feel alone. That is why measured inspection remains the standard. Still, certain patterns can raise suspicion. Tight valves often show up as harder cold starting or hot starting, rough idle once fully warm, reduced compression feel, weak top-end performance, or a sense that the bike is less crisp when revved out. In more advanced cases, a valve that is not fully seating can contribute to misfire-like behavior, poor combustion sealing, and accelerated valve face or seat damage.
Loose valves more often produce audible ticking or tapping from the top end, especially noticeable at idle or low rpm. That said, some valve noise is not automatically a sign of a problem, and some tight valves make very little obvious noise. Riders sometimes assume “quiet means healthy,” but a too-tight valvetrain can actually be more dangerous than a slightly noisy one because the valves may not be closing long enough to transfer heat properly into the seat. On a high-revving engine like the R3’s, that heat transfer is critical to durability.
Performance changes can also be subtle. Because the R3 is designed to build power as revs rise, a rider may first notice that the engine does not pull as cleanly near the top of the range, feels flatter than expected, or seems less willing to spin freely. Fuel economy can shift as well, though that is not a definitive clue because many factors affect mileage. The challenge is that several other maintenance issues—spark plugs, throttle body condition, air filter restriction, fuel quality, chain drag, or even rider expectation—can mimic valvetrain-related symptoms.
So yes, changes in sound, starting behavior, idle quality, and high-rpm response can all point toward valve clearance issues, but none of them replace a proper measurement session. The right approach is to treat symptoms as prompts, not proof. On the R3, the smartest diagnosis is still a cold-engine clearance check performed by the book.
How does valve adjustment fit into the bigger maintenance picture for the Yamaha R3, especially with JIS fasteners and other service habits riders should know?
Valve adjustment on the Yamaha R3 makes the most sense when you see it as part of a broader maintenance philosophy rather than an isolated major service. The R3 is a precise, rev-happy motorcycle