The 2026 Honda Gold Wing is a flagship touring motorcycle built for long-distance comfort, dense electronics, and remarkable mechanical refinement, but that sophistication raises the stakes for maintenance, especially when the starting circuit, battery health, JIS hardware, and DCT service all intersect. Solenoid and battery care may sound like narrow topics, yet on a modern Gold Wing they touch almost every reliability concern owners report: slow cranking after storage, intermittent starter engagement, voltage-sensitive fault behavior, accessory overload, and confusion caused by Japanese Industrial Standards fasteners and metric service practices. I have worked on late-model Hondas in shop conditions and home garages, and the same pattern appears repeatedly: many starting complaints blamed on the starter motor are actually voltage-drop issues, poor cable connections, weak batteries, or relay contacts degraded by heat and age. On the 2026 Gold Wing, where ride modes, infotainment, lighting, and DCT control systems depend on stable electrical supply, getting the battery and starter solenoid system right is foundational. This article serves as the hub for the metric maintenance subtopic by connecting three areas owners need to understand together: the JIS standard that affects tool fit and fastener preservation, DCT maintenance requirements that demand battery stability and precise service habits, and the metric quirks that distinguish Honda service work from generic motorcycle advice.
Before getting into procedures, define the parts clearly. The battery stores electrical energy and provides the high current needed to crank the flat-six engine. The starter solenoid, often called the starter relay on Honda diagrams, is an electrically controlled switch that uses a low-current control signal to connect the battery to the starter motor through a heavy-current path. The charging system replenishes the battery once the engine is running. JIS refers to Japanese Industrial Standards, which affect screw geometry, tool engagement, and in some cases thread and hardware conventions used on Japanese motorcycles. DCT stands for dual-clutch transmission, Honda’s electronically controlled gearbox that uses hydraulic circuits, sensors, and shift actuators; while it does not change the basic battery and starter architecture, it does make voltage integrity more important because control modules expect consistent power during start-up and operation. Metric quirks include correct use of millimeter-based tools, torque values expressed in newton-meters, flange-bolt sizing patterns, and thread-pitch assumptions that differ from some non-metric habits. Owners who understand these basics spend less money chasing symptoms, avoid stripped fasteners, and maintain a Gold Wing that starts quickly, shifts correctly, and tours reliably.
Why Gold Wing Battery and Solenoid Care Matters More on the 2026 Model
The Gold Wing has always been electrically demanding compared with simpler motorcycles, but the 2026 flagship concentrates even more function around stable system voltage. Between electronic suspension interfaces, infotainment, multiple control modules, LED lighting, heated accessories, navigation integration, and DCT logic on applicable trims, the bike behaves less like a minimalist tourer and more like an integrated touring platform. In practical terms, that means a battery can test “not completely dead” and still be the source of hard starting, delayed relay actuation, dash resets, or strange intermittent warnings. I treat the battery as a service item with measurable performance, not a black box. If resting voltage is low, if voltage sags sharply under load, or if the battery recovers slowly after charging, I do not trust it for a touring machine, even if it occasionally starts in warm weather.
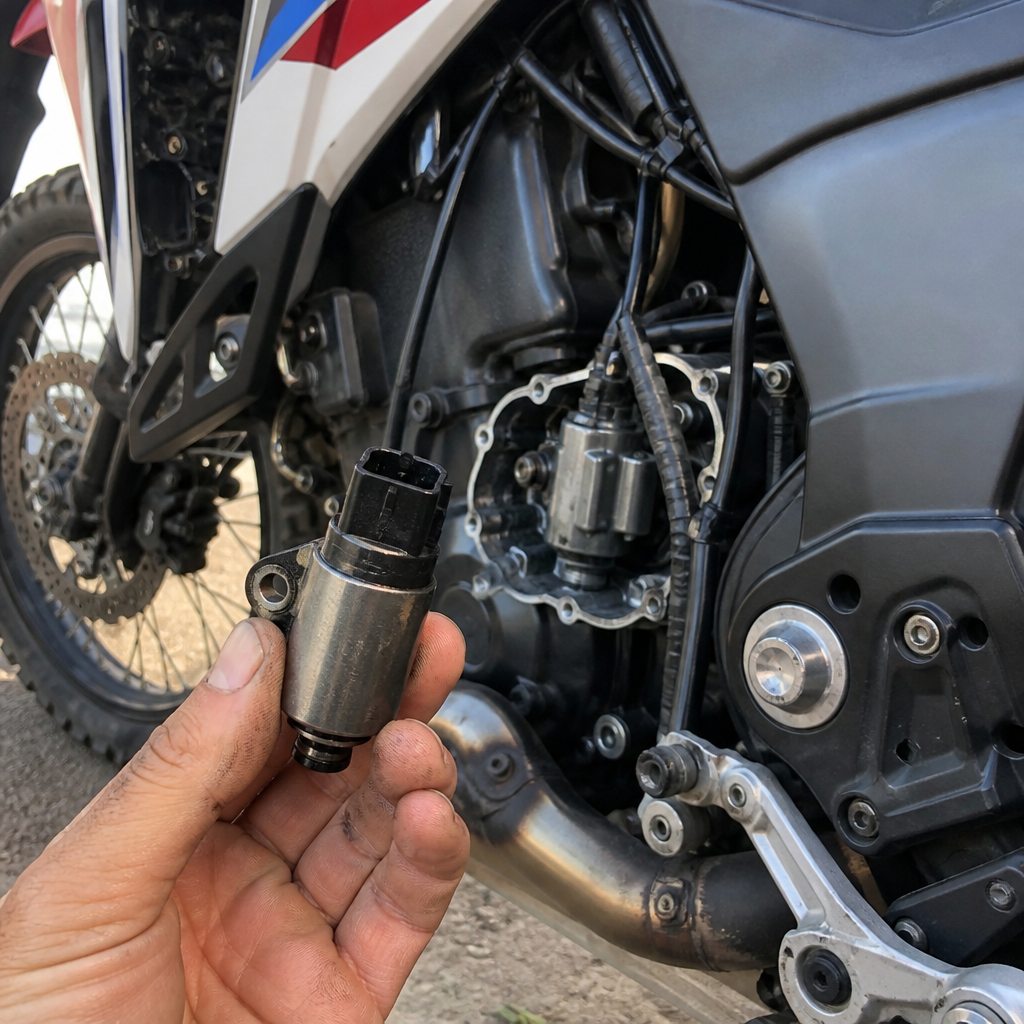
The starter solenoid deserves equal attention because it handles high current and lives in a hot, vibration-prone environment. Every start cycle arcs the internal contacts slightly. Over time, those contacts can pit, build resistance, and create a classic symptom set: one click and no crank, repeated clicking, or strong battery voltage at rest but weak cranking at the starter. On a Gold Wing, owners often add auxiliary lighting, phone chargers, intercoms, and heated gear pigtails. Poorly managed accessory wiring can worsen the problem by introducing parasitic draw, cluttering terminal connections, or stressing the charging budget at idle. Reliable starting on the 2026 model is therefore not just about replacing a dead battery when the bike will not crank. It is about controlling the whole circuit: battery condition, ground integrity, main fuse health, relay contact resistance, cable cleanliness, and charging output under real operating conditions.
How to Inspect the Starting Circuit Correctly
The fastest way to waste time is to diagnose a no-start complaint by swapping parts blindly. The correct approach is a voltage-drop and load-based inspection. Start with the battery at rest after sitting at least several hours. A healthy fully charged AGM battery should typically read around 12.7 to 12.9 volts at room temperature. Around 12.4 volts indicates partial discharge. Around 12.2 volts suggests the battery is significantly discharged and should be charged before further testing. Resting voltage alone is not enough, however. You need a load test or at minimum a cranking voltage test. During starting, voltage should not collapse dramatically; if it drops under roughly 9.6 volts during a proper load test at standard conditions, the battery is suspect. On the bike, if cranking drags and the dash flickers heavily, measure battery voltage while pressing the starter.
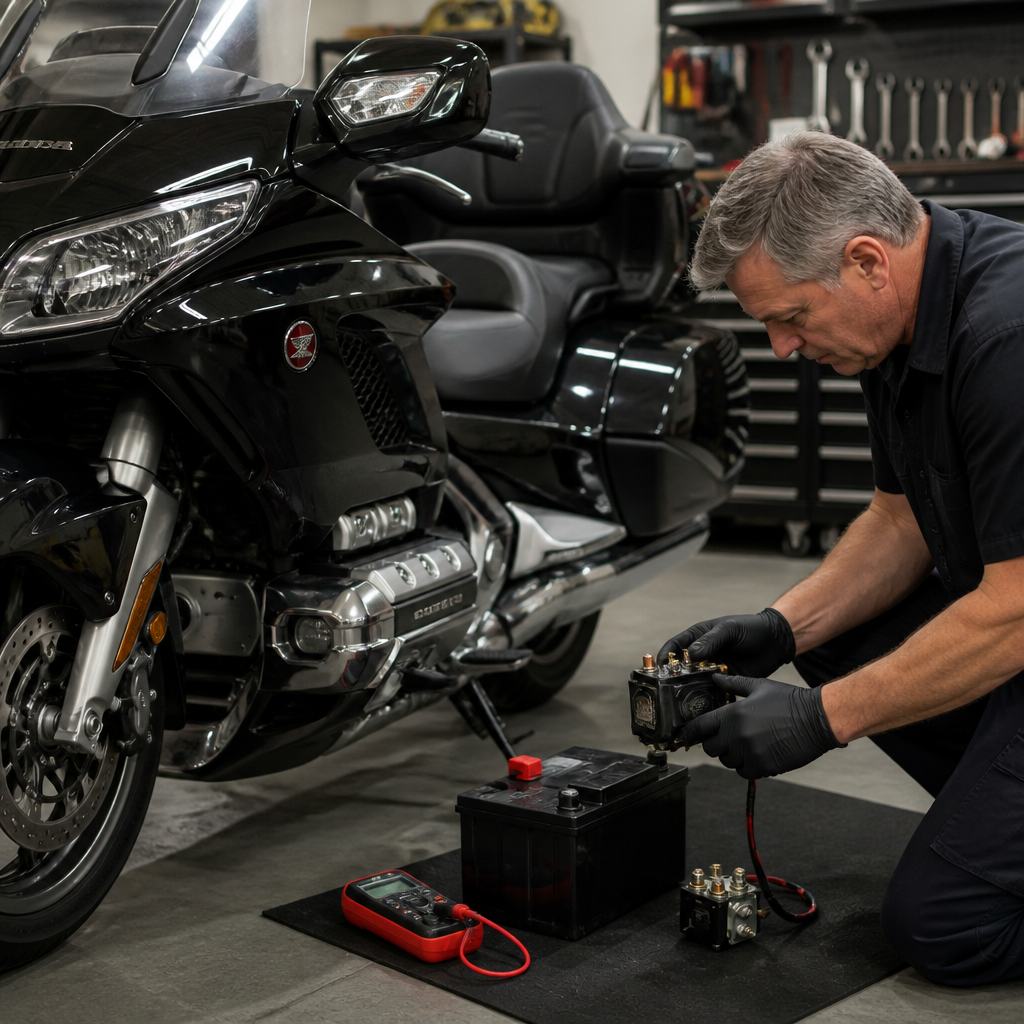
Next, check the connections. Remove and clean both battery terminals, the main ground point to the engine or frame, and the heavy cables at the solenoid. Corrosion can hide between lugs and terminals even when the outside looks clean. I use a brass brush, contact cleaner safe for electrical use, and a thin protective film of dielectric grease around but not between the main metal contact surfaces. Then inspect the starter relay assembly, which on many Hondas also incorporates the main fuse. Heat discoloration, melted plastic, or brittle connector housings are warning signs. Use a multimeter to measure voltage drop across the positive side from battery positive to starter input while cranking, then on the ground side from battery negative to engine case. Excessive drop means resistance in the path, and resistance under high current creates heat, slower cranking, and relay stress.
| Checkpoint | Healthy Reading or Condition | What a Problem Usually Means |
|---|---|---|
| Battery resting voltage | About 12.7 to 12.9 V fully charged AGM | Below 12.4 V often indicates discharge or aging |
| Cranking voltage | Stays strong without severe collapse | Sharp drop suggests weak battery or high resistance |
| Terminal condition | Clean, tight, no white or green corrosion | Corrosion raises resistance and heat |
| Solenoid behavior | Distinct engagement, consistent crank response | Single click or chatter points to relay, voltage, or cable issues |
| Main ground path | Low resistance, clean metal contact | Poor ground causes intermittent electrical faults |
| Charging voltage running | Typically mid-13s to low-14s V depending on load | Low output suggests charging-system diagnosis is needed |
If the battery and cables test well, isolate the solenoid. Confirm the control side receives the start signal and that the high-current side passes current with minimal loss. Bench testing is useful, but under-load testing on the bike tells the real story. A relay can click on the bench and still fail under starter load because the contacts are burnt. Also inspect the starter motor only after the rest of the circuit is proven. On touring Hondas, I have seen more starting issues caused by tired batteries and cable resistance than by failed starter motors.
Battery Selection, Charging Practice, and Storage Strategy
Choose the battery type the Gold Wing’s charging system expects, and buy by specification rather than brand reputation alone. Most owners will use a premium AGM battery because it offers good vibration resistance, strong cranking output, and predictable compatibility with OE-style charging systems. Lithium batteries can save weight, but on a full-dress touring bike the benefit is usually marginal compared with the need for consistent cold-weather behavior, charger compatibility, and predictable reserve capacity for electronics. If a lithium option is considered, verify it is approved for powersports use, includes battery management protection, and is compatible with the bike’s charging profile and your maintainer. For most Gold Wing owners, AGM remains the sensible default.
Charging practice matters as much as battery choice. Use a smart maintainer designed for motorcycles, ideally one with temperature compensation and a mode appropriate for AGM chemistry. Avoid leaving a basic automotive charger connected for long periods; many output too much current for a motorcycle battery and can accelerate drying or plate damage. If the bike sits for weeks, connect a maintainer through a fused harness or charge directly at the battery according to the service manual. Parasitic draw from clocks, memory circuits, alarms, and accessories can flatten a battery slowly enough that owners miss the cause. I check key-off current draw whenever repeated discharge complaints appear, especially on bikes with aftermarket fog lights, USB modules, GPS cradles, or communication systems wired directly to constant power.
Storage strategy for a Gold Wing is straightforward. Start with a fully charged battery, store the bike in moderate temperatures when possible, and keep terminals clean and tight. Do not rely on occasional engine idling as “charging.” At idle, especially with lights and accessories active, the bike may not replace the energy used for starting. Either ride long enough for the charging system to recover the battery or maintain it externally. If a battery has been deeply discharged more than once, replace it proactively before a long trip. A touring flagship can hide battery decline until the morning you are fully loaded in a hotel parking lot.
JIS Standard Fasteners: Why Tool Choice Prevents Damage
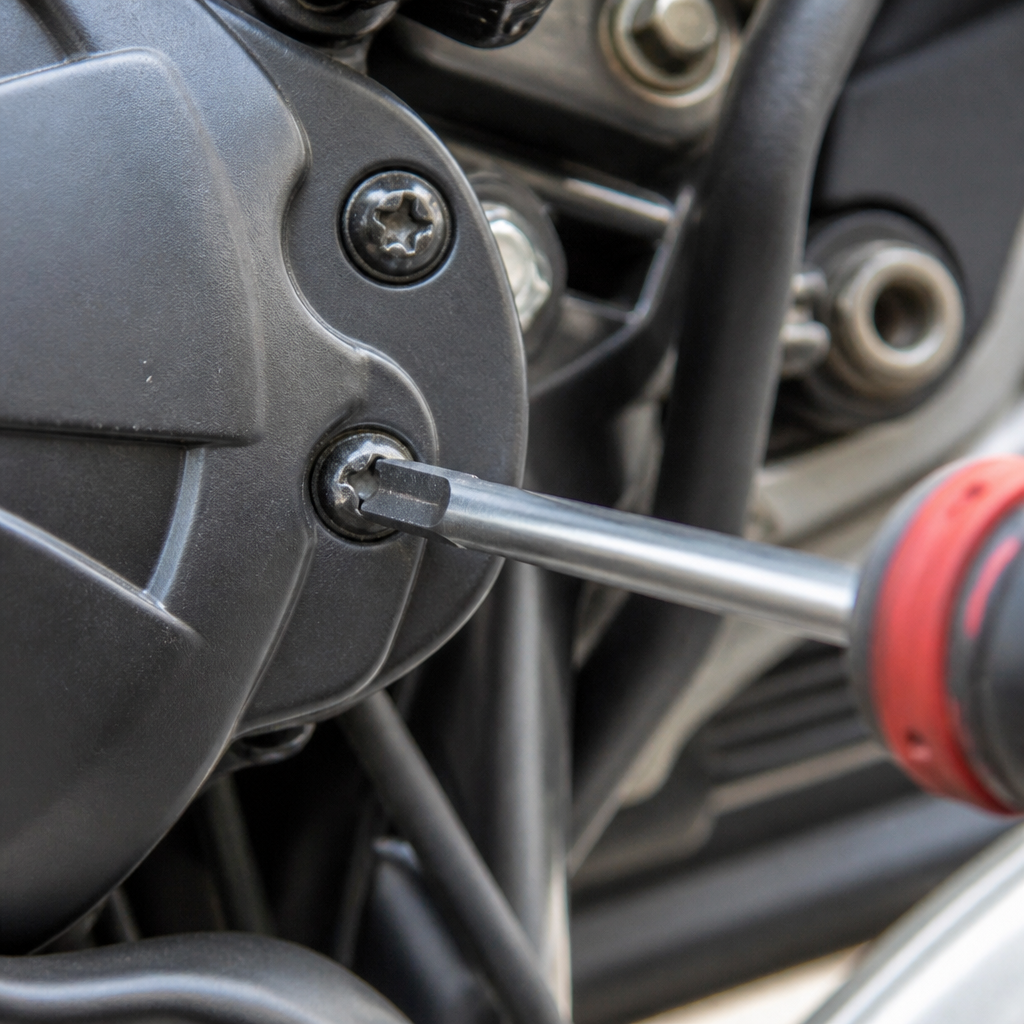
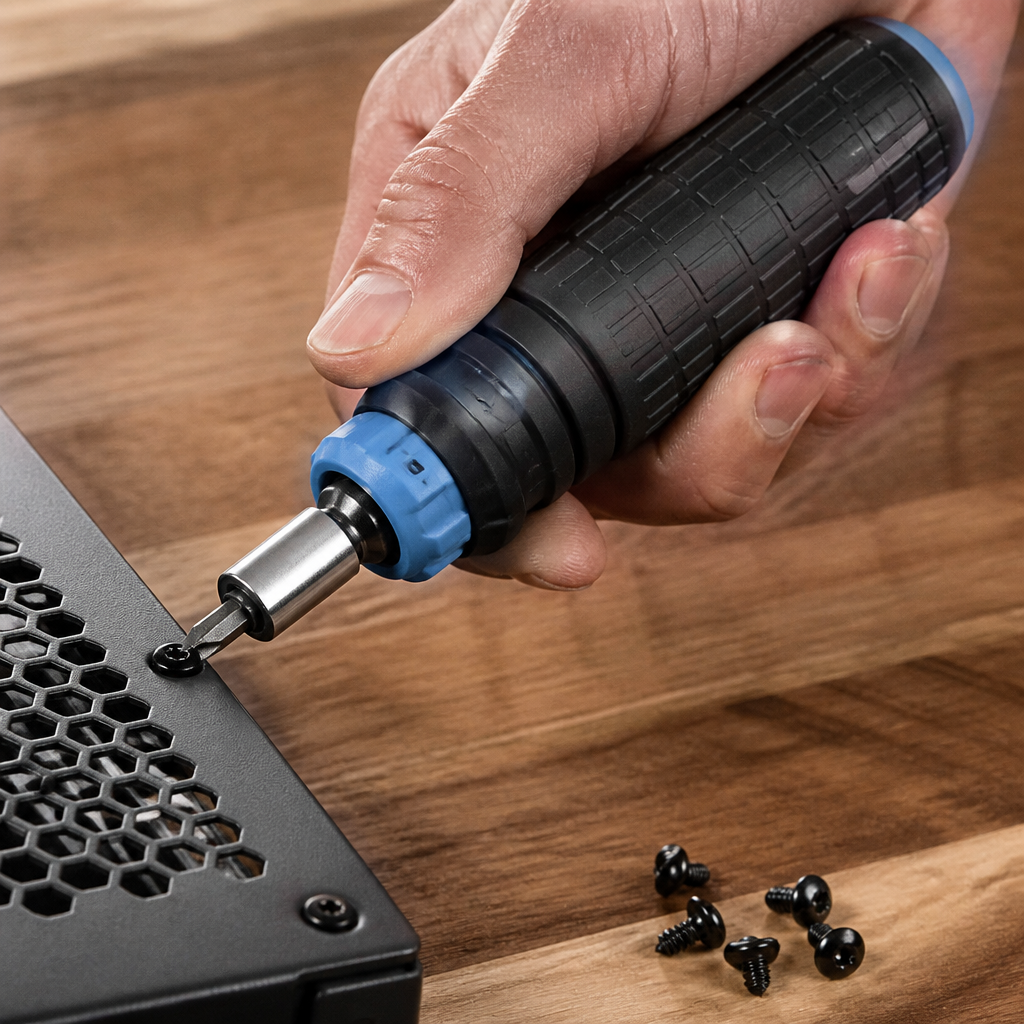
One of the most overlooked maintenance issues on Japanese motorcycles is the difference between JIS cross-head screws and common Phillips drivers. Although they appear similar, a Phillips driver is intentionally designed to cam out under higher torque, while a proper JIS driver engages more positively with the screw recess used on many Japanese machines. On a Gold Wing, this matters when removing body panels, switch housings, reservoir covers, and various trim-adjacent fasteners. Using the wrong driver rounds screw heads, damages finish, and turns routine service into extraction work. If you own one Japanese motorcycle and perform your own maintenance, buy a set of JIS drivers or JIS-compatible bits. Vessel is a recognized choice, and Hozan tools are also well regarded.
The JIS issue extends beyond screwdriver shape. Honda uses metric flange bolts extensively, often in 8 mm, 10 mm, and 12 mm hex sizes that correspond to specific thread diameters. Owners accustomed to SAE habits sometimes overtighten small metric fasteners because the head looks substantial relative to the thread. That is how fairing mounts crack and battery terminal bolts strip. Use a torque wrench scaled appropriately for low and medium torque ranges, and pay attention to whether the service manual specifies dry threads, lightly oiled threads, or threadlocker. Metric service discipline is about consistency: correct bit fit, correct socket fit, correct torque, and no guessing based on feel alone when working around plastics and electrical components.
DCT Maintenance and Its Relationship to Electrical Health
Honda’s DCT system is durable, but it rewards owners who respect fluid condition, calibration needs, and electrical stability. The dual-clutch transmission relies on electro-hydraulic control, sensor inputs, and precise actuator behavior. Low system voltage can create poor starting behavior and can also complicate shift logic, initialization, or fault detection. That does not mean every DCT issue is caused by the battery, but it does mean battery and charging health should be verified before diagnosing drivability complaints. In the workshop, I treat stable voltage as a prerequisite for meaningful electronic diagnosis on any DCT-equipped Honda.
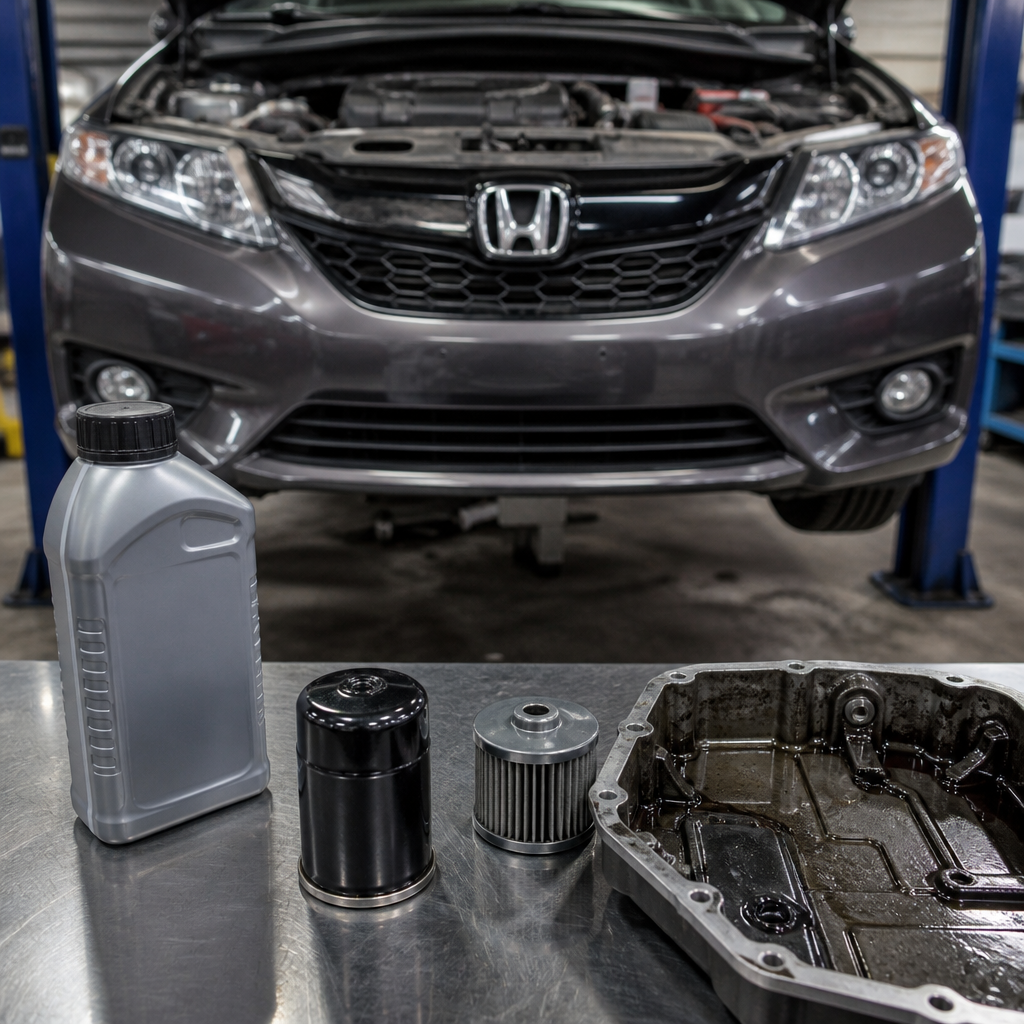
Routine DCT maintenance centers on using the correct oil specification and change interval, because clutch performance and hydraulic control depend on the friction and viscosity characteristics Honda designed around. Follow the owner’s manual and service manual exactly for oil grade and filter changes. Do not substitute automotive oils that merely “seem close.” If the bike sees heavy touring loads, hot weather, mountain riding, or frequent stop-and-go traffic, conservative oil service intervals make sense. Firmware updates, clutch adaptations, or system checks should be performed according to Honda procedures when applicable. If you experience harsh takeoff, abnormal shift timing, or warning messages, confirm battery voltage first, then inspect for stored codes, fluid condition, and any relevant service bulletins through a dealer or Honda-capable diagnostic path.
Electrical maintenance supports DCT reliability in less obvious ways too. Clean grounds reduce sensor noise. Healthy charging voltage keeps control units stable. Proper accessory wiring prevents low-voltage events during startup. If you add heated seats, extra lights, or communication equipment, use relays and fused distribution blocks rather than stacking ring terminals directly on battery posts. Neat power distribution is not cosmetic; it improves serviceability and lowers the chance of intermittent faults that masquerade as transmission issues.
Metric Quirks Every Gold Wing Owner Should Know
Metric motorcycle maintenance has its own logic, and the Gold Wing amplifies it because of tight packaging and layered bodywork. First, use six-point sockets on stubborn fasteners whenever possible. Many Honda bolt heads are compact, and a worn twelve-point socket can round them quickly. Second, know common Japanese thread pitches rather than forcing mismatched hardware. An M6 fastener is often 1.0 pitch, M8 is often 1.25, and M10 commonly 1.25 on Japanese motorcycles, but always confirm before replacement. Third, battery terminal bolts and captive nuts on powersports batteries are easy to cross-thread if the terminal block shifts during installation. Start every thread by hand.
Another quirk is that electrical fasteners and body hardware are often low-torque items surrounded by expensive trim. Over-tightening is more common than under-tightening. A quarter-inch-drive torque wrench, trim tools, magnetic pickup, and labeled fastener trays are not luxury items on a Gold Wing; they are efficiency tools. Also note that Honda service information is written with metric assumptions throughout. Clearances, torque values, and diagnostic thresholds are all more precise when you stop converting mentally and work directly in millimeters, newton-meters, volts, and ohms. That reduces mistakes and makes you faster over time.
Building a Practical Maintenance Plan for Long-Distance Reliability
The most effective Gold Wing maintenance plan is calendar-based and condition-based at the same time. Before each major trip, test battery resting voltage, inspect terminal tightness, verify charging behavior, and listen to starter engagement quality. At every oil service, inspect the starter relay area, main fuse, accessory wiring, and ground paths. Annually, clean and protect terminals, review parasitic draw if the bike sits often, and examine any aftermarket wiring for chafe points or overloaded circuits. During bodywork removal, use JIS-correct tools and organize hardware by panel location. For DCT models, keep fluid service exact and investigate any change in shift feel early rather than waiting for a warning light.
This hub article should lead owners to a simple conclusion: the 2026 Honda Gold Wing rewards precise, metric-aware maintenance. Battery care prevents slow cranking, electronic instability, and roadside frustration. Solenoid inspection catches resistance and contact wear before they leave you stranded. JIS knowledge prevents stripped screws and damaged trim. DCT maintenance depends on correct fluids, disciplined electrical health, and methodical diagnosis. Put those practices together, and the Gold Wing delivers what a flagship should: dependable starts, smooth operation, and confidence on long tours. Build a checklist, use the right tools, and service the bike before symptoms become failures.
Frequently Asked Questions
Why do solenoid and battery maintenance matter so much on the 2026 Honda Gold Wing?
On the 2026 Honda Gold Wing, the battery and starter solenoid are not isolated parts that only matter when you press the starter button. They sit at the center of a much larger electrical ecosystem that supports ignition, starter engagement, infotainment, lighting, rider aids, charging logic, and, on DCT models, transmission-related control systems that depend on stable voltage during startup. Because the Gold Wing is a premium touring motorcycle with dense electronics and refined starting behavior, even a small drop in battery performance or a slight increase in resistance at the solenoid terminals can show up as slow cranking, inconsistent starter engagement, warning lights, or hard-to-diagnose intermittent electrical complaints.
The reason this matters more on a flagship touring bike than on a simpler motorcycle is load sensitivity. A weak battery may still power the dash and accessories well enough to create the impression that everything is fine, yet fall off sharply the moment the starter motor demands high current. Likewise, a worn or heat-stressed solenoid may click but fail to pass full current consistently, especially after repeated starts, long storage periods, or exposure to moisture and vibration. In real-world ownership, many “mystery” starting issues trace back to voltage drop, poor cable connections, sulfated batteries, or degraded solenoid contacts rather than to a failed starter motor itself.
Routine care reduces those risks. Keeping the battery fully charged, checking terminal tightness, inspecting grounds, and monitoring the condition of the starter relay or solenoid can prevent breakdowns before they happen. On a Gold Wing, that preventive approach is especially important because long-distance touring often means starting the bike after days of sitting, carrying added electrical loads, and depending on flawless reliability far from home. Battery and solenoid care are basic tasks, but on this motorcycle they are foundational to the ownership experience.
What are the most common warning signs of a weak battery or failing starter solenoid on a Gold Wing?
The most common battery-related symptom is slow or labored cranking, especially after the bike has been parked for several days or after cold starts. If the engine turns over more slowly than usual, the dash resets, the display flickers during startup, or the bike starts fine one day and struggles the next, battery condition should move to the top of the checklist. A healthy battery on a touring motorcycle should maintain voltage well under normal parasitic load and still deliver strong current when the starter is engaged. If it cannot, the first symptoms often appear as inconsistency rather than complete failure.
Starter solenoid issues tend to show up differently. Owners often report a distinct click when pressing the starter button without full starter engagement, or they may experience intermittent no-start conditions where the bike suddenly starts normally after repeated attempts. In some cases, the solenoid contacts become resistive from wear, pitting, or heat, allowing partial function that masks the problem until the bike is hot, the battery is slightly weak, or the connection resistance rises enough to prevent proper current flow. Intermittent starter engagement is a classic clue because it suggests the control side of the starting circuit is being triggered, but the high-current side is not consistently delivering power to the starter motor.
Other signs include terminal corrosion, heat discoloration around heavy-gauge wires, a burnt smell near relay components, unusually rapid battery discharge after storage, or accessory behavior that seems normal until the instant the starter is used. It is also worth watching for symptoms after the bike has sat on a tender for a long period; a battery can show acceptable resting voltage yet still have poor reserve capacity. The key is to think in terms of the whole circuit: battery state of charge, cable integrity, ground quality, solenoid operation, and starter draw. On a Gold Wing, those systems work so closely together that one weak link can mimic several different faults.
How should owners properly maintain the Gold Wing’s battery to prevent starting and reliability issues?
Proper battery care begins with charge management. If the 2026 Gold Wing is ridden regularly for long enough to allow the charging system to replenish starting losses, the battery will generally stay healthier than one subjected to short trips, long idle periods, or seasonal storage. When the bike sits, a quality smart charger or maintainer designed for motorcycle batteries is the best tool for preserving capacity and reducing sulfation. The important point is to use a charger appropriate for the battery type specified for the bike and to avoid old-style trickle chargers that can overcharge or shorten service life.
Terminal cleanliness and tightness are equally important. Remove corrosion promptly, inspect for white or green deposits, and make sure the battery posts and cable ends are secure. A slightly loose connection can create resistance that causes heat, voltage drop, and inconsistent starting performance even when the battery itself is healthy. On Honda motorcycles, owners should also take care with JIS hardware. Using the correct JIS screwdriver or bit rather than a standard Phillips helps avoid stripped fasteners when accessing battery covers, cable retainers, or surrounding panels. That matters because maintenance on a fully faired touring bike often involves working in tighter spaces where damaged fasteners quickly turn a simple service task into a frustrating one.
It is also smart to test the battery rather than judging it by age alone. Check resting voltage after the bike has been off for a suitable period, then evaluate cranking voltage under load if possible. A proper load test gives much better information than voltage alone. Inspect the battery case for swelling, leaks, or heat damage, and pay attention to replacement timing if the bike is used heavily for touring. A battery that seems “mostly fine” at home can become a trip-ending problem on the road. Preventive replacement before major travel is often more sensible than trying to stretch the final season out of an aging unit.
What is the safest and most effective way to inspect or service the starter solenoid on a 2026 Honda Gold Wing?
The safest approach is to begin with the service manual procedures for access, isolation, and torque specifications, because the Gold Wing’s layout and electronics deserve methodical handling. Before touching the starter circuit, disconnect the battery according to recommended procedure, typically removing the negative connection first to reduce the chance of accidental shorting. The starter solenoid handles high current, so any contact between tools and live terminals can create sparks, damage components, or even weld a tool in place. Safety glasses and careful cable management are not overkill here.
Inspection should focus on both the electrical and physical condition of the assembly. Look for loose terminal nuts, corrosion, melted insulation, heat discoloration, moisture intrusion, and signs that the heavy starter cable or battery lead has been stressed or routed poorly. Check the fuse integration if the relay assembly incorporates main fuse protection, as many Honda starting circuits do. If the solenoid clicks but starter performance is inconsistent, measuring voltage drop across the circuit during a start attempt can reveal whether resistance at the solenoid or its cable connections is robbing the starter of needed current. That kind of testing is more reliable than replacing parts based on sound alone.
When reinstalling or replacing components, use the correct hardware and avoid overtightening. This is another area where JIS-compatible tools help prevent damage to surrounding fasteners and covers. If there is any uncertainty about whether the issue is the solenoid, starter motor, battery, or a control-side interlock, diagnosis should be systematic. Touring motorcycles with safety interlocks and advanced electronics can produce symptoms that seem straightforward but are actually caused by low voltage or poor grounds elsewhere. The most effective repair is usually the one preceded by careful testing rather than guesswork.
How do battery and solenoid health affect DCT models, storage habits, and long-distance touring reliability?
On DCT-equipped Gold Wing models, stable voltage is especially important because startup is not just about spinning the engine; it also supports the electronic control environment that allows the transmission and related systems to initialize and operate correctly. That does not mean the DCT places unusual blame on the battery or solenoid, but it does mean low voltage can have broader consequences than on a simpler machine. A marginal battery may still permit occasional starts while contributing to fault codes, erratic behavior, or startup inconsistency that becomes more apparent after storage or during temperature swings.
Storage habits make a major difference. A Gold Wing that sits for weeks between rides, especially with accessories, alarms, or normal parasitic draw in the background, is far more likely to suffer from battery degradation than one ridden regularly. Before and after storage, owners should verify battery health, maintain full charge with a smart maintainer, and inspect for terminal corrosion or looseness. It is also wise to avoid repeated short starts without a proper ride afterward. Starting the bike, idling briefly, and shutting it down may consume more energy than the charging system replaces, gradually weakening the battery over time.
For long-distance touring, the battery and solenoid should be treated as reliability-critical components. If the bike is heading out on a multi-day trip, especially in hot weather, cold mornings, or remote areas, pre-trip inspection is cheap insurance. Confirm strong starts, test the battery if it is more than a few seasons old, inspect cable routing and terminal tightness, and pay attention to any recent hesitation or clicking during startup. Reliable touring on a modern Gold Wing comes from respecting the electrical system as much as the engine and drivetrain. When the battery is strong