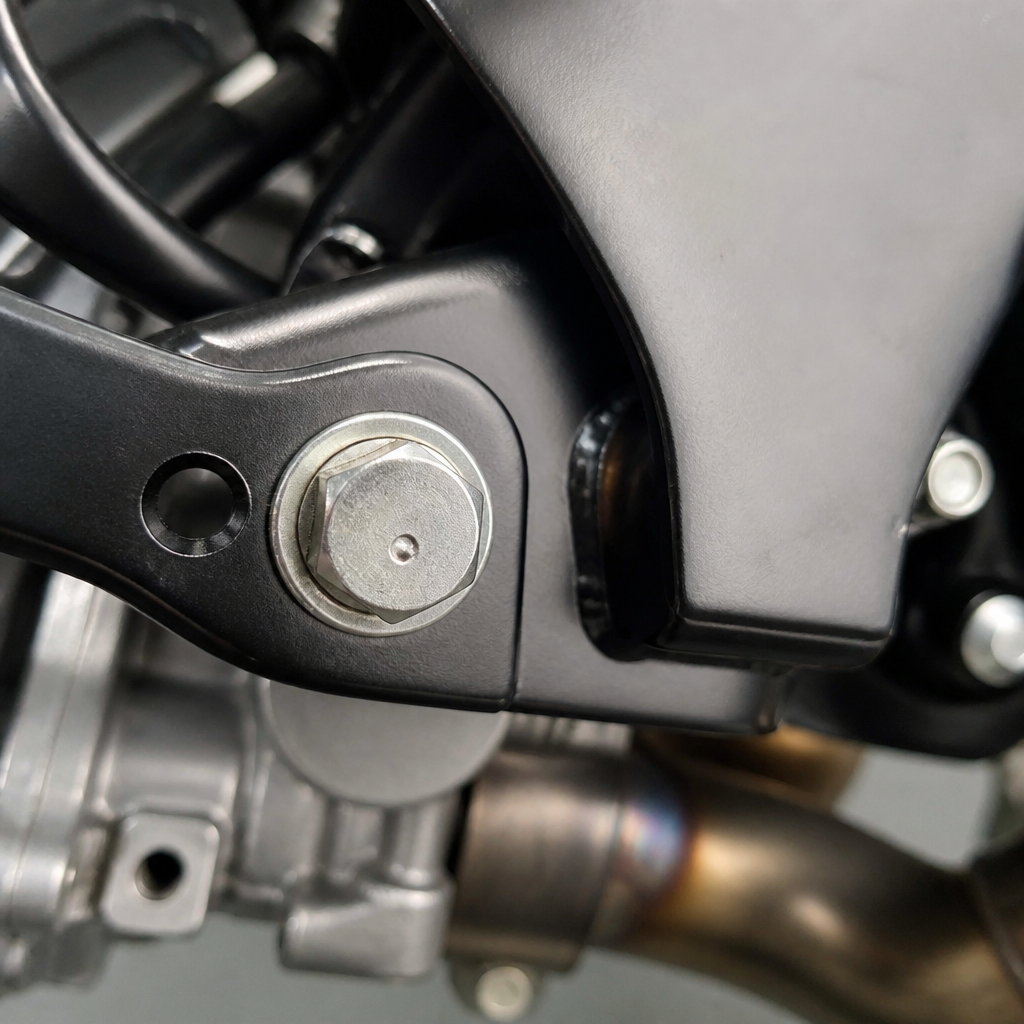
Identifying the dot on a 2026 Suzuki starts with understanding that many fasteners on Japanese motorcycles and cars are designed to the Japanese Industrial Standards system, not the geometry most owners assume when they reach for a generic Phillips bit. On current Suzukis, that distinction matters because a small visual mark, subtle recess shape, and torque-sensitive components can determine whether a routine service goes smoothly or ends with a cammed-out screw head. In workshop practice, I have seen more damage caused by the wrong screwdriver than by rust, especially on intake clamps, switchgear screws, reservoir covers, and body hardware that look familiar but behave differently under load. This article serves as a technical hub for owners working within the broader Maintenance & Technical Encyclopedia (Metric), tying together the JIS standard, dual-clutch transmission maintenance concerns, and the metric quirks that show up repeatedly on 2026 Suzuki platforms.
JIS fasteners are screws and related drive forms produced around Japanese standards for dimensions, fit, and intended tool engagement. Many enthusiasts use “JIS” as shorthand for cross-head screws common on Japanese vehicles, although the reality is more nuanced because global suppliers, ISO convergence, and model-specific sourcing have blurred the old clean lines. Even so, the practical service rule remains useful: if a fastener on a Suzuki appears to be a Phillips-style cross recess, assume it may prefer a JIS-compatible driver until inspection proves otherwise. The “dot” in the title refers to the common identifying mark stamped near the recess on older and many service-replacement screws. That mark is not universal on every modern part, but when present it is an immediate clue that the screw was meant for a JIS-profile driver with different flank geometry and less intentional cam-out than a standard Phillips design.
For 2026 Suzuki owners, the subject matters for three reasons. First, preserving fastener heads protects serviceability, resale value, and safety. Second, newer drivetrains, including automated and dual-clutch systems in some markets and related wet-clutch architectures, demand stricter maintenance discipline than older manual transmissions. Third, almost every technical procedure on a Suzuki is built around metric tools, metric thread logic, and Japanese design conventions that reward precision. If you understand how to identify a JIS fastener, why a DCT or clutch-actuation system depends on exact fluid and torque practices, and where metric quirks can mislead even experienced mechanics, you can maintain the vehicle correctly the first time.
This hub article explains how to spot the dot, how to verify a JIS-style cross recess even when no dot is visible, where these fasteners commonly appear on a 2026 Suzuki, what the JIS standard means in practical service terms, how DCT maintenance overlaps with fastener selection and torque control, and which metric habits prevent stripped threads, incorrect bolt substitutions, and inaccurate tightening. It is written to be the starting point for deeper articles on specific assemblies, tools, torque methods, fluids, and service intervals across this subtopic.
What the JIS Dot Means and How to Identify JIS Fasteners
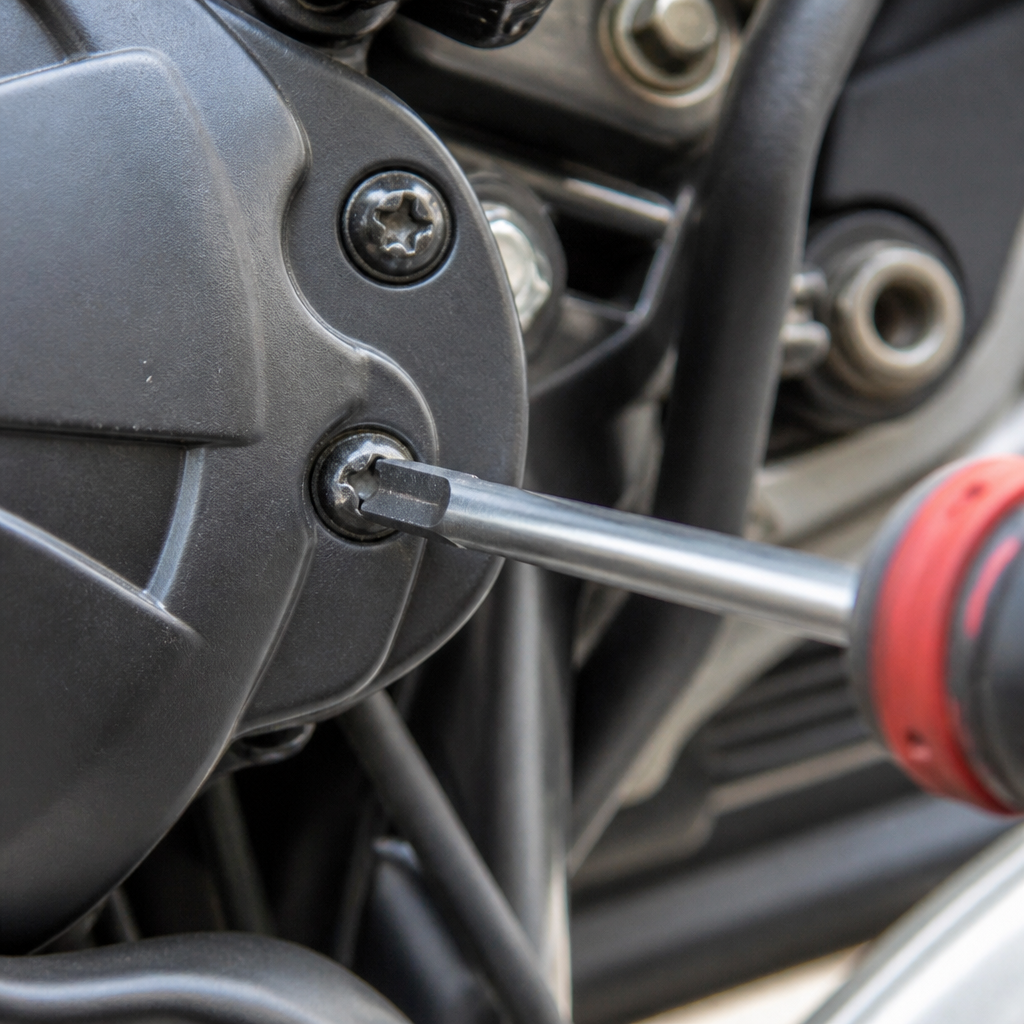
The quickest answer is simple: a small dot or dimple near the cross recess often indicates a JIS cross-head screw. On many Japanese vehicles, that dot was stamped on the head to distinguish it from Phillips. If you see it on your 2026 Suzuki, use a JIS driver or a modern JIS-compatible bit from brands such as Vessel, Hozan, or Moody Tools. The reason is geometry. A Phillips recess was intentionally designed to cam out under high torque in industrial assembly. A JIS cross recess allows fuller engagement, more contact area, and better torque transfer before slip. In practice, a Phillips bit often feels like it fits a JIS screw right up to the moment it climbs out and rounds the recess corners.
The dot is helpful, but it is not the only clue and not always present. On late-model Suzukis, some screws are sourced through global supply chains and may carry no obvious mark. In that case, inspect the recess itself. A JIS-style recess typically looks crisper and less tapered than Phillips, with walls that allow the bit to seat deeper. Insert the correct driver and feel for engagement. A true JIS fit has minimal wobble and transmits torque with less need for downward force. If you must lean hard on the tool just to keep it from skipping, the bit is probably wrong, the screw is damaged, or corrosion has seized the threads.
Common locations include handlebar switch housings, master-cylinder covers, airbox screws, throttle-body clamps, trim fasteners, battery hold-down hardware, and some electrical bracket screws. On Suzuki motorcycles, bodywork increasingly uses hex, Torx, and plastic push fasteners, but the remaining cross-head screws are often in places where finish damage and thread damage are expensive. On Suzuki cars and compact utility models sold in various regions, interior trim, hose clamps, lamp assemblies, and accessory brackets still regularly expose owners to JIS-style hardware.
A practical test I use in the shop is to compare three bits before applying real torque: a standard Phillips PH2, a JIS #2, and sometimes a Pozidriv if the recess shape is ambiguous. The correct bit sits deepest and needs the least stabilizing pressure. If the screw is stubborn, I strike the driver with a hand impact tool before turning. That step often saves delicate reservoir-cover screws and case screws that would otherwise strip under steady twisting force.
The JIS Standard in Real Service Work
The JIS standard is broader than screwdrivers. It is a family of industrial standards covering dimensions, materials, testing, and compatibility across components used by Japanese manufacturers. For service work, what matters is that fastener heads, thread classes, and mating parts were specified within a design language emphasizing repeatable assembly and compact packaging. On Suzukis, that shows up in tightly packaged engine bays, short thread engagement in aluminum castings, and frequent use of flange bolts, shoulder bolts, thread-forming screws for plastics, and compact pan-head machine screws. Misidentifying one fastener type as another is a common source of repairs that become restorations.
Owners often ask whether JIS has disappeared in favor of ISO. The honest answer is that many modern parts reflect convergence. Some cross-head screws on a 2026 Suzuki may accept a quality Phillips bit well enough for light duty. But “well enough” is not a professional maintenance standard. The safe rule is to match the tool to the actual recess and protect the hardware. This is especially important when torque values are low. A small screw tightened to 2 to 4 N·m does not tolerate repeated slip events; the head deforms long before the thread reaches its designed preload.
Another service implication is replacement. If you strip a marked JIS screw and substitute a hardware-store screw of the same diameter and pitch, you may still create problems. Head diameter, flange style, under-head bearing surface, corrosion coating, and strength class all matter. Suzuki service parts often use specific finishes to balance corrosion resistance and galvanic compatibility with aluminum or painted steel. Replacing a zinc-plated steel screw with stainless steel can look like an upgrade but may change galling behavior, especially in captive nuts and thin clips.
| Feature | Typical JIS-Style Cross Screw | Typical Phillips Screw | Service Implication on a 2026 Suzuki |
|---|---|---|---|
| Head marking | May have a dot near recess | Usually no JIS dot | Visible dot is a strong cue to use a JIS driver |
| Recess geometry | Deeper, less tapered engagement | More cam-out tendency by design | Wrong bit increases stripping risk on painted or soft screws |
| Torque behavior | Holds bit more positively | Can slip under rising torque | Important for reservoir covers, switchgear, and clamps |
| Best tool brands | Vessel, Hozan, JIS-compatible sets | Standard PH drivers | Correct bit reduces rework and preserves original hardware |
| Replacement strategy | Match OE dimensions and coating | Generic substitutes vary widely | Incorrect replacement can affect fit, corrosion, and service access |
When in doubt, use the service manual, identify the fastener by diameter and pitch, and note whether the part threads into aluminum, steel clip nuts, or plastic. Those details guide tool choice, anti-seize decisions, and final torque.
DCT Maintenance and Why Fastener Discipline Matters
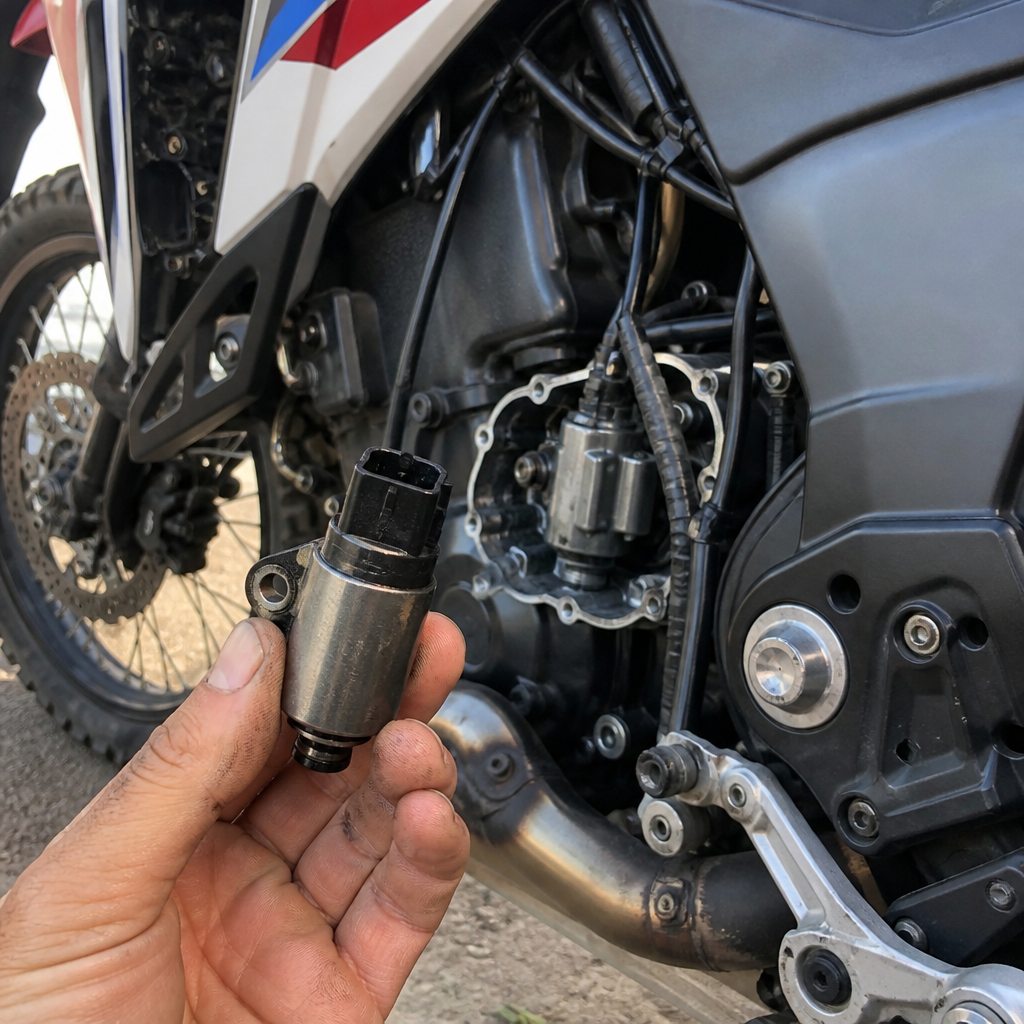
Dual-clutch transmission maintenance is directly connected to fastener identification because DCT systems and related clutch-actuation assemblies are intolerant of contamination, incorrect torque, and damaged access hardware. While Suzuki model availability varies by market, the maintenance principles are consistent across modern automated transmissions and wet-clutch systems: use the specified fluid, maintain exact fluid level procedures, replace sealing washers where required, and avoid damaging the small fasteners that secure covers, sensors, filter housings, and electrical connectors. A rounded screw on an inspection cover can delay fluid service; a stripped thread in an aluminum case can turn a straightforward maintenance interval into a transmission-out repair.
In practice, DCT service work combines mechanical and electronic steps. You may need to bring transmission fluid to a defined temperature window, cycle gears, verify adaptation values with a scan tool, or complete a clutch relearn after fluid replacement or component work. That means removing trim panels, undercovers, and service plugs without damage. Japanese fastener habits matter here because many seemingly minor screws hold splash shields, cable guides, and sensor brackets that must go back exactly as installed to protect wiring and preserve shift quality.
Fluid choice is another area where owners can make expensive mistakes. A DCT is not simply “an automatic” and not simply “a manual.” It contains clutch packs, hydraulic circuits, solenoids, and gearsets that depend on the friction characteristics of the specified fluid. Using a universal fluid without explicit approval can cause shift flare, harsh engagement, or accelerated clutch wear. I have seen owners chase software and actuator faults that were ultimately traced to incorrect fluid viscosity or friction modifiers.
Torque discipline matters just as much. Transmission pans, mechatronic covers, clutch housings, and filter caps often use low-torque fasteners threading into aluminum. Over-tightening bows covers, crushes gaskets unevenly, and distorts sealing faces. Under-tightening invites leaks and air intrusion. On a Suzuki, where compact packaging leaves little margin for seepage onto wiring or exhaust surfaces, correct torque sequence and clean threads are non-negotiable. If a fastener feels inconsistent, stop and inspect for cross-threading, wrong pitch, or prior damage from an incorrect driver.
Owners should also know the maintenance boundary. Basic inspection, external fastener care, fluid changes where the manual clearly permits them, and connector cleaning are reasonable tasks for a skilled DIYer with proper tools. Clutch adaptation, hydraulic diagnosis, solenoid testing, and internal DCT repairs require factory procedures and often a brand-capable scan tool. The smart approach is to protect every accessible fastener now so advanced service remains possible later.
Metric Quirks Every 2026 Suzuki Owner Should Know
The metric side of Suzuki maintenance seems obvious until small differences cause real errors. Japanese vehicles overwhelmingly use metric threads, but that does not mean every M6 bolt is interchangeable or every 10 mm hex head belongs in the same tray. Thread pitch varies, shank length under the flange matters, and flange diameter often serves as part of the clamping design. An M6 x 1.0 bolt with an integrated flange is not equivalent to a generic M6 socket-head cap screw, even if both thread in smoothly by hand.
One recurring quirk is the relationship between thread diameter and wrench size. Owners sometimes assume head size identifies bolt size. It does not. Japanese flange bolts can use smaller head sizes than older DIN hardware, and service replacements may differ from aftermarket hardware-store stock. Another common issue is mixing JIS screw terminology with metric thread terminology. The cross-head profile tells you what driver to use; the metric designation tells you the thread size and pitch. They solve different problems.
Torque units create another trap. Suzuki literature may present values in N·m, kgf·m, and lb-ft depending on market and publication style. Misreading 12 N·m as 12 lb-ft over-tightens a small fastener by roughly 35 percent. On aluminum covers and clamp screws, that error is enough to strip threads or warp parts. I recommend using a torque wrench scaled primarily in N·m and reserving inch-pound tools for very small hardware. For precision work on switch housings, covers, and electronic modules, a calibrated low-range torque screwdriver is even better.
Thread treatment is another metric quirk with outsized consequences. Many Suzuki fasteners are installed dry, some with pre-applied threadlocker, and others with oil exposure assumed in the torque spec. If you add anti-seize to a dry-torque fastener, clamping force rises significantly at the same torque reading. That can crack castings or stretch small bolts. Conversely, cleaning off factory-applied threadlocker and reinstalling dry without replacement can reduce resistance to vibration. Always match the installation condition specified by the service procedure.
Finally, remember that plastics and painted panels change the equation. A machine screw threading into a brass insert, a coarse-thread screw biting into polymer, and a shoulder screw locating a fairing panel are three different fastening jobs. The wrong substitute may hold briefly, then loosen, squeak, or crack the panel. Careful labeling during disassembly saves more time than brute force during reassembly.
Best Practices for Building a Reliable Suzuki Maintenance Workflow
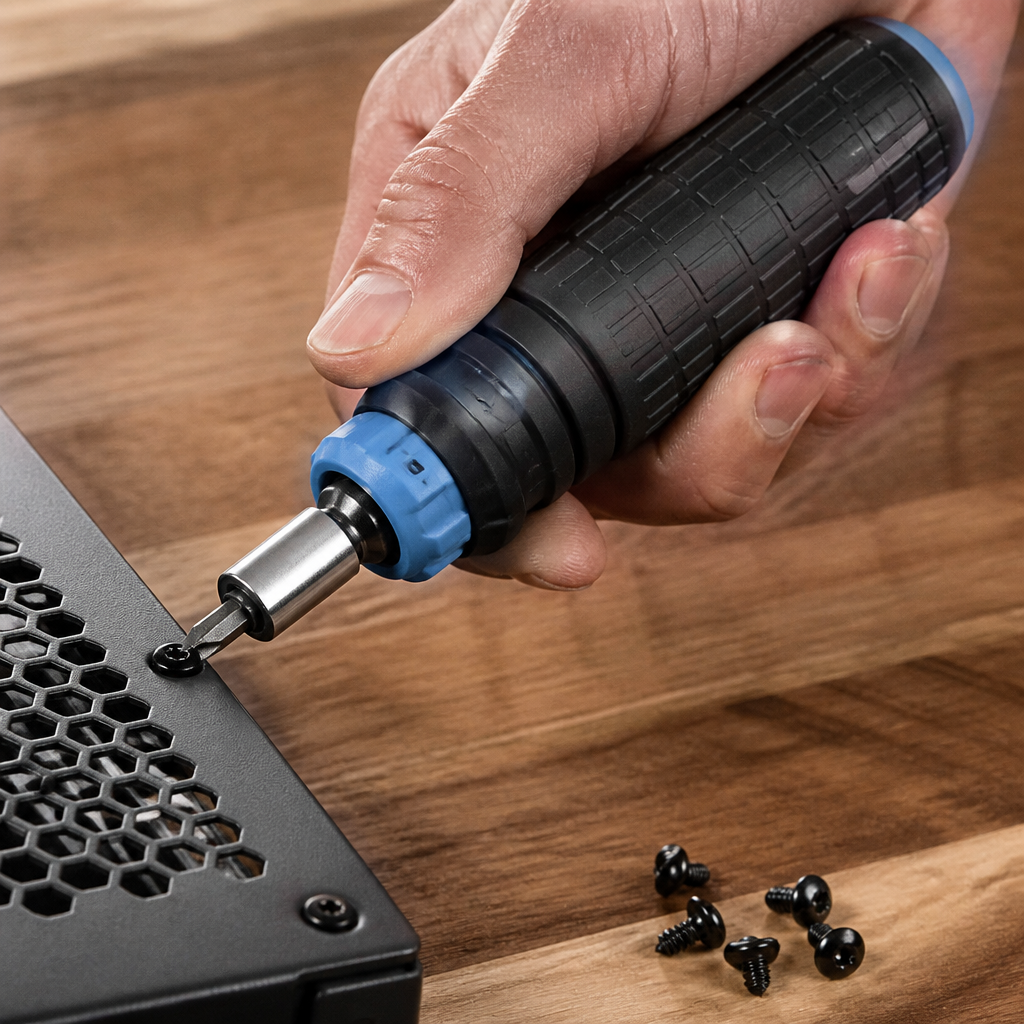
The most effective maintenance workflow is simple: inspect first, identify the fastener system, choose the exact driver, confirm the metric specification, and then apply torque according to the service manual. For a 2026 Suzuki, build a kit around JIS-compatible screwdrivers, quality 1/4-inch drive metric sockets, low-range and mid-range torque wrenches, picks for clips, trim tools, and a hand impact driver. Add a thread pitch gauge, digital caliper, paint marker, and labeled hardware trays. These are not luxury items; they are what prevent stripped screws, mixed hardware, and repeat labor.
Before removing any suspect cross-head screw, clean the recess with a pick and compressed air, seat the bit fully, and apply firm axial pressure. If corrosion is visible, use penetrant and allow time. If the screw secures a fluid cover or electrical component, photograph orientation before removal. During reassembly, start threads by hand, verify that shoulders and collars seat properly, and stop immediately if resistance feels wrong. A fastener that suddenly tightens after one turn is often cross-threaded or too long.
Use this hub as the gateway to deeper procedures: identifying specific Suzuki cross-head sizes, replacing damaged OE screws with correct equivalents, servicing wet-clutch and DCT fluids, interpreting metric torque charts, and handling aluminum-thread repairs with inserts such as Time-Sert or Helicoil. The central lesson is consistent across all of them. Precision beats force. If you spot the dot, respect what it signals, and follow metric service discipline, your Suzuki stays easier to maintain, safer to drive, and cheaper to own over the long term.
That is the practical value of understanding the JIS standard, DCT maintenance, and metric quirks together rather than as separate trivia. They are connected every time you open a cover, remove a bracket, change fluid, or torque a small screw into aluminum. Learn the fastener language your 2026 Suzuki uses, equip yourself with the right tools, and make this article your starting point for every procedure in this sub-pillar hub. Then move on to the linked guides, apply the methods carefully, and keep your original hardware intact for the life of the vehicle.
Frequently Asked Questions
What is the “dot” on a Suzuki fastener, and why does it matter?
The small dot often found near the cross recess on many Suzuki screws is commonly used to identify a JIS-style fastener, meaning it was designed around Japanese Industrial Standards geometry rather than the more familiar Phillips profile many owners assume they are looking at. That matters because the recess shape is not just a cosmetic detail. A JIS screw is intended to be driven by a bit that seats more fully and transfers torque with less tendency to climb out under load. By contrast, a standard Phillips driver is deliberately cam-out prone by design, which can be useful in some manufacturing settings but is a liability when you are trying to remove a factory-installed screw that may have threadlocker, corrosion, paint, or years of heat cycling working against you.
On a 2026 Suzuki, this distinction becomes especially important during common maintenance tasks such as removing body panels, switchgear housings, reservoir covers, airbox hardware, and various trim or bracket screws. If you miss the dot and use a generic Phillips bit, the tool may feel close enough at first, but under real torque the fit is usually less secure. That is when the bit rides up, deforms the recess, and rounds the fastener. Once that happens, what should have been a simple service job can turn into extraction work. So the dot matters because it is a practical warning: use the correct driver geometry, apply firm axial pressure, and treat that fastener like a precision interface rather than “just another crosshead screw.”
Do all 2026 Suzuki fasteners with a cross-shaped recess use JIS, or are there exceptions?
No, not every cross-recessed fastener on a 2026 Suzuki should automatically be assumed to be JIS solely because it is on a Japanese vehicle. While many Japanese motorcycles and cars historically used JIS-style screws extensively, modern manufacturing can involve a mix of supplier standards, updated fastener types, Torx or hex alternatives, and application-specific hardware depending on component source and assembly requirements. That means the smartest approach is not blind assumption, but careful inspection.
In practice, the presence of the identifying dot is a strong visual clue, but it is not the only indicator. You should also look at how the recess is shaped. JIS-style cross recesses tend to allow a driver to seat deeper and more positively, without the loose, tapered feel common to a Phillips bit. If a proper JIS driver engages with minimal wobble and sits firmly in the recess, that is usually a better real-world confirmation than the marking alone. At the same time, some newer hardware may use combination designs or global-standard fasteners that do not follow older expectations exactly.
The safest rule is to inspect each fastener before applying force. Check for the dot, examine the recess closely under good lighting, test-fit the driver by hand, and never assume all crossheads are identical. On a late-model Suzuki, using that extra level of care helps you avoid stripped screws and also reflects the reality that modern vehicles often combine multiple fastener standards in one machine.
How can I tell the difference between a JIS fastener and a Phillips fastener if the dot is hard to see?
If the dot is faint, painted over, dirty, or absent, you can still identify a likely JIS fastener by looking at the recess shape and paying attention to how the driver fits. A JIS cross recess generally appears a bit more defined and less intentionally tapered than a Phillips recess. In practical terms, a JIS driver will often drop in deeper, feel more centered, and show noticeably less play when you twist it lightly by hand. A Phillips bit, on the other hand, may seem to fit at a glance but often feels slightly loose or eager to lift out under torque.
Another useful clue is the application. On Suzukis, smaller machine screws used in controls, covers, bodywork attachments, and precision assemblies have often been the places where JIS-style hardware shows up most often. These are also the fasteners most likely to be damaged by casual tool choice because they can be small, tight, and mounted in softer surrounding materials. If you are working on a screw in one of those areas and the fit with a Phillips bit is anything less than excellent, stop and reassess before turning harder.
Lighting and cleanliness also make a major difference. Wipe the screw head clean, remove any wax, grease, or road grime, and inspect it with a bright work light. A magnifying light or even a phone camera zoom can reveal the dot or make the recess geometry much easier to read. If you regularly work on Japanese vehicles, keeping a set of dedicated JIS drivers or bits on hand is the most reliable solution. Often the fastest way to identify the fastener is simply to compare fitment directly: the correct JIS bit will feel distinctly better than a generic Phillips.
What is the best way to remove a JIS fastener on a 2026 Suzuki without stripping it?
The best method starts before you turn the screw at all. First, clean the fastener head so the driver can seat fully. Dirt, paint, oxidation, or a thin layer of grime can reduce engagement just enough to cause cam-out. Next, choose the exact-size JIS bit or driver rather than “the closest one you have.” Tool size matters as much as tool type. Once the driver is seated, press firmly in line with the screw axis to maximize engagement, and only then begin applying controlled turning force. Good axial pressure is often the difference between a clean removal and a damaged head.
If the fastener feels stubborn, do not immediately increase torque. Instead, use a more deliberate approach. A sharp hand-seating push, a light tap on the driver to settle it into the recess, or a manual impact driver in appropriate situations can help break initial resistance without destroying the head. On fasteners exposed to moisture or heat, a small amount of penetrating oil and a few minutes of patience can make a major difference. For screws threaded into delicate housings or painted panels, support the surrounding component and work carefully so you are not flexing the part while trying to break the screw loose.
It is also wise to remember that many Suzuki fasteners are installed into aluminum, plastic, or relatively fine threaded inserts. That means brute force is rarely the right answer. If the screw resists, verify whether threadlocker may be present, whether the part should be warm before service, or whether service-manual guidance specifies a particular removal sequence. The overall goal is simple: full driver engagement, straight-line pressure, controlled torque, and patience. Those habits prevent stripped heads far more effectively than any extraction tool ever will.
If I accidentally use a Phillips driver on a JIS screw, how do I know whether the fastener is already damaged?
The earliest signs of damage are subtle. If the driver begins to rise out of the recess under pressure, if you hear a slight chirping or skipping sensation, or if the bit leaves shiny wear marks on the upper edges of the cross slots, the fastener is already telling you the fit is wrong. At that stage, you may still be able to save it by stopping immediately, switching to the correct JIS bit, cleaning the recess, and reseating the tool properly. Continuing to force it is what usually turns a recoverable situation into a rounded screw head.
More obvious damage includes visibly widened slot flanks, burrs around the recess, metal displaced at the edges, or a driver that now spins with less resistance than it did initially. A healthy recess should let the proper bit seat securely and feel locked in place. If the bit no longer sits deeply or rocks noticeably, the geometry may already be compromised. On cosmetic or low-load screws, slight damage may still allow removal with the correct bit and excellent technique. On tighter fasteners, even moderate rounding can quickly escalate into a removal problem.
If you suspect damage, stop using powered tools and switch to a hand driver so you can feel what is happening. Try the correct JIS size, increase axial pressure, and consider a light tap to improve seating. If the screw still slips, move to damage-control mode rather than forcing it. That may mean using specialized extraction methods, carefully gripping the head if accessible, or replacing the fastener after removal even if you do manage to get it out. The key lesson is that a slightly marred JIS screw is a warning, not an invitation to keep pushing harder with the wrong bit.