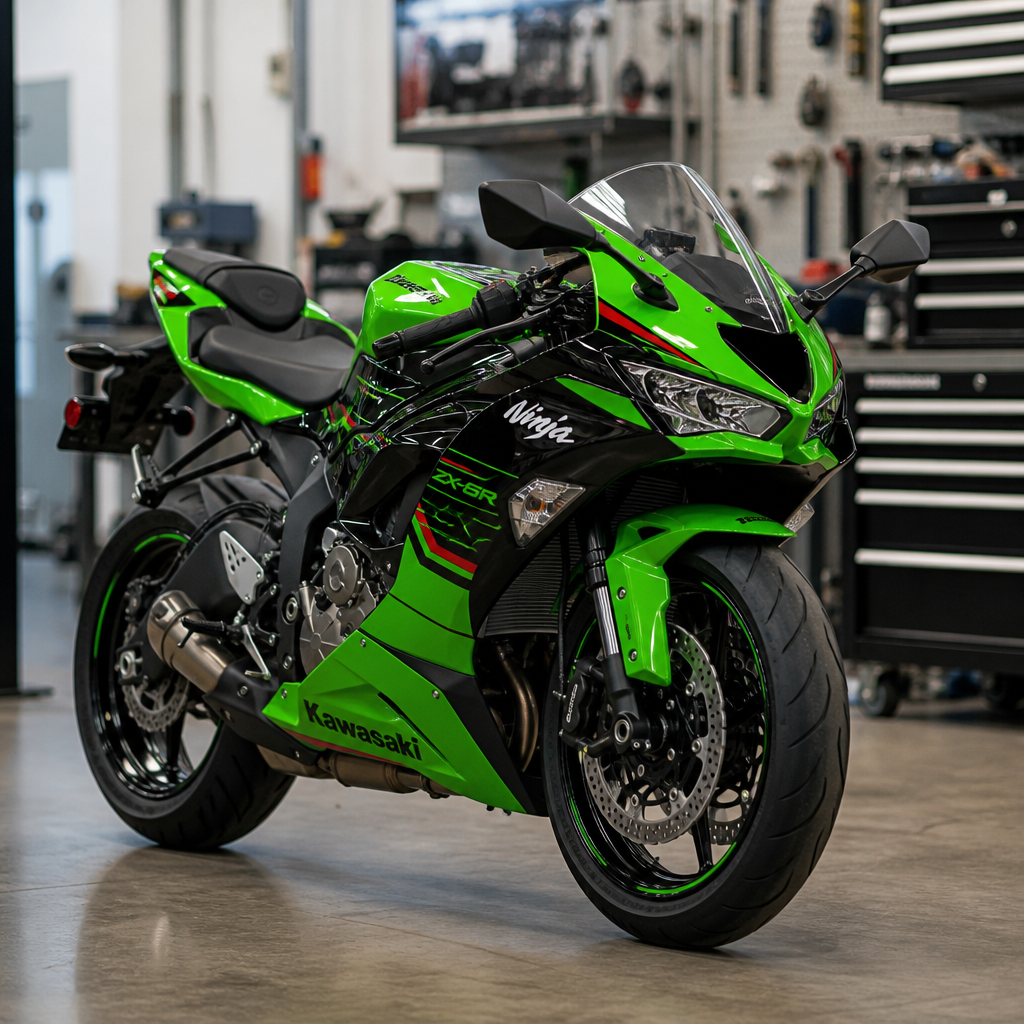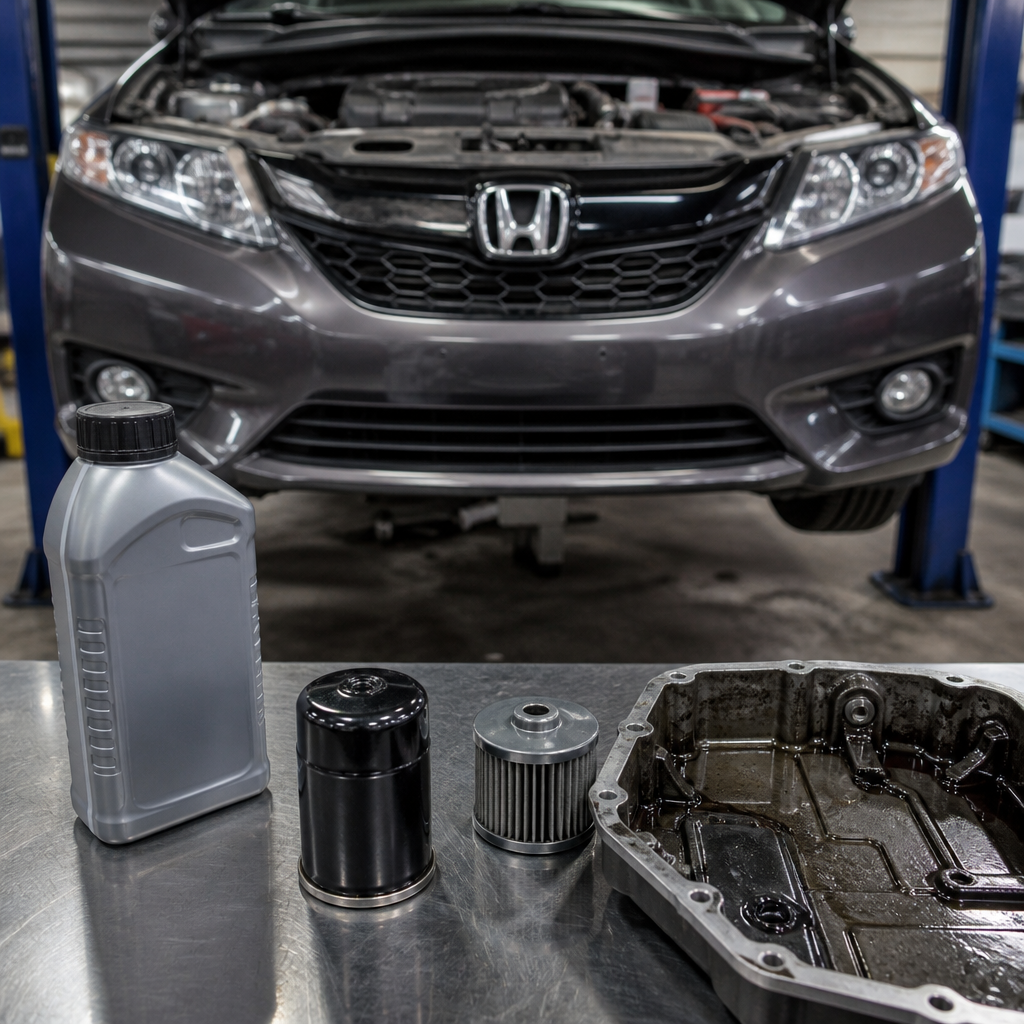
Honda DCT transmission fluid changes are one of the most important service tasks for owners who want smooth shifting, long clutch life, and predictable performance from Honda’s dual clutch motorcycles. In this guide, I will explain what Honda DCT means, how the JIS standard affects tools and fasteners, why metric quirks matter during service, and how to complete a careful fluid change in 2026 using current best practices. Honda’s DCT, or Dual Clutch Transmission, uses electronically controlled clutch packs and hydraulic circuits to automate gear changes without a conventional hand-operated clutch lever. That system delivers convenience, but it also depends on clean, correctly specified oil. After working on Africa Twin, NC750X, Rebel 1100, and Gold Wing service routines, I can say the biggest mistakes usually come from using the wrong fluid, over-tightening JIS-adjacent hardware, or skipping the temperature and level checks that determine whether the transmission will behave correctly after maintenance.
This topic matters because DCT service sits at the intersection of engine lubrication, transmission hydraulics, and model-specific Honda engineering. A simple oil change on a manual motorcycle can be forgiving; a Honda DCT transmission fluid change is less tolerant of guesswork. Owners regularly ask whether DCT fluid is separate from engine oil, whether automatic transmission fluid can substitute, how often to change it, and whether JIS screwdrivers are still relevant on modern Hondas. The short answer is that most Honda motorcycle DCT systems share oil with the engine, require motorcycle-specific oil meeting Honda’s published viscosity and performance requirements, and reward precise metric service habits. Understanding those basics turns this article into a practical hub for every related maintenance task, from crush washer selection to torque application, drain bolt inspection, filter replacement intervals, and the small but important differences between Japanese Industrial Standards fasteners and common Phillips tools.
The JIS standard, Honda fasteners, and the metric habits that prevent damage
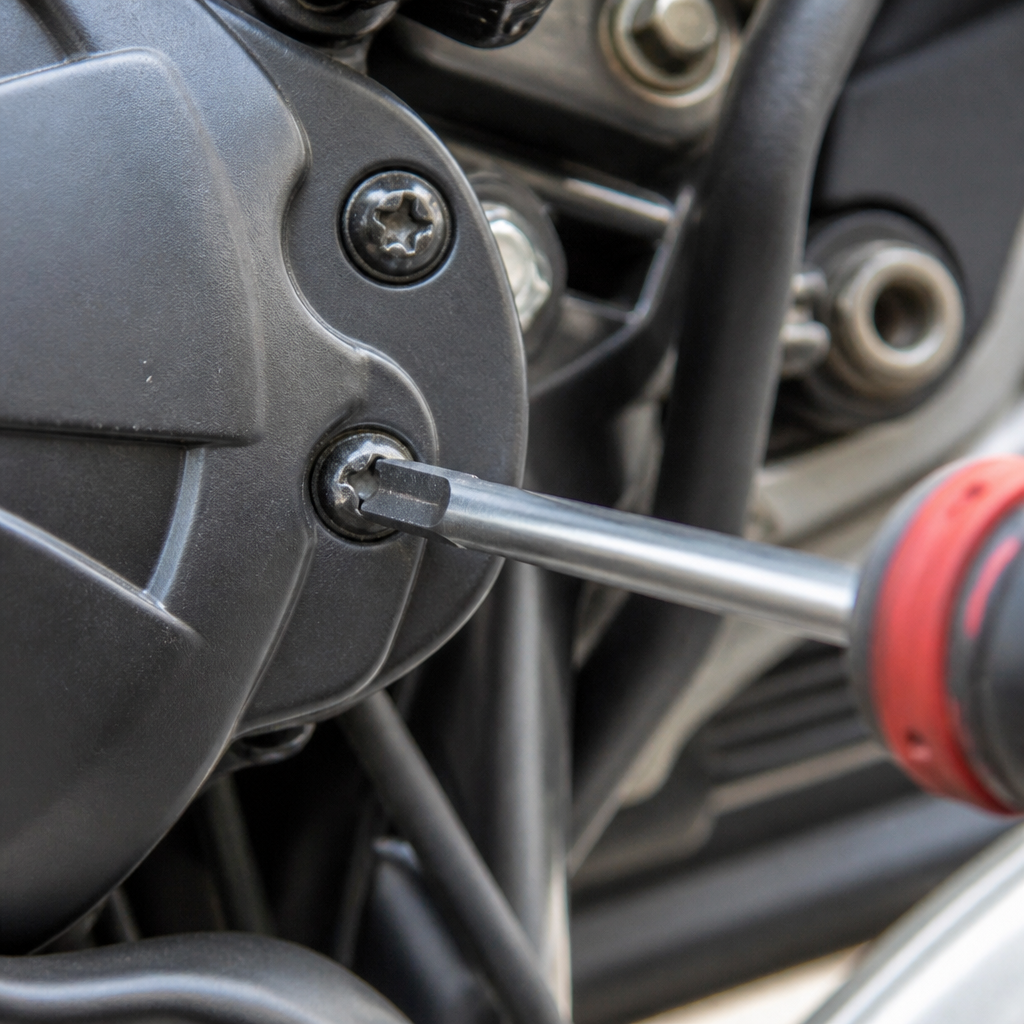
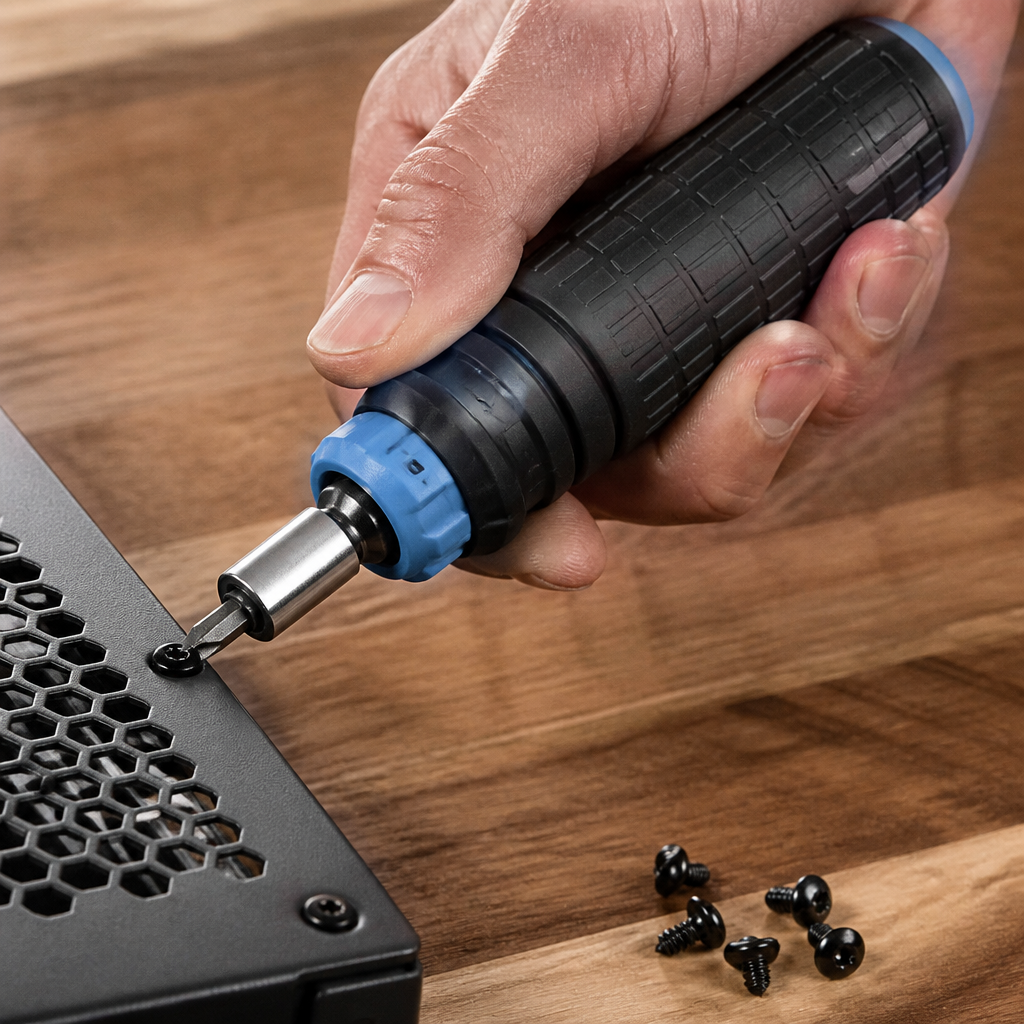
Before touching the drain plug, it helps to understand why Japanese motorcycles often punish casual tool use. JIS refers to Japanese Industrial Standards, which historically defined screw and fastener geometry used across many Japanese vehicles and components. On older Hondas, carburetor screws, reservoir covers, and bodywork hardware often looked like Phillips heads but were cut differently. A proper JIS driver engages deeper and cams out less, reducing stripped heads. Modern Honda motorcycles increasingly use socket-head, Torx, or hex fasteners, yet the JIS mindset still matters because Honda engineering assumes exact-size metric tools, clean threads, and correct torque rather than “close enough” equivalents. I still keep JIS screwdrivers in my box because they save plastic panels, electrical brackets, and ancillary hardware during DCT access work.
Metric quirks extend beyond screwdriver tips. Honda service procedures are written in millimeters, liters, newton-meters, and degrees Celsius. Drain plugs may use 12 mm or 17 mm hex heads depending on model; body panels often depend on 5 mm Allen keys and plastic push rivets; fill capacities are specified in liters, not quarts. Errors happen when owners mix imperial approximations with exact metric requirements. For example, tightening a drain plug by feel because “25 foot-pounds is close enough” can distort soft aluminum threads in the crankcase. Likewise, replacing a sealing washer with a generic hardware-store washer can cause a slow leak, especially after repeated heat cycles. The discipline that protects a Honda DCT starts with matching tools, units, and sealing parts to the motorcycle exactly as Honda specifies.
How Honda DCT lubrication works and what fluid the system actually uses
A common misconception is that Honda DCT motorcycles use a separate automatic transmission fluid reservoir similar to a car. Most Honda motorcycle DCT designs do not. The transmission, clutch packs, hydraulic actuation circuits, and engine lubrication system share engine oil, which is why correct oil specification is critical. Honda typically calls for a motorcycle oil meeting JASO MA or MA2 performance standards and an API rating appropriate to the model year, often in SAE 10W-30 or 10W-40 depending on climate and engine family. On many current models, Honda Pro HP4S, GN4, or another approved equivalent appears in service literature. Always verify the owner’s manual and factory service manual for the exact motorcycle because viscosity and service intervals vary by engine and market.
Why does this matter for DCT function? The dual clutches rely on consistent friction characteristics, while hydraulic valves and solenoids rely on stable viscosity and clean oil flow. Automotive energy-conserving oils can contain friction modifiers that are unsuitable for wet clutches. The result may be harsher engagement, abnormal clutch wear, or shift hesitation. Dirty oil also carries clutch material and combustion byproducts through precision control components. In practice, fresh oil helps maintain smoother launches and cleaner shift timing, especially on bikes used in heavy traffic, hot climates, or slow off-road travel. If the motorcycle sees severe service, shorter fluid change intervals than the maximum factory interval are sensible. I have seen DCT bikes that shifted noticeably better immediately after an overdue oil and filter service, particularly when owners had stretched intervals or used the wrong viscosity.
Tools, parts, preparation, and the 2026 step-by-step fluid change process
The exact procedure varies by model, but the workflow is consistent. Start with the factory service manual, the owner’s manual, a calibrated torque wrench, exact metric sockets, an oil drain pan, nitrile gloves, a funnel, the correct oil filter if scheduled, a new Honda-spec crush washer, and the specified amount of approved motorcycle oil. If your bike uses lower fairings or skid plates, gather the right JIS drivers, Allen keys, trim clip tools, and labeled trays for hardware. A paddock stand or center stand helps keep the bike level. In 2026, the best routine also includes a phone or tablet with torque specs pulled up from the service information so there is no improvisation mid-job.
| Step | What to do | Why it matters |
|---|---|---|
| 1 | Warm the engine fully, then shut it off and stabilize the bike upright | Warm oil drains faster and carries more contaminants out of the system |
| 2 | Remove access panels carefully with exact metric or JIS-correct tools | Prevents stripped screws, broken clips, and lost hardware |
| 3 | Open the filler cap or dipstick area before draining | Improves venting and speeds drainage |
| 4 | Remove the drain bolt and inspect the old crush washer and threads | Shows whether leaks, cross-threading, or overtightening are present |
| 5 | Replace the oil filter if the service schedule calls for it | Old filters can restrict flow and leave debris in circulation |
| 6 | Install a new washer, refit the drain bolt, and torque to specification | Correct torque protects aluminum cases and seals properly |
| 7 | Refill with the specified quantity of approved oil | Underfill and overfill both affect DCT and engine behavior |
| 8 | Run the engine, check for leaks, then verify oil level by Honda’s method | Final level must be confirmed after circulation, not guessed |
In plain terms, the process is straightforward but precision matters. Warm the bike with a short ride, not just a brief idle, because fully heated oil suspends contaminants better. Remove any lower covers. Crack open the filler cap. Drain the oil completely and give it time; on some engines, an extra minute makes a visible difference. Replace the filter if due, lightly oil the filter gasket, and tighten by the specified method. Fit a new crush washer on the drain bolt, thread it in by hand first, then torque it exactly. Refill with slightly less than the full listed amount, start the bike, let oil circulate, shut it down, wait as specified, and top off only after checking the level on level ground. Then test ride and recheck for leaks.
Service intervals, model differences, and mistakes that cause expensive DCT problems
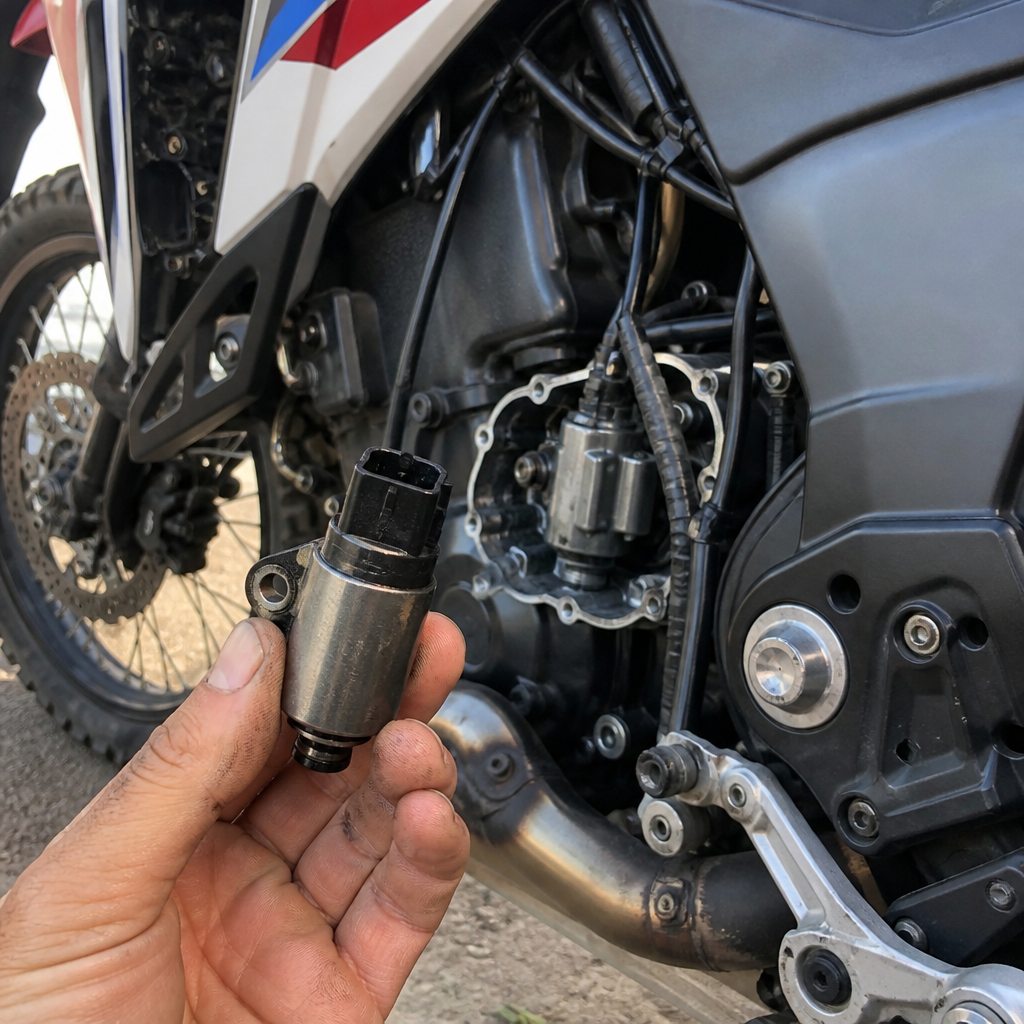
Honda’s interval is the first authority, but context matters. Many Honda DCT motorcycles follow oil and filter intervals similar to their manual counterparts, often tied to mileage or months, whichever comes first. However, bikes used for commuting in stop-and-go traffic, two-up touring, delivery work, mountain riding, or dusty off-road conditions shear and contaminate oil faster. The Africa Twin DCT used on adventure routes, for example, can spend long periods slipping clutches at low speed over technical terrain. That kind of use justifies conservative oil service. The Gold Wing DCT, by contrast, may rack up highway miles where oil ages more from time and heat cycles than abrasive contamination. The principle is simple: severe use shortens practical service life, even if the book interval is unchanged.
The most expensive mistakes are preventable. First, using automotive oil with friction modifiers can upset wet clutch behavior. Second, overfilling is not harmless; excess oil can aerate, increase drag, and complicate accurate level readings. Third, reusing a crushed sealing washer too many times often creates seepage that owners misdiagnose as a gasket failure. Fourth, cross-threading the drain bolt into the crankcase turns a routine service into a thread repair job. Fifth, checking the oil level on the side stand gives a false reading on many Hondas. Sixth, ignoring software updates and fault codes when shift quality remains poor after fresh oil wastes time, because some DCT complaints are electronic or hydraulic control issues rather than lubrication issues alone.
If your DCT shifts harshly even with fresh, correct oil, look beyond the fluid. Scan for stored codes if your model supports diagnostic access, review clutch adaptation procedures where applicable, inspect battery health, and confirm there are no intake, idle, or sensor issues affecting the control strategy. Honda DCT systems are robust, but they are not magic. Clean oil is foundational, not a cure-all.
Building a complete maintenance baseline: filters, records, torque discipline, and linked service topics
The best way to treat this page as a hub is to use every fluid change to build a maintenance baseline. Record date, odometer, oil brand, viscosity, filter part number, drain bolt torque, and any observations about metal on the drain area or changes in shift feel. This matters for resale, warranty discussions, and pattern tracking. If the bike develops a leak six months later, your notes tell you whether the crush washer was renewed, whether the filter was changed, and whether the level was checked hot or cold. Good records also reveal consumption trends. A DCT bike that gradually starts using more oil deserves inspection before low oil affects clutch and valve operation.
This is also the ideal time to connect related maintenance tasks. Inspect the air filter if the service window is near, because fueling and idle quality influence low-speed DCT behavior. Check battery voltage, since DCT actuation and control electronics depend on stable electrical supply. Examine the chain and sprockets on chain-drive models, because jerky driveline lash can be mistaken for transmission problems. Review coolant age on liquid-cooled bikes, especially if the machine sees heavy traffic. Finally, keep torque discipline across all reinstalled covers and guards. Small Honda fasteners strip easily when rushed, and a missing clip can let a panel vibrate into a harness or line. Precision on the small details is what makes Honda ownership easy over the long term.
Honda DCT transmission fluid change service is not difficult, but it rewards exactness. Use the correct motorcycle oil, follow Honda’s model-specific quantity and level-check method, respect metric measurements, and treat JIS-related hardware carefully. Those habits protect clutch performance, reduce leaks, and preserve the aluminum threads and fasteners that are far more expensive than oil or washers. As the hub for this maintenance and technical encyclopedia subtopic, the core lessons are clear: understand how Honda DCT lubrication works, service it on time for your real riding conditions, and never improvise on tools, torque, or fluid specification. If you want the best results, start with your owner’s manual, get the factory service manual for your exact model, and make your next fluid change the point where your entire Honda maintenance baseline becomes organized and repeatable.
Frequently Asked Questions
What does Honda DCT mean, and why does the transmission fluid change matter so much?
Honda DCT stands for Dual Clutch Transmission, a system that uses two computer-controlled clutches to pre-select gears and deliver quick, smooth shifts without a traditional manual clutch lever. On Honda motorcycles equipped with DCT, one clutch typically manages one set of gears while the other manages the alternate set, allowing the bike to shift efficiently under electronic control. That design is a major reason DCT models feel so refined in traffic, on touring rides, and during low-speed maneuvering, but it also means fluid condition matters a great deal. The transmission fluid does more than lubricate gears. It also helps support clutch operation, internal hydraulic function, heat control, and overall shift quality.
When fluid ages, shears down, or becomes contaminated, the DCT system can lose some of the crispness and consistency riders expect. You may notice harsher engagement, less predictable shift timing, increased mechanical feel, or noisier operation. While fluid alone will not solve every transmission issue, fresh fluid is one of the most important baseline maintenance items for preserving smooth shifting and long clutch life. In practical terms, a timely fluid change helps protect expensive internal components, supports the precise behavior of the electronically controlled clutch system, and gives you a known maintenance starting point if you ever need to diagnose drivability concerns later.
How often should Honda DCT transmission fluid be changed in 2026?
The most accurate answer is always to follow the maintenance schedule for your exact Honda model and year, because service intervals can vary by platform, engine family, riding conditions, and regional recommendations. In 2026, that advice still holds: the owner’s manual and factory service information should be your first reference. Many riders assume DCT fluid service can be delayed because the bike still seems to shift normally, but that is a mistake. By the time noticeable shift quality problems appear, the fluid may already be well past its ideal service life.
If you ride in severe conditions, earlier service is often smart even if the standard interval has not yet been reached. Severe use can include frequent stop-and-go traffic, high ambient temperatures, aggressive riding, mountain riding, heavy loads, dusty environments, short-trip operation, or repeated low-speed clutch activity. These conditions increase heat and stress on the transmission and fluid. For riders who prioritize longevity and consistent feel, changing the fluid a bit earlier than the maximum interval can be cheap insurance. The key principle is simple: use the correct specification fluid, service it on time, and treat DCT fluid health as preventive maintenance rather than waiting for symptoms.
What tools and supplies are best for a Honda DCT transmission fluid change, and why do JIS and metric details matter?
A proper Honda DCT fluid change starts with the correct fluid, a new sealing washer where specified, a drain pan, a clean funnel or fill tool, nitrile gloves, shop towels, and a torque wrench that covers the required fastener range accurately. You may also need fairing or access-panel tools depending on the model. The two details many owners overlook are fastener standards and tool fit. Honda motorcycles are metric machines, so using true metric sockets and hex tools is essential. Slightly incorrect tool sizing can round drain plugs, fill plugs, or body fasteners faster than many riders expect.
The JIS point matters because many Japanese motorcycles use Japanese Industrial Standard style cross-head fasteners rather than true Phillips. While they can look similar at a glance, a Phillips driver can cam out and damage the screw head, especially on older or tighter fasteners. Using the correct JIS driver or bit improves engagement and reduces the chance of stripping hardware during service. In a fluid change, that matters because even a basic job can involve removing covers, clips, or access panels. The broader lesson is that Honda service tends to reward precision. Correct metric tools, attention to torque values, clean work habits, and proper fastener engagement all reduce mistakes and make the job safer, faster, and more repeatable.
What are the basic step-by-step best practices for changing Honda DCT transmission fluid safely and correctly?
Start by confirming the exact fluid specification, capacity, torque values, and service procedure for your specific Honda DCT model. Then warm the motorcycle briefly so the fluid flows more easily, but do not work on a dangerously hot machine. Park the bike securely on level ground, ideally on its center stand if equipped, and gather all supplies before removing anything. Clean around the fill and drain areas first so dirt does not enter the transmission during service. This simple prep step is one of the best ways to avoid accidental contamination.
Remove the fill cap or fill bolt first if the procedure and access allow it. That confirms you can refill the system before fully draining it. Place the drain pan carefully, remove the drain bolt, and let the fluid drain completely. Inspect the old fluid for unusual metallic debris, burnt odor, or abnormal discoloration, because those clues can help identify wear issues early. Replace the sealing washer if Honda specifies one-time-use crush washers, clean the drain bolt, and reinstall it using the correct torque. Then refill with the exact amount and type of approved fluid called for by Honda. Avoid guessing, overfilling, or substituting fluid with a “close enough” label claim. Once refilled, reinstall the fill cap or bolt to specification, clean any spills, and run the motorcycle as directed in the service information so the system can circulate fluid. Finally, verify the level if your model’s procedure requires a level check after circulation, and inspect carefully for leaks around the drain and fill points. A short test ride followed by a final leak inspection is a smart final step.
What mistakes should owners avoid when doing a Honda DCT transmission fluid change themselves?
The biggest mistake is assuming all motorcycle oil or transmission fluid is interchangeable. Honda DCT systems depend on the correct fluid properties, and using the wrong product can affect clutch performance, lubrication, and shift behavior. Another common error is relying on generic internet advice instead of the factory procedure for the exact bike. Small differences in fill quantity, drain location, washer type, checking method, or panel removal can matter. Owners also get into trouble by over-tightening drain bolts, reusing damaged sealing washers, or ignoring proper torque values. These mistakes can lead to leaks, stripped threads, and unnecessary repairs.
Other avoidable problems include using incorrect screwdrivers on JIS fasteners, mixing metric and near-metric tools, filling through dirty funnels, and rushing the job without cleaning the surrounding area first. Some riders skip inspection entirely and treat the service as just “drain and refill,” but the old fluid can reveal useful diagnostic information. If you see excessive metal, smell severe burning, or notice repeated shifting problems even after a correct service, further diagnosis may be needed. The safest do-it-yourself mindset is methodical and conservative: confirm the spec, use the right tools, keep everything clean, torque accurately, and double-check your work before riding. That approach gives you the best chance of preserving smooth shifting, protecting clutch life, and getting the long-term durability Honda DCT systems are known for.