The JIS standard, DCT maintenance, and metric fastener quirks shape nearly every serious service job on modern Japanese and European motorcycles, and understanding them is the difference between clean, repeatable work and stripped screws, clutch faults, or expensive assembly errors. In workshops, I have seen skilled home mechanics damage perfectly good parts not because they lacked patience, but because they applied inch-based assumptions to metric hardware, treated Japanese Industrial Standard cross-head screws like Phillips, or approached dual-clutch transmissions as if they were ordinary manual gearboxes. This sub-pillar hub explains the technical foundations behind those issues and connects them into one practical framework for maintenance.
Start with definitions. JIS refers to the Japanese Industrial Standards that historically governed screw recess geometry, including the cross-point screws still found on many motorcycles, carburetors, switchgear housings, brake reservoirs, and engine covers. A JIS cross-head looks similar to Phillips, but the geometry is different: it is designed for fuller driver engagement and less intentional cam-out. DCT stands for dual-clutch transmission, a system that uses two clutches and electro-hydraulic or electric actuation to preselect gears and automate shifts while retaining the internal architecture of a gearbox. Metric quirks refers to the real-world details of metric-thread standards, torque conventions, pitch differences, flange hardware, threadlocker choices, and tolerance expectations that affect disassembly and reassembly.
Why does this matter? Because maintenance quality is cumulative. Misidentify one screw standard, and you round a switch housing. Confuse torque values across dry and lubricated threads, and you overstress a caliper bolt. Ignore DCT fluid service intervals or adaptation procedures, and shift quality degrades long before a warning light appears. These are not edge cases. They are routine service failures that show up in garages, dealer back rooms, and roadside repairs. For riders building a maintenance plan, this hub provides the conceptual map: what the standards are, where they show up, how to service them correctly, and when model-specific procedures take priority over generalized shop habits.
This page is designed as the central reference within the Maintenance & Technical Encyclopedia for metric motorcycles. It answers the broad questions first, then points you toward the specific skills and service categories that deserve deeper study, from screw identification and driver selection to clutch calibration logic and metric fastener handling. If you work on Honda, Yamaha, Suzuki, Kawasaki, BMW, KTM, Triumph, Ducati, or any machine assembled around metric hardware and modern control systems, these fundamentals apply directly.
The JIS Standard: Why Japanese Cross-Head Screws Are Commonly Misunderstood
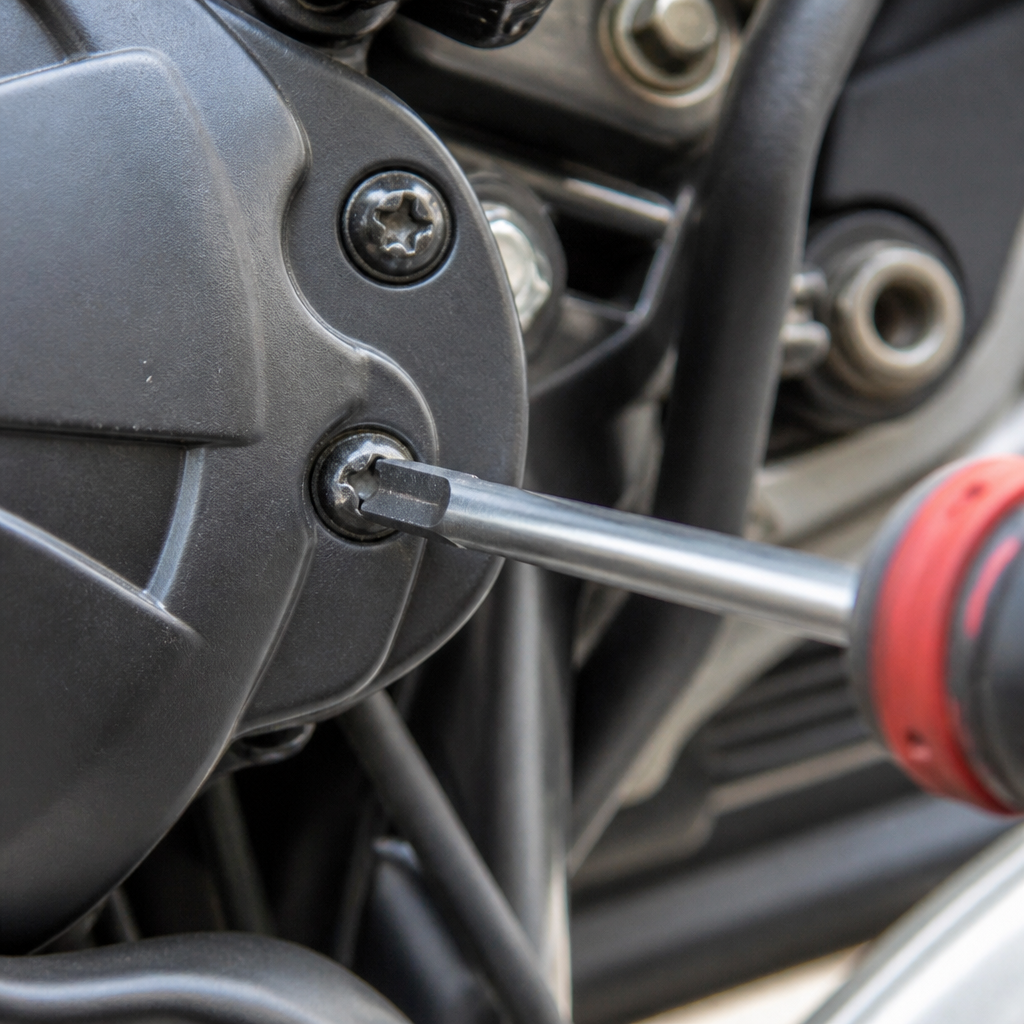
The most common mistake I still see is a mechanic reaching for a Phillips No. 2 bit when the fastener is actually JIS No. 2. The screw may come loose once or twice, especially if it has not been threadlocked or heat-cycled, but repeated use quickly damages the recess. The reason is geometric. A Phillips driver is intentionally designed to cam out under excess torque, an old production-line feature that helped prevent overtightening. A JIS recess accepts a driver that seats deeper and transmits torque more positively. On motorcycle components with shallow heads and soft material, that difference is decisive.
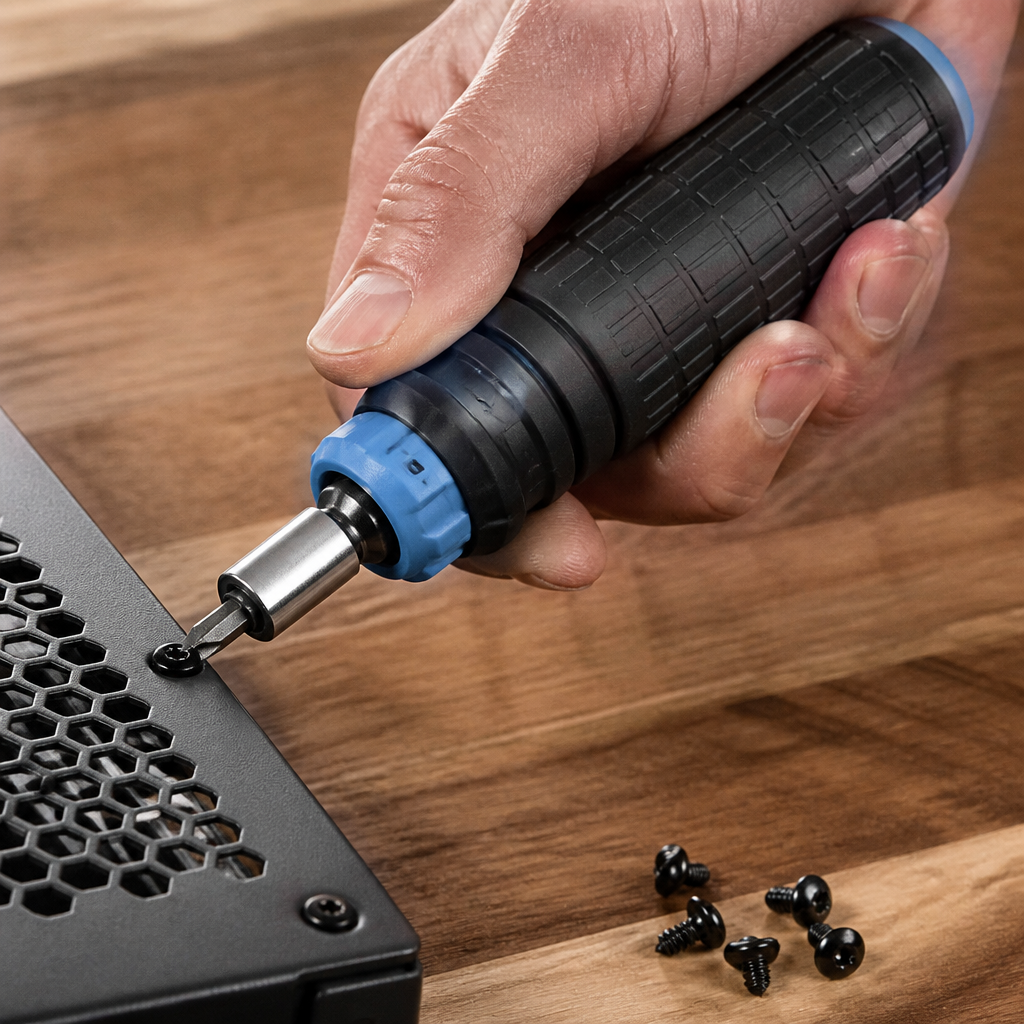
Classic examples include carburetor float bowl screws on older Hondas, master-cylinder lid screws on Yamahas, airbox hardware on Suzukis, and switchgear case screws across many Japanese models. Vessel, Hozan, and Engineer are recognized tool brands that make correct JIS or JIS-compatible drivers and bits. In practice, modern “Japanese spec” bits often fit both DIN-style cross-point and legacy JIS screws better than general hardware-store Phillips tips. If you maintain Japanese motorcycles regularly, a dedicated impact driver with JIS bits is one of the smartest low-cost purchases you can make.
There is nuance, however. Current industrial standards have converged in some areas, and many newer cross-head screws are best described as cross-point fasteners compatible with multiple driver profiles. That does not mean fit no longer matters. The practical rule is simple: choose the driver that bottoms fully, fills the wings cleanly, and shows no wobble before torque is applied. If there is any doubt, inspect the recess with good lighting, test-fit more than one bit, and favor the bit that engages with maximum surface contact. This is especially important on painted fairing screws, reservoir covers, and case screws exposed to corrosion.
Another useful tactic is replacing frequently serviced cross-head screws with stainless or zinc-plated socket-head cap screws, button heads, or flange hex bolts where appropriate. That is common on carburetor bowls, clutch covers, and bodywork brackets. The limitation is that you must preserve head clearance, correct length, and material suitability. Stainless can gall, and high-vibration applications may still need threadlocker or OEM-style flanged hardware. Upgrading hardware is helpful, but identifying the original standard correctly is the real foundation.
DCT Maintenance: What Changes When a Motorcycle Has a Dual-Clutch Transmission
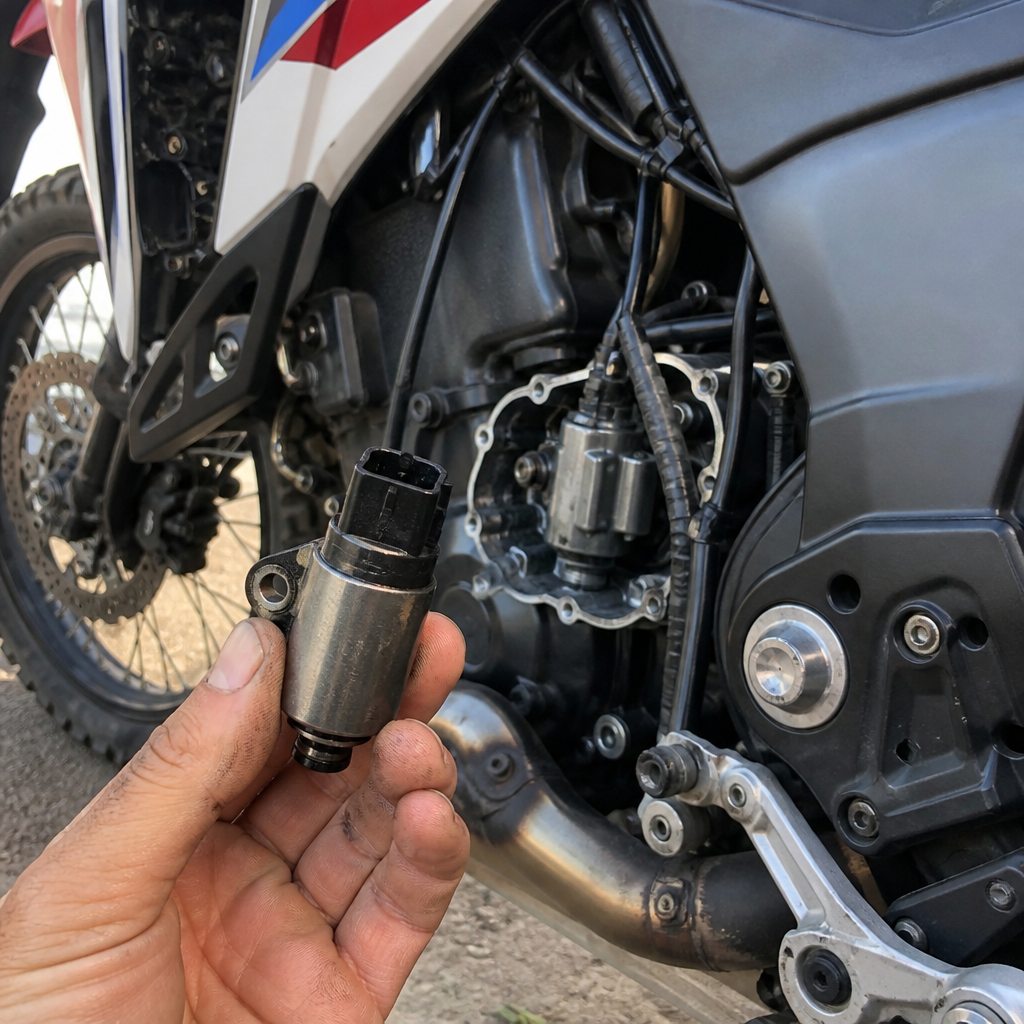
DCT maintenance differs from conventional motorcycle service because the transmission, clutch packs, shift actuators, sensors, and control logic work as one integrated system. Honda remains the best-known motorcycle application, with DCT used on models such as the Africa Twin, Gold Wing, NC750X, and previous VFR1200 variants. While the rider may experience only smooth automatic shifts or paddle-actuated manual mode, the service technician must think in terms of fluid condition, clutch wear behavior, adaptation logic, sensor plausibility, and software-controlled engagement.
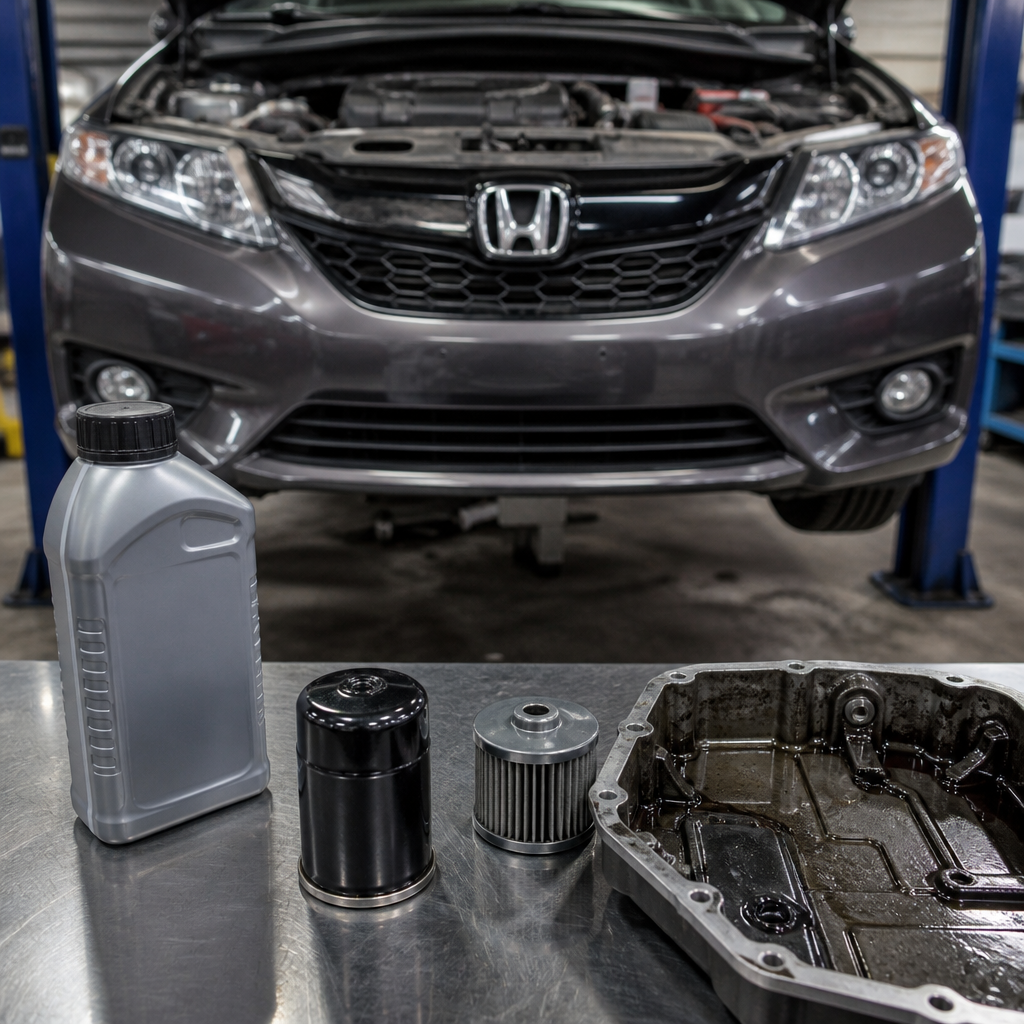
The first maintenance priority is fluid. On most motorcycle DCT systems, the engine oil also serves the clutch and gearbox environment, so oil specification matters more than it would in a simple automotive automatic transmission. Use the exact viscosity and performance category specified in the service manual, and pay attention to JASO ratings where required. Friction characteristics affect clutch engagement quality. I have seen harsh low-speed take-up caused not by failed hardware, but by oil that technically matched viscosity yet lacked the correct wet-clutch performance profile.
The second priority is service interval discipline. DCT systems tolerate hard use well, but they do not reward neglected oil changes, contaminated strainers, or ignored filter schedules. Depending on the model, maintenance can include oil and filter changes, clutch-side filter service, inspection of external harnesses, and diagnostic checks through the manufacturer scan tool. When symptoms appear, technicians look for delayed engagement, flare between shifts, gear-position discrepancies, abnormal neutral hunting, or fault codes tied to clutch pressure control and shift motors. Mechanical wear is only one possibility; low voltage, poor grounds, or outdated control logic can produce similar complaints.
Adaptation procedures matter too. After certain repairs or software updates, some systems require clutch initialization, learning routines, or calibration through a factory diagnostic interface. Skipping that step can leave a mechanically healthy machine shifting poorly. This is one reason DCT owners benefit from accurate records and model-specific documentation. Generic advice is not enough once electronics and hydraulic actuation are involved. The service manual is not optional; it is the job.
Metric Fastener Quirks: Thread Pitch, Torque Logic, and Hardware Assumptions
Metric motorcycles are full of patterns that become obvious only after years of service work. An M6 fastener is not just “a six millimeter bolt.” It may be coarse pitch at 1.0 mm, fine pitch at 0.75 mm, partially threaded, flanged, zinc-coated, torque-to-yield, threadlocked at the factory, or designed to clamp into aluminum with limited thread engagement margin. If you assume diameter tells the whole story, you will eventually cross-thread something expensive.
Japanese motorcycles commonly use JIS and ISO-influenced metric hardware with predictable head sizes, but there are still brand and component-specific exceptions. Brake fittings, axle pinch bolts, sprocket nuts, exhaust studs, and engine case screws each carry different risk profiles. Aluminum engine cases are especially unforgiving. Start every sensitive fastener by hand, verify thread pitch before substitution, and never force engagement because “it feels close.” A pitch gauge, caliper, and thread chaser set save far more time than they cost.
Torque is another area where metric habits matter. Published torque specifications assume conditions, usually clean threads and either dry assembly or a specified lubricant. Change the condition and the clamp load changes. Anti-seize can materially reduce friction and lead to overtightening if you simply apply the dry torque figure. Threadlocker changes feel at the wrench. Painted, dirty, or corroded threads create false resistance. In practical workshop terms, correct torque depends on thread condition, seating surface, fastener grade, and whether the specification is for a pinch joint, structural fastener, sealing fastener, or rotating assembly retainer.
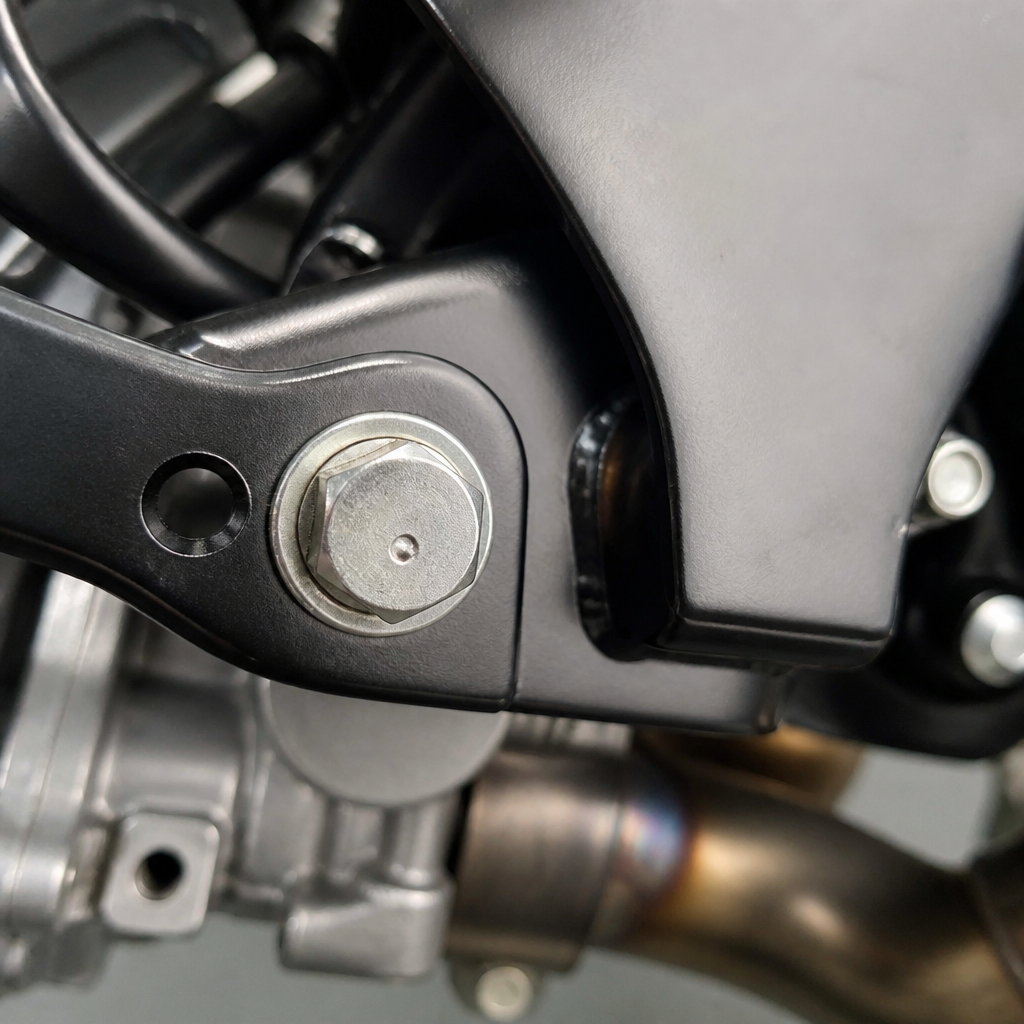
Fastener head styles create their own quirks. Japanese motorcycles often use flange bolts because the integrated washer spreads load and speeds assembly. Replace one with a generic hex bolt and you may reduce bearing surface or damage painted brackets. Similarly, shouldered bolts often locate covers or brake components precisely; replacing them with fully threaded hardware can alter alignment. OEM parts diagrams are useful not just for ordering replacements but for understanding the function of what you removed.
Practical Service Framework for the Subtopic
This hub works best when used as a starting checklist. If a metric motorcycle service task involves external hardware, control housings, driveline covers, or transmission-related diagnostics, ask four direct questions before turning tools. First, what fastener standard am I looking at? Second, what are the thread diameter and pitch? Third, what assembly condition does the torque specification assume? Fourth, does this system require a model-specific calibration or electronic procedure after mechanical work?
| Service area | Main risk | Correct approach | Typical example |
|---|---|---|---|
| JIS cross-head screws | Cam-out and stripped recess | Use JIS-compatible bits and firm axial pressure | Brake reservoir lid on a Yamaha |
| DCT service | Poor shift quality after basic maintenance | Use specified oil, filters, and relearn procedures | Honda Africa Twin engagement issues |
| Metric thread replacement | Cross-threading or wrong pitch installation | Measure diameter and pitch before substitution | M6x1.0 confused with M6x0.75 |
| Torque application | Incorrect clamp load | Match torque to thread condition and manual notes | Anti-seize on exhaust studs |
These questions also define the cluster articles that naturally sit under this hub. One article should focus entirely on identifying JIS versus Phillips and selecting proper tools. Another should cover DCT fluids, filters, warning signs, and adaptation routines by model family. A third should break down common metric fastener sizes, pitches, torque classes, and substitution rules for motorcycles. Additional supporting content can dive into thread repair in aluminum, best practices for impact drivers, and why flange hardware matters in chassis assemblies.
If you are building your own workshop system, organize parts trays and notes around these categories. Label removed fasteners by component and orientation. Record torque values during disassembly planning, not after the part is on the bench. Keep JIS bits separate from general cross-head bits so they are not mixed into household tool sets. For DCT-equipped motorcycles, maintain a dedicated log of software updates, fault codes, battery condition, and oil service history. The goal is to remove ambiguity before reassembly begins.
Common Mistakes, Best Tools, and When to Escalate the Job
The most avoidable mistake in this subtopic is relying on visual similarity. A screw that looks like Phillips may not be Phillips. A bolt that looks like a standard M8 may have an unusual shoulder length or fine pitch. An oil change on a DCT model may seem routine until the wrong specification causes shift complaints. Visual familiarity is useful, but measurement and documentation are what protect components.
The core tool kit for this category is straightforward: JIS-compatible screwdrivers and bits from brands such as Vessel or Hozan, a handheld impact driver, a quality 1/4-inch torque wrench for low values, a 3/8-inch torque wrench for common chassis work, metric thread pitch gauges, a digital caliper, picks for cleaning recesses, and the factory service manual. For DCT diagnosis, access to the manufacturer scan tool or an equivalent professional platform is often essential. Multimeters and battery testers matter too, because control systems depend on stable voltage.
Escalate the job when the risk exceeds the value of improvisation. If a JIS screw is already deformed and sits in a brake master cylinder cover, stop before contaminating the hydraulic system. If a DCT bike shows repeated fault codes, harsh engagement, or incomplete learning after basic service, move from maintenance assumptions to diagnostic procedure. If an aluminum case thread feels compromised, verify with inspection tools and repair it properly with a recognized insert system such as Time-Sert or Helicoil where appropriate. Good technicians know when patience solves the problem and when procedure must take over.
The main benefit of mastering this subtopic is confidence grounded in repeatable outcomes. You stop stripping screws, guessing thread pitch, and treating advanced transmissions like black boxes. Instead, you work from standards, measurements, and service logic that fit metric motorcycles as they are actually built. Use this hub as your map, then move into the detailed articles on JIS identification, DCT maintenance schedules, and metric fastener practices so every job starts cleaner and ends more reliably.
Frequently Asked Questions
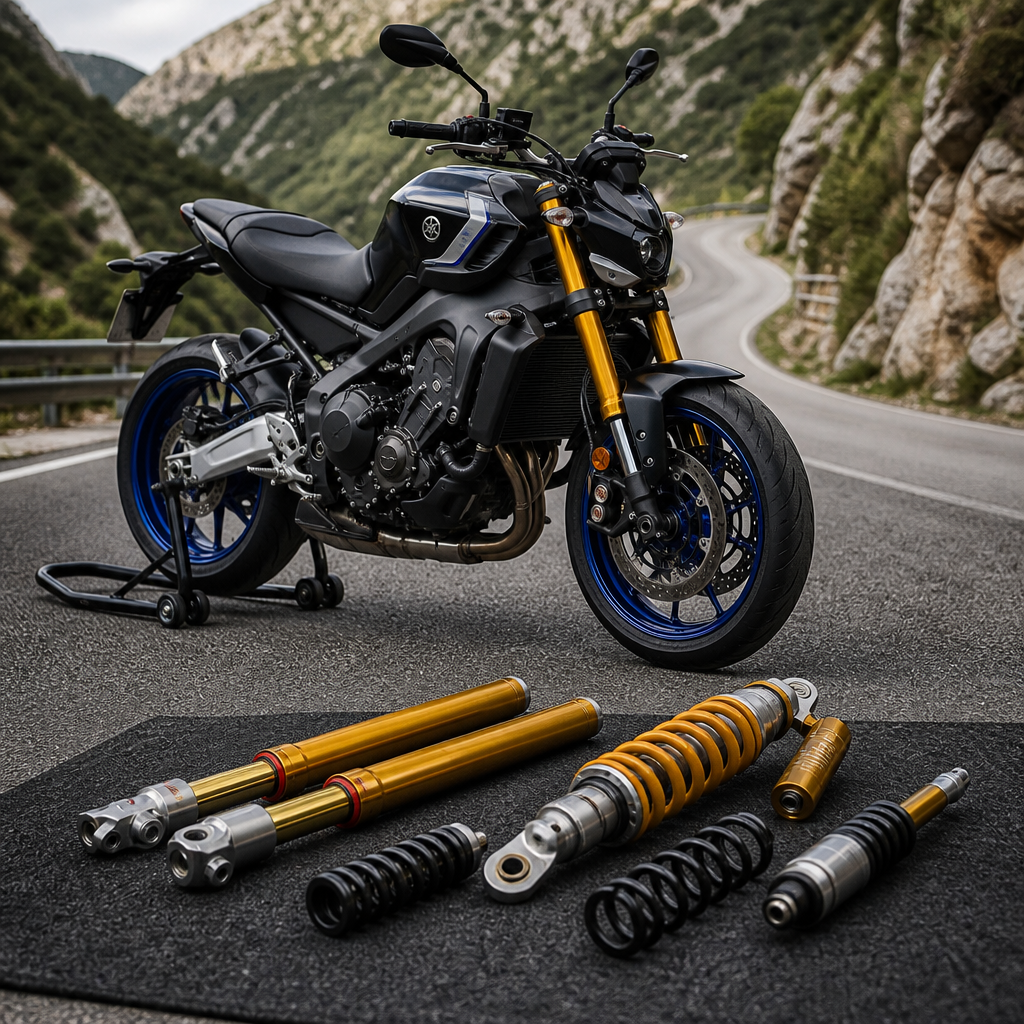
What is the real difference between the KYB setup and the Ohlins-equipped suspension feel on a 2026 Yamaha MT-09 SP?
The biggest difference is not just brand prestige or sticker value; it is how each suspension package manages support, damping control, and rider feedback across different speeds and surfaces. On the 2026 Yamaha MT-09 SP, the comparison between KYB and Ohlins matters because both are capable, but they tend to communicate road input differently and respond to tuning changes with different levels of sensitivity. In practical terms, KYB components often deliver a very competent, sporty baseline with solid control under braking and acceleration, while Ohlins units are usually praised for greater composure over broken pavement, more refined damping transitions, and a wider feeling of usable adjustment range.
That said, the useful way to think about the two is not that one is automatically “better” in every situation, but that Ohlins tends to make it easier to separate comfort from control. A well-tuned Ohlins shock often maintains tire contact and chassis stability without feeling harsh, especially when corner exits are bumpy or when mid-corner pavement quality deteriorates. KYB, by contrast, can feel slightly more direct or firmer in certain parts of the stroke depending on spring rate, valving, and how the bike is set up for rider weight. For some riders, that sharper feedback is actually desirable because it makes the front and rear of the bike feel immediate and athletic.
The key point for suspension tuning is that either setup can work extremely well if sag, rebound, and compression are dialed in correctly. Too many owners assume the premium name alone guarantees performance, but poor preload settings or mismatched damping can make even an expensive suspension package feel nervous, vague, or harsh. On the MT-09 SP, rider confidence comes from balance. If the front rides too high relative to the rear, the bike may resist turn-in. If the rear is overdamped, it may squat poorly, skip over sharp edges, or lose traction feel on corner exit. So while Ohlins may offer a more polished envelope, the real-world difference depends heavily on setup discipline rather than logo recognition alone.
Where should I start when dialing in suspension on the MT-09 SP for street riding versus aggressive canyon or track use?
Start with sag before touching damping, every time. That is the foundation. Set rider sag and free sag correctly so the bike sits in the proper part of the suspension travel, because compression and rebound adjustments cannot compensate for incorrect preload. For a street-focused MT-09 SP, most riders want a setup that allows the suspension to move freely enough to absorb imperfect roads while keeping enough support to control dive under braking and squat under acceleration. For canyon riding or occasional track use, you generally shift slightly toward increased support and tighter damping, but still in measured steps.
A practical sequence is this: first confirm tire pressures are correct and consistent, because suspension changes become difficult to evaluate if pressures are wrong. Next, record the stock clicker settings and count every adjustment carefully. Then set front and rear preload for your dressed riding weight. Once sag is established, evaluate rebound damping. Rebound controls how quickly the suspension returns after being compressed. If rebound is too fast, the bike can feel springy, loose, or unsettled after bumps. If it is too slow, the suspension can pack down over repeated bumps and make the bike feel harsh, low, and reluctant to recover. After rebound feels controlled, refine compression damping to manage how the bike absorbs impacts and resists load transfer.
For street use, resist the urge to over-firm the setup. Riders often mistake harshness for sportiness, but a suspension that cannot move over real pavement loses grip and confidence. For spirited canyon riding, you may add a small amount of front compression to improve braking support and a little rear rebound to calm corner-exit motions, but changes should be incremental. One or two clicks can matter. On track, where surfaces are smoother and speeds are higher, more support can be beneficial, but only if the bike still puts power down cleanly and tracks predictably over curbing and transitions. The smart tuner works methodically, changes one variable at a time, and takes notes after each ride.
How do I know if my MT-09 SP is underdamped, overdamped, or simply set up with the wrong preload?
This is one of the most important questions because riders frequently chase damping when the real issue is preload, or blame preload when the damping circuit is obviously out of range. The signs are distinct if you know what to feel for. If preload is too low, the bike will ride too deep in the stroke. You may notice excessive fork dive under braking, a rear end that squats heavily under acceleration, vague steering, or a general feeling that the chassis is wallowing rather than riding on top of the spring support. If preload is too high, the bike may sit tall and feel nervous, skip over rough surfaces, or fail to use enough travel. In both cases, damping changes alone will not fully correct the imbalance.
Underdamping usually reveals itself through uncontrolled motion. At the front, too little rebound damping can make the fork extend too quickly after braking or bumps, causing a light, fluttery, or bouncing sensation. At the rear, too little rebound can make the shock feel pogo-like, especially after a series of whoops, sharp pavement joints, or corner exits. Too little compression damping can make the bike blow through its travel too easily, feel soft on initial brake application, or bottom more readily on big hits. Overdamping is the opposite problem. Too much rebound holds the suspension down, making the bike feel harsh and reluctant to recover over repeated bumps. Too much compression can make the suspension resist movement so strongly that the tire skips instead of conforming to the road.
The easiest way to diagnose the issue is to isolate symptoms. If the bike feels harsh on small bumps but also dives excessively on the brakes, you may have too little spring support paired with too much low-speed compression in an attempt to compensate. If it feels stable on smooth roads but becomes chattery and loses grip on rough corner exits, rear rebound may be too slow, or rear compression may be too firm. What matters is identifying whether the suspension is moving too much, too little, too quickly, or too slowly. That is the language of chassis tuning. Once you can describe the problem that precisely, the path to a better setting becomes much clearer.
Do service habits like using the correct JIS tools, respecting metric fastener torque, and following proper maintenance procedures really matter when tuning suspension?
Absolutely, and more than many riders realize. Suspension tuning is not only about clickers and spring rates; it depends on accurate, repeatable mechanical work. If you round off a Japanese Industrial Standard screw by using the wrong driver, overtorque a pinch bolt because you treated a metric fastener like a coarse inch-based equivalent, or distort component alignment during reassembly, you can create handling problems that look like suspension faults but are actually service errors. This is especially relevant on modern Japanese motorcycles, where precision matters and fastener sizes, thread pitches, and clamping loads are designed around metric standards and specific material tolerances.
For example, incorrect fork pinch bolt torque can affect fork tube clamping and alignment, which in turn influences stiction, steering feel, and suspension responsiveness. If the fork legs are not aligned properly after wheel installation, the front end may bind slightly and fail to move freely, leading a rider to think the damping is harsh when the real issue is assembly stress. The same logic applies to rear suspension linkage service. If bolts are overtorqued, installed dry where lubrication is required, or tightened out of sequence, the linkage may not articulate as smoothly as intended. That changes the way the shock behaves through the stroke and can undermine even a well-chosen setup.
The broader workshop lesson is that good suspension tuning starts with clean, disciplined maintenance practices. Use the correct JIS bits where applicable, measure torque in the proper metric values, confirm thread condition, follow service-manual tightening sequences, and verify smooth travel before evaluating ride quality. Riders sometimes focus on premium components while ignoring the basics, but stripped screws, damaged threads, or misassembled parts erase any advantage a KYB or Ohlins unit might offer. Repeatable tuning requires repeatable service, and that means respecting the hardware standards and assembly details that define modern Japanese motorcycle work.
When should I stop adjusting the stock MT-09 SP suspension and consider springs, revalving, or a full shock upgrade?
You should consider hardware changes when you have reached a logical setup limit, not simply because the internet says aftermarket parts are mandatory. If you have set sag correctly, experimented carefully with rebound and compression, verified tire pressures and chassis alignment, and the bike still cannot deliver the support, comfort, or traction you need, then it is time to evaluate whether the spring rates or valving are mismatched to your weight and riding style. This is very common for riders at either end of the weight range, as stock suspension is usually a compromise intended to satisfy a broad audience.
The clearest sign that springs are wrong is when you cannot achieve proper sag without pushing preload adjusters toward an extreme. If you need excessive preload just to hold the bike up, the springs may be too soft. If you must back preload off almost completely and