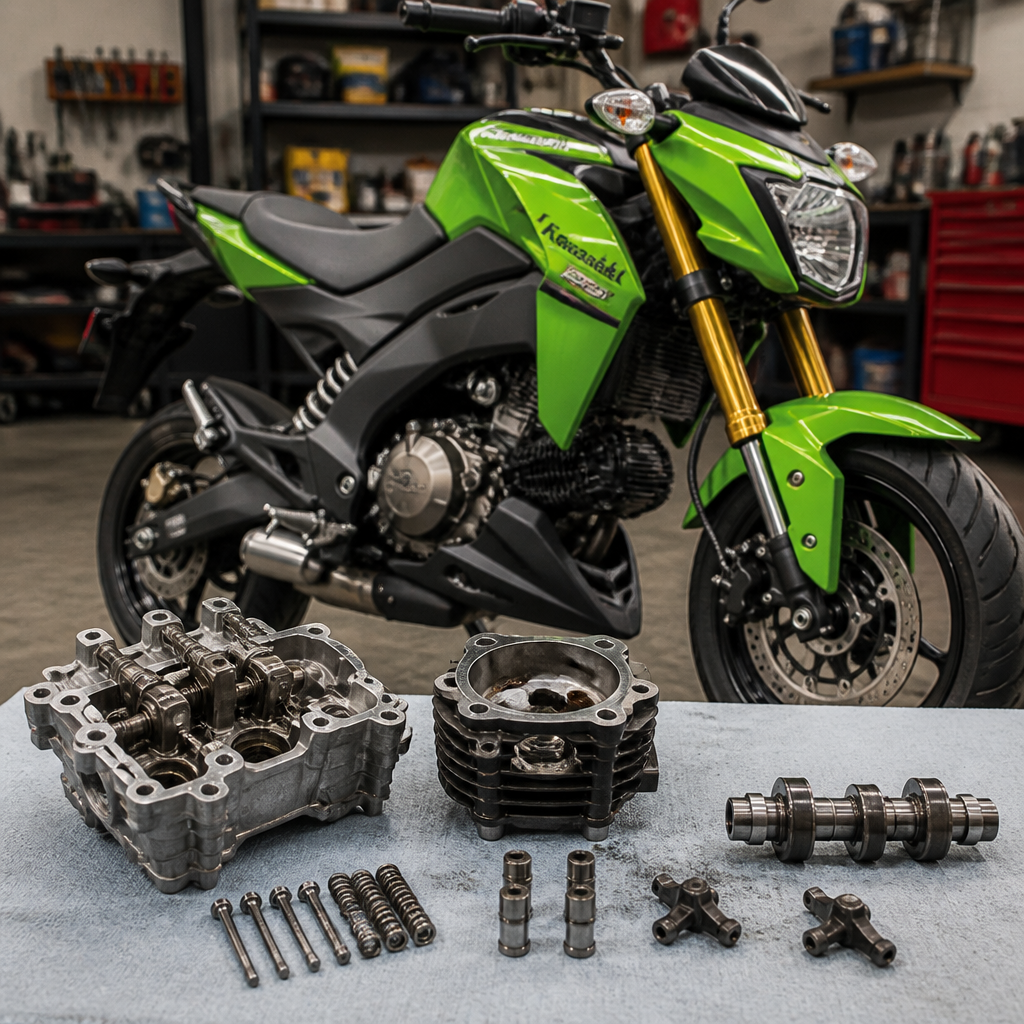
Kawasaki Z125 Pro ticking on higher-mileage units is usually traced to valve train noise, but a complete diagnosis also requires understanding JIS fasteners, DCT maintenance principles, and the metric-specific service quirks that shape how small Japanese motorcycles are built and repaired. In workshop terms, “ticking” means a light, rhythmic metallic tapping that rises with engine speed and is most obvious at idle, during warmup, or when the engine is held at a steady low rpm. On the Z125 Pro, a 125cc air-cooled SOHC single, that sound often comes from valve clearance drifting toward the loose side, cam chain tension behavior, or top-end wear that becomes more noticeable after thousands of miles of stop-and-go use.
This topic matters because many owners either ignore normal mechanical noise until it becomes a real problem or chase harmless sounds with unnecessary parts replacement. I have inspected enough small-bore Kawasaki singles to know that top-end noise tells a story when you listen methodically. Higher-mileage units, especially commuter bikes that spend long periods at partial throttle, can develop ticking that sounds alarming yet remains fully serviceable once clearances are reset. At the same time, a persistent tick can warn of accelerated rocker arm wear, a weak cam chain tensioner, low oil level, or fasteners damaged by the wrong screwdriver standard. Good diagnosis protects the engine, reduces misdiagnosis costs, and prevents stripped hardware that turns a simple valve check into a frustrating teardown.
As a hub within a broader maintenance and technical encyclopedia, this guide does more than isolate one noise on one motorcycle. It connects three areas riders and home mechanics repeatedly encounter on metric machines: the Japanese Industrial Standard fastener system found across bodywork and engine covers, the maintenance logic behind dual-clutch transmissions even though the Z125 Pro itself does not use one, and the metric design quirks that make Japanese motorcycles precise, compact, and sometimes unforgiving of improvised tools. Mastering these areas pays off beyond a single repair. It lets you read factory procedures correctly, choose the right bits and torque values, and recognize when a sound is normal mechanical character rather than failure in progress.
Why a Higher-Mileage Z125 Pro Develops Ticking
The most common cause of Kawasaki Z125 Pro ticking is valve lash that has moved outside specification. As components wear and heat-cycle over time, the clearance between the rocker arm and valve stem can change. On this engine, slightly loose valves create the classic sewing-machine tick. Slightly tight valves are often quieter, but they are actually riskier because they can reduce valve seating time, hurt compression, and eventually burn a valve. That is why noise level alone is not the measure of health. The only reliable answer is a cold-engine clearance inspection performed to factory procedure.
Oil condition is the next checkpoint. The Z125 Pro uses splash and pressure lubrication across a small oil capacity, so neglected oil changes show up quickly in top-end sound. Thin, fuel-diluted, or over-sheared oil can make the valve train louder, especially when hot. I have seen commuter bikes come in with a pronounced tick that softened noticeably after the correct viscosity oil and a fresh filter screen inspection. Noise reduction after service does not prove a worn engine, but it strongly suggests lubrication quality was part of the problem.
Cam chain and tensioner behavior can mimic valve ticking. A loose cam chain tends to produce a sharper rattle, sometimes during startup or when blipping the throttle off idle. Riders often describe every upper-engine sound as “valve noise,” but chain slap has a different rhythm and location. Use a mechanic’s stethoscope or a long screwdriver against the valve cover, cylinder head, and cam chain tunnel. If the sound peaks near the chain path rather than directly above the valves, expand the diagnosis before adjusting lash.
Exhaust leaks also create false ticking. A tiny leak at the header flange can sound almost identical to tappet noise, especially on a small-displacement single with a short exhaust pulse interval. Look for black soot around the exhaust port, and listen during a cold start when the leak is most obvious. If the tick fades as the metal expands, the gasket deserves attention. That check takes minutes and can save an unnecessary valve cover removal.
Step-by-Step Diagnosis Before You Turn a Wrench
Accurate diagnosis starts with pattern recognition. Note whether the ticking is present only when cold, persists hot, increases linearly with rpm, or appears under load. Normal valve train noise usually increases in frequency with engine speed and remains steady in character. A deeper knock, irregular clack, or sound that appears only during acceleration points elsewhere. Ask basic questions in order: When was the last oil change? Has the bike been over-revved? Has anyone serviced the top end before? Were nonstandard tools used on engine covers or body panels?
Then verify external basics. Confirm oil level with the bike level and engine conditions matching the owner’s manual. Check the skid area and lower engine for impact damage if the motorcycle has been used hard in urban environments. Inspect the spark plug condition because a lean-running engine can sound mechanically harsher. Listen around the exhaust flange, cam chain tensioner area, and valve cover. Only after those checks should you move into disassembly.
| Symptom | Most Likely Cause | How to Confirm | Typical Fix |
|---|---|---|---|
| Light rhythmic tick at idle and warm | Loose valve clearance | Cold lash measurement with feeler gauges | Adjust valves to specification |
| Sharp rattle on startup or throttle blip | Cam chain tension issue | Stethoscope near chain tunnel and tensioner | Inspect tensioner and chain wear |
| Ticking strongest at exhaust port | Header gasket leak | Soot traces and cold-start listening | Replace exhaust gasket, retorque flange |
| Noise worse when hot after overdue oil change | Oil viscosity breakdown or low level | Oil inspection and service history review | Correct oil service and recheck |
| Persistent top-end noise after proper adjustment | Rocker, cam, or valve tip wear | Visual inspection for scoring or pitting | Replace worn components |
Once you remove the valve cover, work precisely. Rotate the engine to top dead center on the compression stroke, not just any T mark alignment. Both valves should be closed, and the rocker arms should have measurable free play. On small singles, the difference between compression TDC and overlap TDC is easy to miss. If you set lash on the wrong stroke, your numbers will be wrong and the engine may run poorly or noisily afterward.
Use quality metric feeler gauges and tighten adjuster locknuts carefully while holding the adjuster to avoid changing the setting. Recheck after torquing. On these engines, a tiny change in drag feel matters. I always measure twice, rotate the engine through a full cycle, and measure again before sealing the cover. That extra five minutes prevents comebacks.
The JIS Standard and Why It Affects Top-End Service
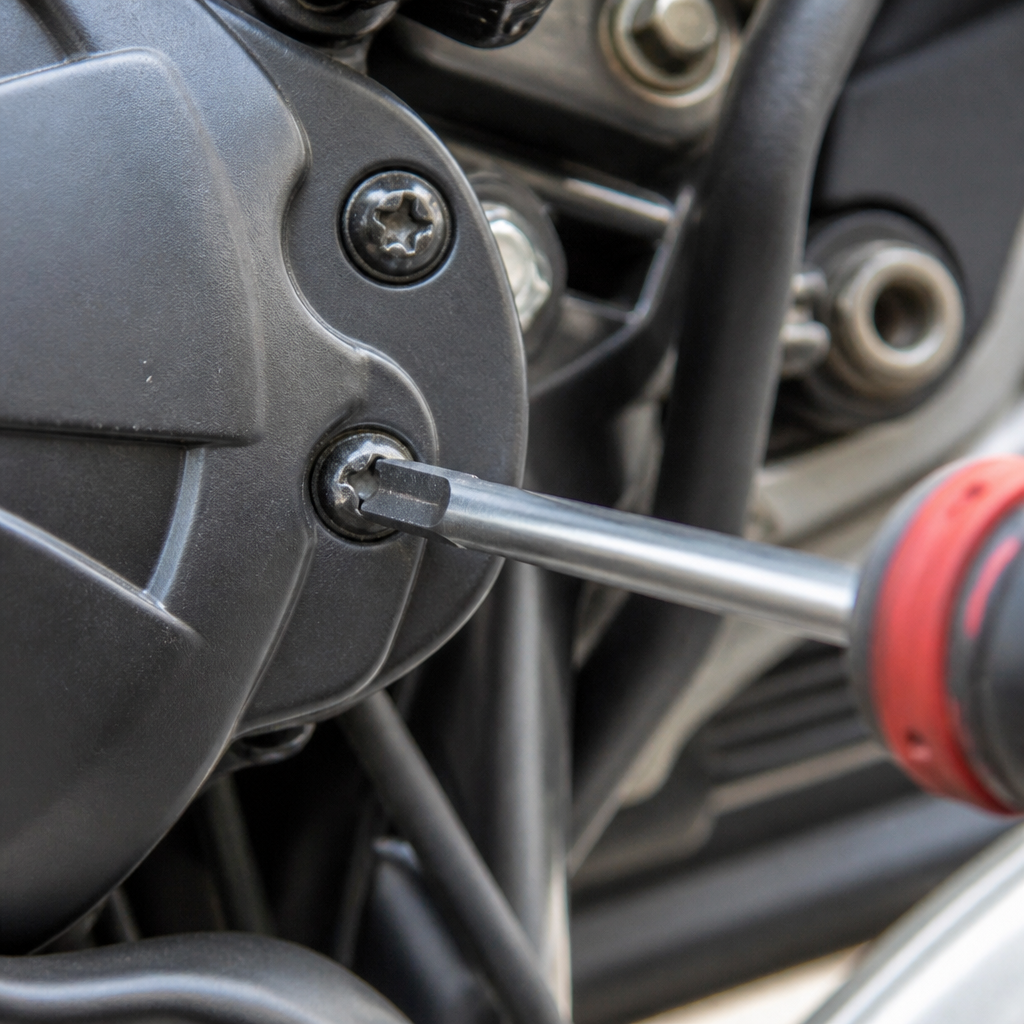
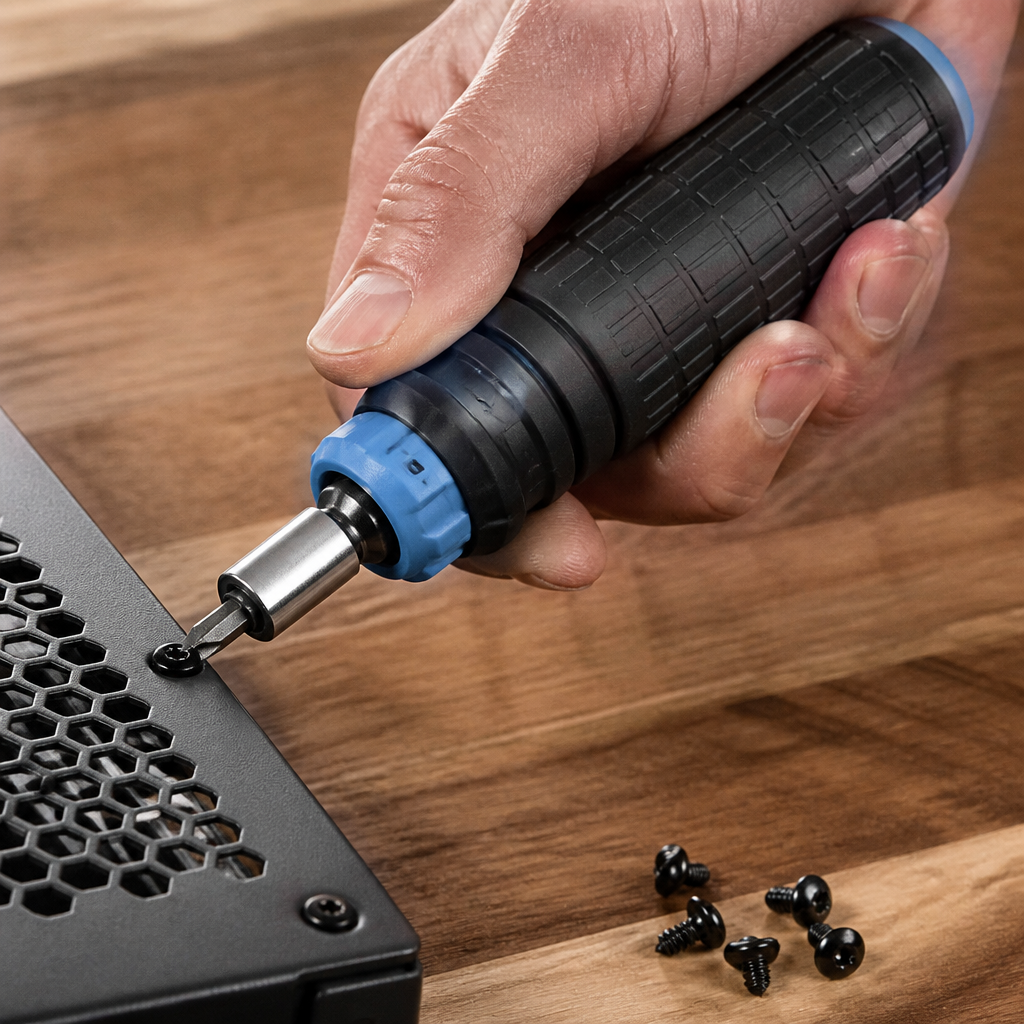
Anyone servicing a Kawasaki Z125 Pro should understand the JIS standard because many Japanese motorcycles use cross-head screws that look like Phillips but are not designed for the same driver geometry. Phillips was intentionally made to cam out under high torque. JIS drivers engage more positively, allowing higher torque transfer with less damage. On motorcycles, that difference matters on carburetor screws, switchgear, body panels, side covers, and occasionally engine-adjacent hardware that has seen years of corrosion and heat.
I routinely see stripped cross-head fasteners caused by a conventional Phillips screwdriver on metric bikes. Once the recess deforms, a simple valve inspection becomes slower because surrounding covers or brackets will not come off cleanly. The cure is simple: use proper JIS bits from a known brand such as Vessel, Hozan, or Engineer. If a screw is already damaged, an impact driver with the correct bit often removes it without drilling. Replacing vulnerable screws with quality flange bolts can make future service easier, but do that selectively and maintain correct length and grade.
This standard is part of a larger service mindset. Japanese motorcycles are engineered with tight packaging, small fasteners, and light materials. They reward exact tool fit. That includes six-point sockets on stubborn bolts, inch-pound torque wrenches for low-torque cover hardware, and thread-chasing rather than brute force. If you crack a valve cover bolt boss or distort a sealing surface, the original ticking problem becomes minor compared with the repair you created.
JIS awareness also improves diagnostic confidence. When fasteners come apart cleanly, you are more willing to inspect the motorcycle at the first sign of unusual noise instead of postponing service because previous work left everything mangled. For a hub article, this is the link worth stressing: correct standards knowledge is not trivia. It directly lowers maintenance risk and preserves access to the systems you need to inspect.
DCT Maintenance Principles Every Metric-Bike Owner Should Know
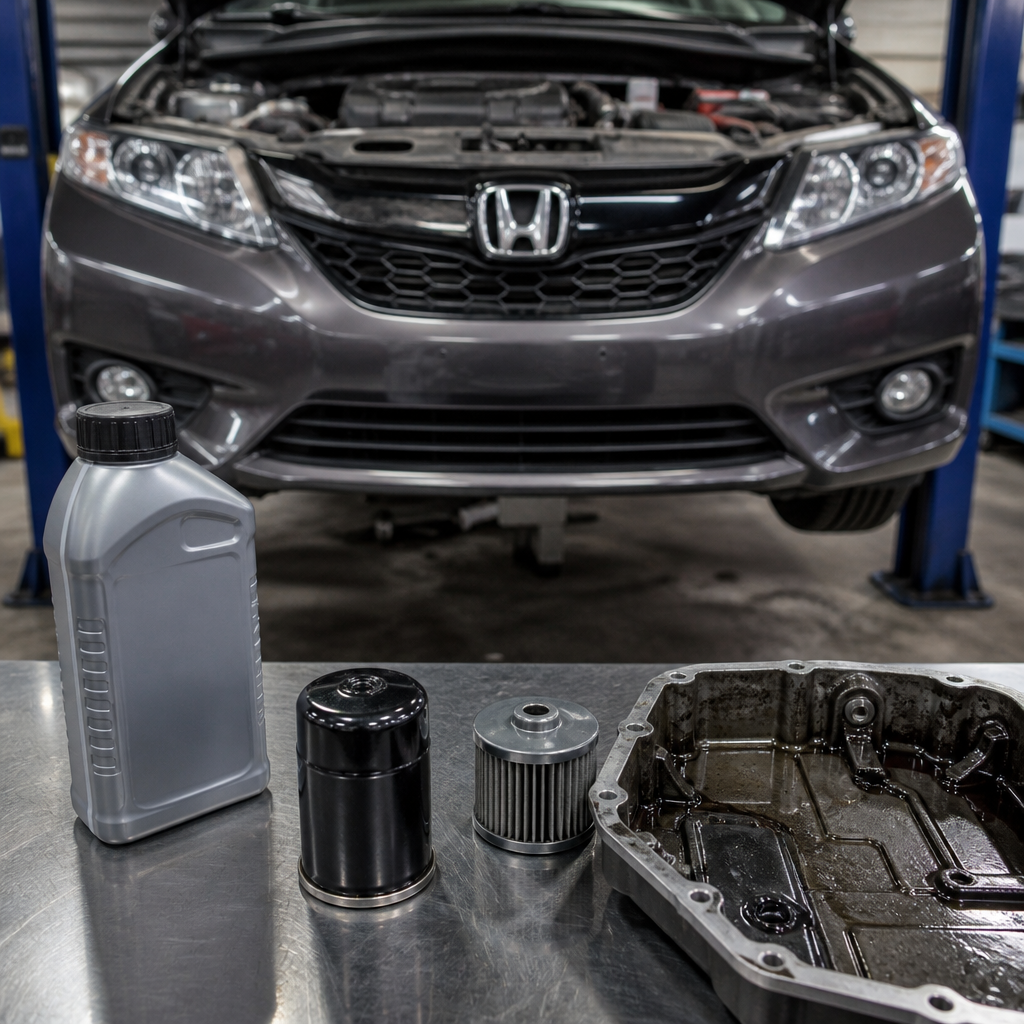
The Z125 Pro does not use a dual-clutch transmission, but DCT maintenance belongs in this hub because many riders move between small manual motorcycles and larger metric machines from Honda and other brands where transmission service logic becomes more complex. Dual-clutch systems combine electronically controlled clutch packs, hydraulic circuits, filters or screens, shift actuators, and software calibration. They are reliable when maintained correctly, but they are less tolerant of neglected fluid service than a simple manual gearbox.
The key principle is contamination control. In a DCT, clutch material, heat, and hydraulic precision all interact. Fluid condition affects shift quality, clutch engagement smoothness, and actuator response. A rider familiar only with a Z125 Pro’s straightforward wet-clutch maintenance may underestimate how important exact fluid specification and service intervals are on a DCT-equipped bike. Use the manufacturer’s approved oil, replace required filters, inspect magnetic drains, and follow adaptation or relearn procedures if the service manual calls for them.
Why include this in a valve train noise article? Because diagnostic discipline transfers across platforms. Owners who learn to separate normal mechanical sounds from actual faults on a small Kawasaki are better prepared for the more layered feedback of larger machines. DCT bikes produce their own normal noises: clutch pack chatter at idle, actuator sounds during self-checks, and engagement pulses at low speed. Understanding those systems reduces false alarms in the same way understanding rocker-arm tick reduces panic on the Z125 Pro.
There is also a practical workshop overlap. The same habits that protect a Z125 Pro during top-end service protect a DCT bike during transmission maintenance: exact torque values, clean workspaces, correct fastener standards, proper gasket handling, and disciplined fluid measurement. Metric motorcycles differ in layout, but they punish sloppy service in remarkably consistent ways.
Metric Quirks That Shape Diagnosis and Repair
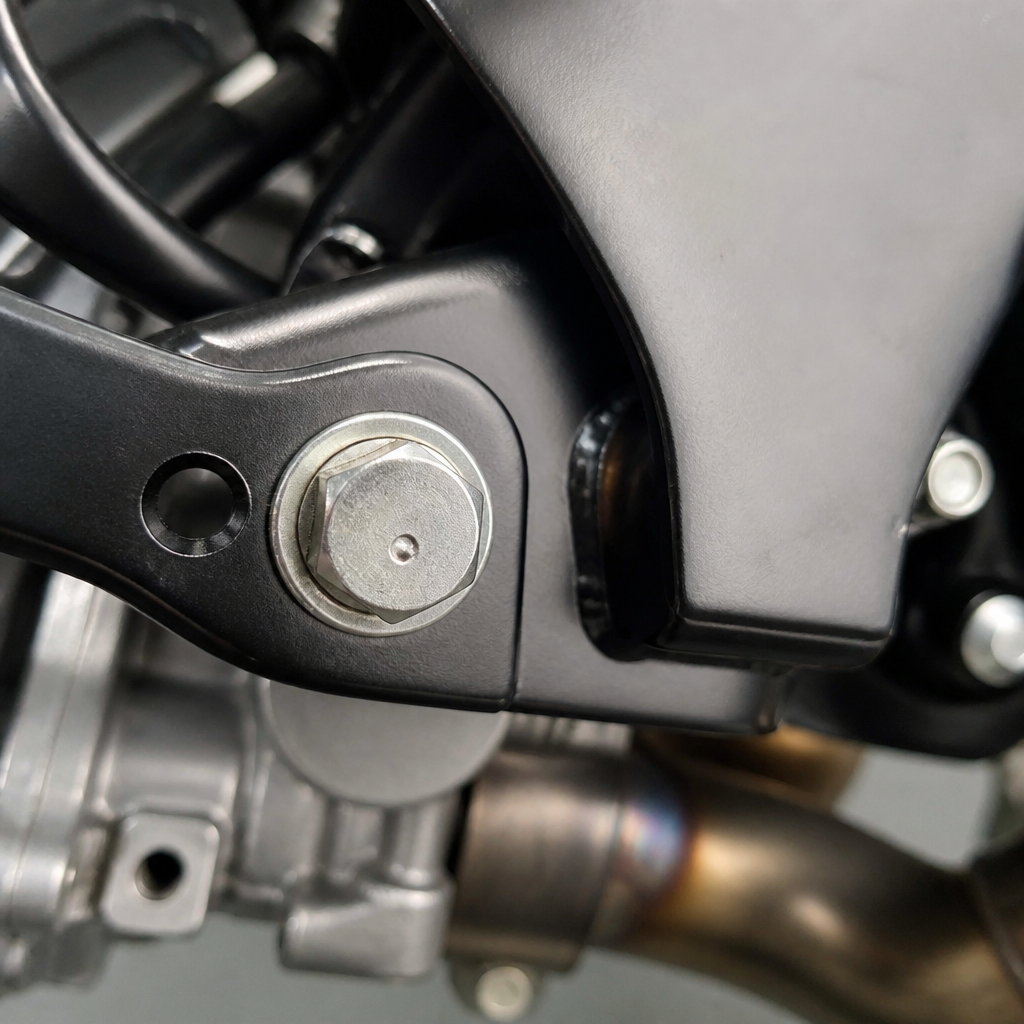
Metric quirks are not oddities for their own sake; they are recurring design patterns that influence tools, parts selection, and troubleshooting. Japanese motorcycles commonly mix 8 mm, 10 mm, and 12 mm hex sizes around compact assemblies where clearance is limited. Thread pitches may be finer than a general hardware-store substitute. O-rings and sealing washers are sized precisely. A bolt that “almost fits” or a screwdriver that “looks close enough” is often the start of avoidable damage.
On the Z125 Pro specifically, packaging around the cylinder head rewards patience. Accessing the valve cover without damaging hoses, clips, or sealing surfaces requires careful sequencing. This is where metric bike experience matters. You do not pry aggressively on lightweight covers. You loosen hardware evenly. You keep track of collar spacers and grommets because losing one can create vibration or panel misalignment later that confuses future diagnosis.
Another common quirk is unit discipline. Factory literature may specify torque in N·m, clearances in millimeters, and service limits in fractions that seem tiny to mechanics used to larger engines. Those small numbers are normal on a 125cc single. A valve clearance change of a few hundredths of a millimeter can alter the character of the top-end noise. Measuring tools must match that reality. Cheap feeler gauges, worn calipers, and vague hand-tight methods are not good enough.
Parts sourcing is part of the picture too. Aftermarket gasket kits and tensioners vary in quality. When I am chasing a persistent tick, I trust OEM baseline parts first, especially for cam chain components and sealing pieces. Once the engine is quiet and stable, then it makes sense to evaluate upgrades or alternates. Diagnosis should reduce variables, not multiply them.
When Ticking Is Normal, and When It Is Time to Act
Some valve train noise on a Kawasaki Z125 Pro is normal. Small air-cooled singles are mechanically honest engines, and they rarely sound as muted as larger liquid-cooled multis. A faint, even tick after a proper valve adjustment, with stable idle, clean acceleration, and no metal in the oil, is usually acceptable. Many owners make the mistake of chasing absolute silence, which can lead to overly tight valves and greater long-term risk.
You should act when the noise changes noticeably, becomes louder over a short period, is joined by hard starting or compression loss, or persists after correct oil service and verified valve adjustment. Also act if the sound is accompanied by cam timing concerns, misfire, or visible wear during inspection. Higher-mileage units deserve a slightly broader view: rocker pads, cam lobes, valve tips, and tensioner function all matter. If wear patterns are evident, replacing only the gasket and resetting lash is incomplete service.
The lasting benefit of learning this system is confidence across the entire maintenance spectrum. You can hear a Z125 Pro tick and know how to separate normal valve train character from an exhaust leak, a cam chain issue, or wear that requires parts. You can approach Japanese fasteners with the right JIS tools, understand why DCT-equipped metric motorcycles demand precise fluid service, and avoid the common shortcuts that create bigger failures. Use the factory manual, measure everything cold and carefully, and treat unusual noise as a clue rather than a verdict. That approach keeps small metric bikes reliable, affordable, and enjoyable to maintain. If your Z125 Pro has started ticking, schedule a methodical inspection now and build your maintenance baseline before the sound becomes a problem.
Frequently Asked Questions
What does a ticking noise on a higher-mileage Kawasaki Z125 Pro usually mean?
On a higher-mileage Kawasaki Z125 Pro, a ticking noise most often points to normal or excessive valve train noise rather than a deep bottom-end engine failure. In practical terms, “ticking” is a light, rhythmic metallic tapping that speeds up as engine rpm increases. Riders usually hear it most clearly at idle, during warmup, or while holding the engine at a steady low rpm. Because the Z125 Pro uses a small-displacement single-cylinder engine, mechanical sounds tend to be more noticeable than they would be on a larger multi-cylinder bike, so some amount of top-end ticking can be normal. The key question is whether the sound has grown louder over time, become sharper, or is accompanied by hard starting, rough idle, loss of power, or poor fuel economy.
The most common causes include valve lash that has drifted out of specification, wear in rocker arm or cam-contact surfaces, cam chain or tensioner-related noise, and in some cases an exhaust leak that mimics valve ticking. On higher-mileage units, clearance changes are especially important because repeated heat cycles and general wear can alter how the valve train sounds. If the valves are too loose, the engine can develop a more obvious tapping noise. If they are too tight, the bike may become harder to start when cold or may idle inconsistently, and that condition can be more serious because tight valves can eventually affect valve sealing.
It is also important not to diagnose by sound alone. A Z125 Pro that ticks but otherwise runs cleanly may simply need a valve clearance inspection and adjustment. A bike that ticks and also shows signs of neglected maintenance deserves a broader check: oil level and condition, cam chain system health, spark plug reading, exhaust fastener tightness, and overall service history. In other words, ticking on these bikes is usually a valve train story first, but a proper diagnosis confirms that assumption instead of guessing.
How can I tell whether the ticking is normal valve train noise or a sign of a real problem?
The best way to separate normal Z125 Pro mechanical noise from a developing issue is to look at the sound pattern, operating conditions, and any accompanying symptoms. Normal valve train noise is typically light, even, and rhythmic. It rises and falls smoothly with engine speed and does not usually come with misfires, smoke, power loss, or major vibration changes. A problematic ticking noise may become noticeably louder over time, develop an irregular rhythm, continue after the engine is fully warm in a way it did not before, or be joined by poor starting, unstable idle, or reduced performance.
Start with a basic listening check. Listen at cold start, then again at full operating temperature. A little extra ticking during warmup is not unusual, but if the sound remains prominent when hot, it is worth investigating. Use a mechanic’s stethoscope or even a careful listening tool to compare areas around the valve cover, cylinder head, timing chain side, and exhaust port. Valve train noise is generally strongest at the top end. An exhaust leak can create a sharp ticking that often sounds very mechanical, but it tends to be concentrated near the exhaust flange and may fade or change as metal expands with heat. Cam chain-related noise can sound more like a light rattle or slapping than a precise tick, although the two can overlap to the untrained ear.
You should also look at service intervals and mileage. If valve clearance has not been checked for a long time, or if the bike has been run low on oil, that increases the odds that the noise deserves immediate attention. Inspect the oil itself: dirty, thin, or low oil can exaggerate top-end noise. If the bike runs properly, oil is clean and at the correct level, and the noise is localized to the top end, valve clearance inspection becomes the logical next step. If the tick is paired with metallic debris in the oil, dramatic performance issues, or a harsh knocking tone rather than a light tapping, stop riding and investigate more deeply before damage progresses.
What should be inspected first when diagnosing valve train ticking on a Kawasaki Z125 Pro?
The first inspection steps should be systematic and simple before anything is disassembled. Confirm the oil level and oil condition, verify whether the correct oil viscosity has been used, and review the maintenance history. Small Japanese engines can become noticeably noisier when oil is old, contaminated, or below the proper level. After that, listen carefully to identify whether the sound is actually coming from the cylinder head area. Many owners assume every metallic tick is a valve issue, but an exhaust leak, loose heat shield, spark plug problem, or timing chain noise can imitate valve train tapping surprisingly well.
Once the preliminary checks are done, the next priority is valve clearance inspection. On a higher-mileage Z125 Pro, this is often the most productive first mechanical check because valve lash is a common cause of ticking and because the inspection directly answers whether the top-end geometry is still within spec. While in that area, inspect the valve cover sealing surfaces, check for signs of oil seepage, and look for any evidence of abnormal wear or neglected service. If valve clearances are out of range, adjust them correctly and then re-evaluate the sound after reassembly and warmup.
At the same time, do not ignore the surrounding hardware. Japanese motorcycles like the Z125 Pro often use JIS fasteners rather than true Phillips-head screws in various locations, and using the wrong driver can strip heads and turn a simple inspection into a frustrating repair. Metric-specific service habits matter here too: use the right tools, torque values, and feeler gauges; do not overtighten small fasteners; and keep parts organized in order. These bikes reward precision. If the valve clearances are correct but the ticking remains, move on to checking cam chain tensioner operation, rocker/cam contact condition where accessible, and the exhaust system sealing surfaces. Diagnosis should progress from common and easy-to-confirm causes to less common internal wear issues.
Why do JIS fasteners, metric service quirks, and even DCT maintenance principles matter when working on a Z125 Pro?
They matter because accurate diagnosis depends on competent service technique, and small Japanese motorcycles are built around design and maintenance conventions that differ from what some owners expect. JIS fasteners are a perfect example. Many mechanics unfamiliar with Japanese Industrial Standard screws treat them like ordinary Phillips screws, which can lead to cam-out and damaged heads during routine access work. If you strip a cover screw while trying to inspect the valve train, the diagnostic job becomes slower, more expensive, and more likely to involve rushed decisions. Using proper JIS-compatible drivers, quality metric sockets, and a torque wrench is not just a nice detail; it is part of doing reliable engine work without creating new problems.
The same logic applies to metric-specific service quirks. The Z125 Pro is a compact motorcycle with small fasteners, tight packaging, and little tolerance for ham-fisted work. Overtightening a valve cover bolt, cross-threading a spark plug, misreading a feeler gauge measurement, or substituting hardware can all affect the outcome of a valve noise diagnosis. Precision matters on small engines because small deviations can produce noticeable changes in noise, sealing, and drivability. Clean measuring technique, correct torque values, and attention to service sequence are essential if you want to know whether the ticking was truly corrected or merely changed by improper reassembly.
DCT maintenance principles are relevant in a broader workshop sense even though the Kawasaki Z125 Pro itself does not use a dual-clutch transmission. Good technicians apply the same disciplined habits across platforms: verify fluid condition, distinguish normal operational noise from fault noise, follow exact service procedures, and avoid assumptions based solely on symptoms. On any modern Japanese motorcycle, whether it has a manual gearbox or a DCT system, the lesson is the same: careful baseline checks, correct tools, and adherence to specification prevent misdiagnosis. That mindset is especially valuable when chasing a top-end tick, because many light mechanical noises are harmless while others are early warnings. The difference is often found through methodical inspection, not guesswork.
When should a Z125 Pro ticking noise be considered urgent, and what is the usual fix?
A ticking noise becomes urgent when it changes from a stable, familiar top-end sound into something louder, harsher, more irregular, or paired with clear running problems. If the bike suddenly starts hard, loses idle quality, hesitates under throttle, or develops a more pronounced mechanical clatter, the engine should be checked soon rather than ridden indefinitely. Urgency also increases if the oil is low, contaminated, or glittery with metallic particles, or if the noise is accompanied by an illuminated warning condition, overheating signs, or an exhaust leak at the cylinder head. While many Z125 Pro ticking complaints turn out to be routine valve clearance issues, the risk lies in assuming that every tick is harmless when some are signs of neglected service or progressive wear.
The most common fix is a proper valve clearance inspection and adjustment to factory specification, followed by a careful reassessment of engine noise when the bike is fully warmed up. If the clearances are out of spec, correcting them often restores the normal level of mechanical top-end sound. If the noise remains, the next likely repair path includes checking the cam chain tensioner, inspecting for timing chain wear or guide issues, and confirming there is no exhaust leak that was