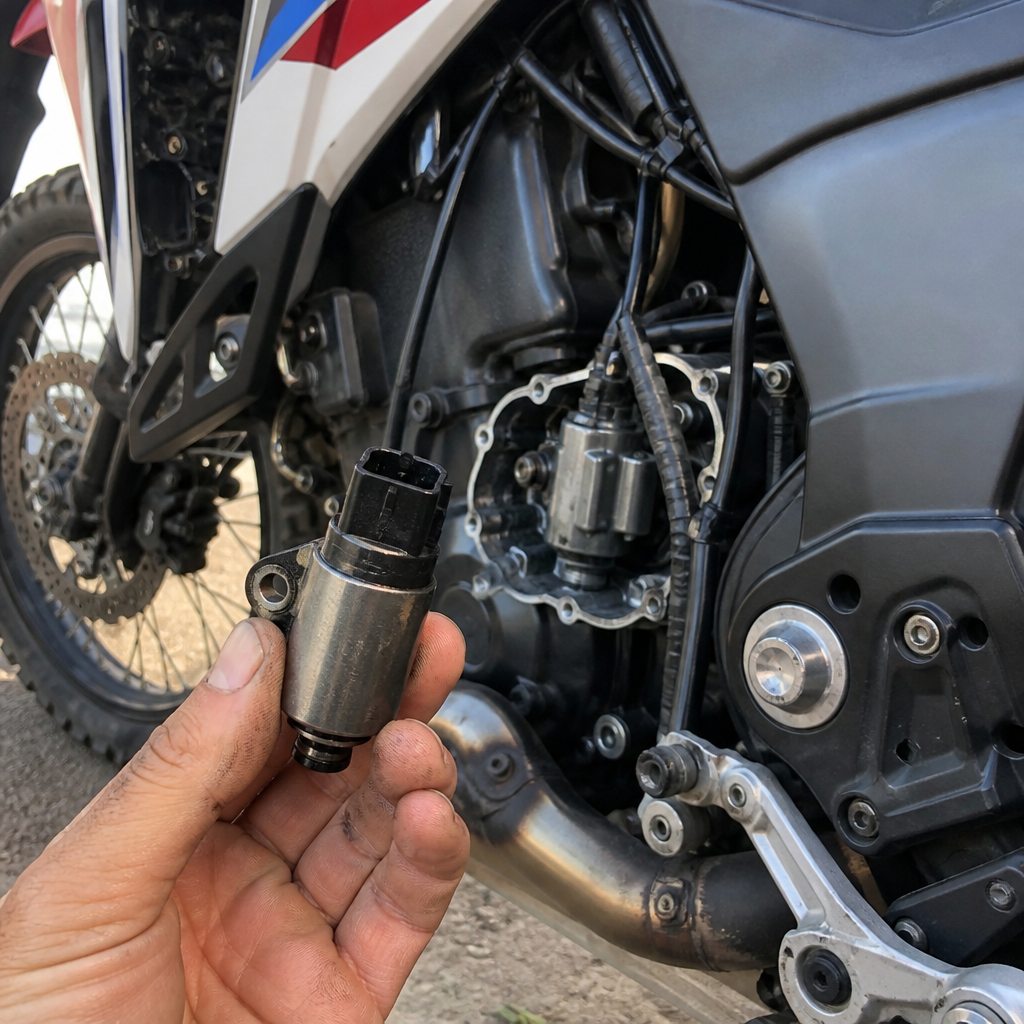
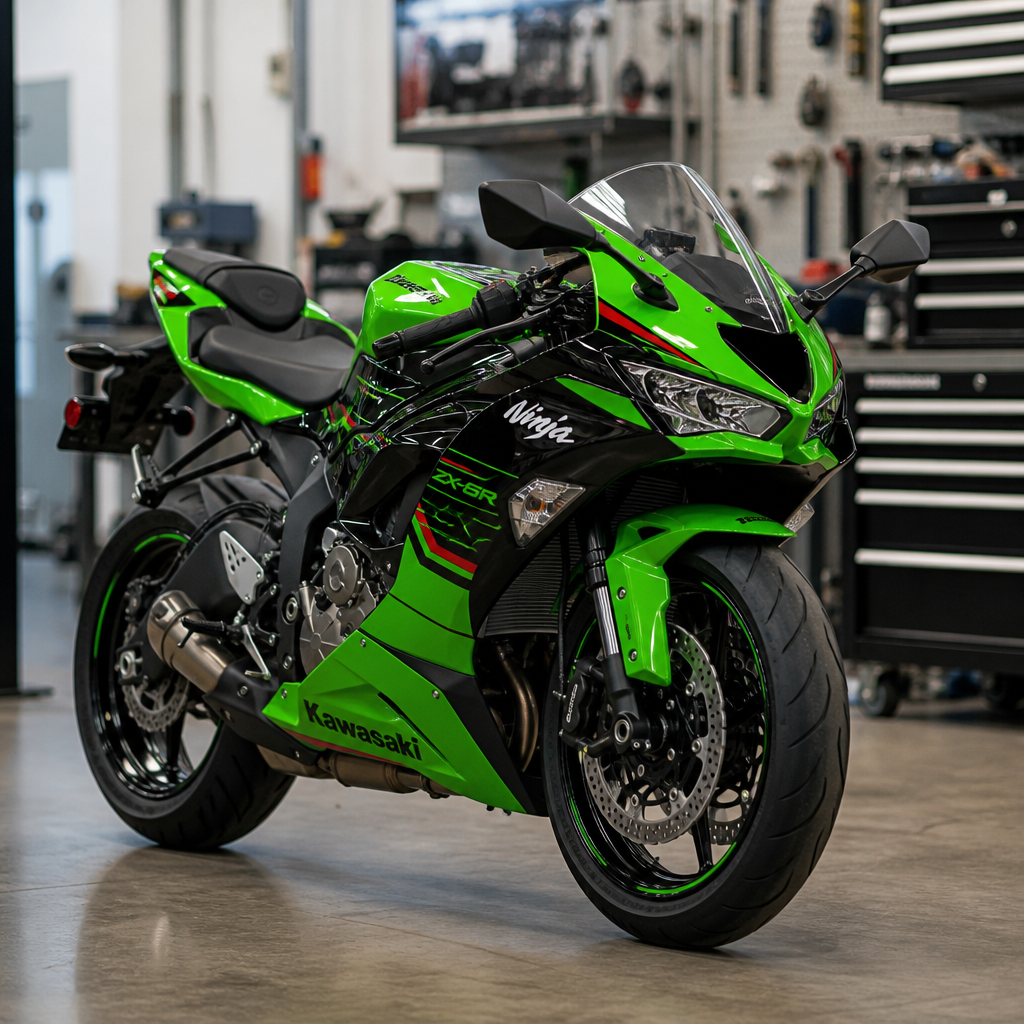
The Suzuki GSX-R1000R 40th Anniversary pairs superbike performance with components that demand disciplined service, and nowhere is that clearer than in its Showa Balance Free Front Fork Big Piston assembly. Maintaining the Big Piston Forks is not just about stopping leaks. It means understanding fastener standards, fluid behavior, sealing surfaces, torque discipline, and the metric-specific habits that separate a clean rebuild from expensive damage. On this motorcycle, one stripped crosshead screw, one rounded pinch bolt, or one incorrect fluid height can change braking stability, mid-corner confidence, and tire wear. Riders searching for Suzuki GSX-R1000R 40th Anniversary fork maintenance usually want direct answers: what tools fit, what fluids matter, what inspection points are critical, and how Japanese Industrial Standard hardware, dual clutch transmission service culture, and metric workshop conventions all connect. This article answers those questions comprehensively and serves as the hub for the broader Maintenance and Technical Encyclopedia covering the JIS standard, DCT maintenance, and metric quirks across modern motorcycles.
First, define the key terms. The Big Piston Fork concept uses a large-diameter damping piston to create more controlled oil flow and a more planted feel under hard braking and rapid direction changes. On the GSX-R1000R 40th Anniversary, Suzuki specifies premium suspension hardware intended for track-capable road use, so routine fork care affects safety and chassis feel more than many owners expect. JIS refers to the Japanese Industrial Standards used on many screws and fittings found on Japanese motorcycles. A JIS crosshead looks similar to a Phillips screw, but the geometry differs enough that using a Phillips driver can cam out and damage the head. DCT maintenance, while associated more often with Honda’s Dual Clutch Transmission machines, matters here as a reference category within metric-bike service culture because it teaches the same larger lesson: modern Japanese motorcycles reward exact procedures, correct fluids, scanner-aware diagnostics, and a refusal to improvise. Metric quirks include thread pitch assumptions, torque values expressed in newton-meters, seal dimensions in millimeters, and model-specific fastener choices that can trap technicians trained mainly on SAE-based platforms.
Why does this matter? Because suspension service on a flagship literbike is cumulative. Small errors stack fast. I have seen fork caps scarred by pliers, axle pinch bolts overtightened until lower fork lugs distorted, and fork internals contaminated by shop towels shedding lint into fresh oil. Every one of those mistakes began with a shortcut. The GSX-R1000R’s front end communicates at very high speeds, and proper maintenance preserves compliance over rough pavement, keeps geometry consistent under load, and extends the life of bushings, seals, and coated tubes. As a hub topic, this guide also frames how to approach the rest of your metric maintenance library: identify the exact standard, verify the exact tool, follow the exact sequence, and respect the engineering choices baked into Japanese performance motorcycles.
How the GSX-R1000R Big Piston Forks Work and What Actually Wears
The first practical question is simple: what usually fails in a Big Piston Fork system? The answer is not the fork seal alone. Wear develops across the oil seal, dust seal, guide bushings, backup rings, slide surfaces, damping oil, and the microscopic finish of the fork tube. As fork oil shears and aerates with repeated heat cycles, damping consistency drops. Riders feel that as extra dive on the brakes, a vague release phase at turn-in, or a fork that rebounds slightly unevenly over successive bumps. On a road-and-track machine like the GSX-R1000R, these symptoms can appear before any visible leak.
The Big Piston design changes oil flow characteristics compared with older cartridge layouts, which is one reason these forks can feel both firm and controlled. That advantage depends on clean oil and intact sealing. If a fork seal begins weeping, dirt mixes with oil at the lip and accelerates tube wear. If bushing coating starts to degrade, stiction rises, which masks damping quality and can trick owners into chasing clicker settings instead of solving the mechanical issue. In real workshop practice, the inspection hierarchy is tube condition first, bushing play second, seal integrity third, and oil condition fourth, because the first three determine whether a fluid change alone is enough.
Service intervals vary by use. A street rider may inspect annually and replace fluid more conservatively, while regular track riders often refresh fork oil every season or roughly 20 to 30 hours of hard use. That range is common in performance suspension shops because heat and repeated heavy braking break oil down faster than mileage alone suggests. If you ride aggressively on rough roads, inspect earlier. The exact threshold is less important than building a repeatable inspection routine and recording what you find.
The JIS Standard: Why the Right Driver Prevents Expensive Damage
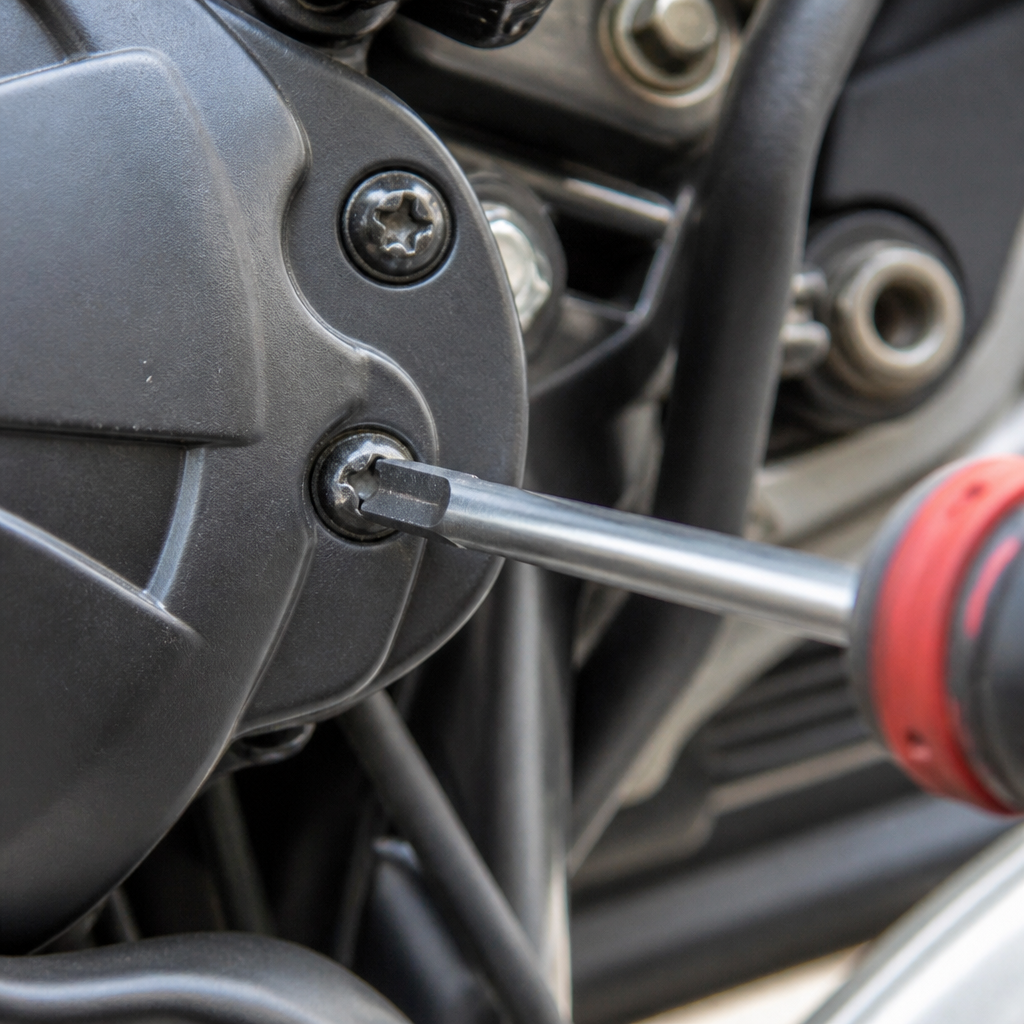
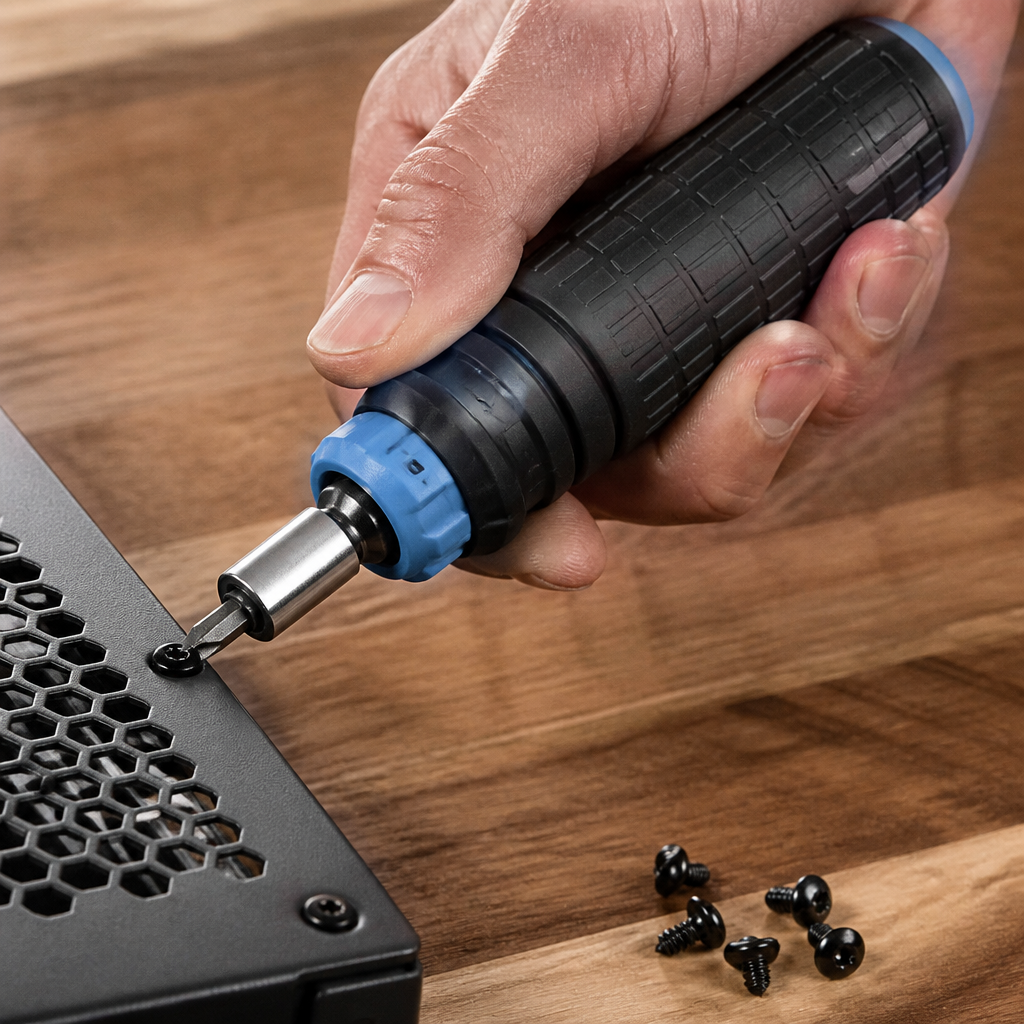
Anyone maintaining a Suzuki should understand JIS hardware before touching bodywork, reservoirs, switchgear, or ancillary fork fasteners. Japanese crosshead screws are not Phillips screws with a different label. The flank angle and engagement are different, and a proper JIS driver seats deeper and transmits torque without trying to eject itself from the screw. Vessel, Hozan, and Engineer are established Japanese tool brands that make reliable JIS-compatible drivers and bits. In my experience, switching to true JIS bits immediately reduces damaged screw heads on fairing panels, brake master cylinder caps, and cable retainers.
This matters directly in fork maintenance because access often requires removing fairings, fender hardware, brake hose guides, clip-ons, and instrument-adjacent trim depending on the work being done. Damage usually happens before the fork even comes out of the triple clamps. A technician uses a worn Phillips bit on what appears to be an ordinary crosshead screw, the bit cams out, the head deforms, and suddenly a routine service turns into extraction work. Once that happens near painted panels or soft aluminum brackets, labor and risk rise sharply.
JIS awareness also teaches a larger metric discipline: never assume visual similarity means functional interchangeability. The same principle applies to thread pitch, copper washers, O-rings, and suspension shims. If the motorcycle was engineered around a standard, match the standard. For a maintenance encyclopedia hub, that is one of the most important habits to reinforce because it prevents damage before torque values or fluid specs even enter the discussion.
Metric Quirks That Matter During Fork Service
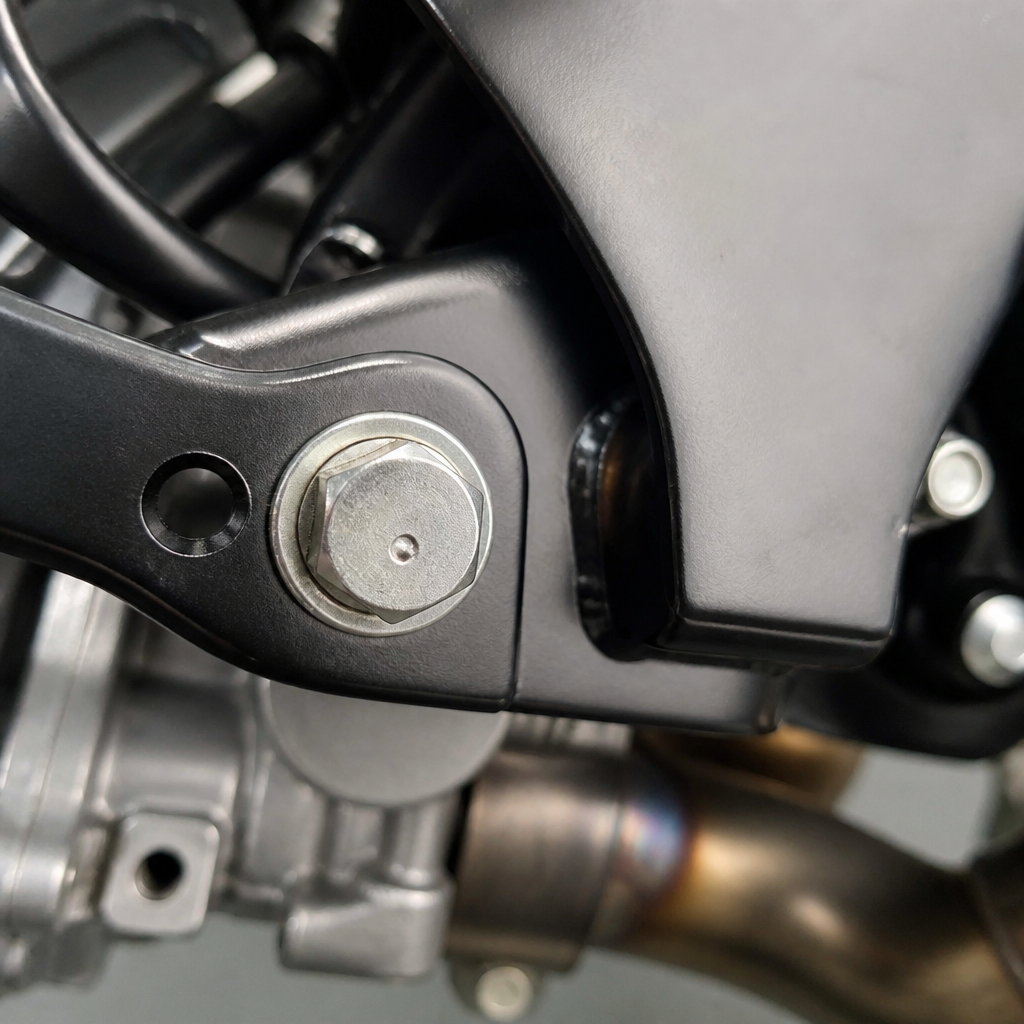
Metric motorcycles reward exactness. On the GSX-R1000R, that starts with socket fit and extends to axle alignment. Use six-point metric sockets on caliper bolts, pinch bolts, and axle hardware, especially where corrosion or threadlocker may be present. Many Japanese motorcycles use flange bolts with relatively shallow heads, and a loose twelve-point socket can round them quickly. Thread pitch also matters. Metric fasteners with the same diameter may have different pitches, and forcing the wrong one into aluminum fork bottoms or upper clamp threads can ruin expensive castings.
Another quirk is torque sequencing. Front-end alignment depends not just on final torque but on the order in which components are tightened. Fork caps, upper and lower triple clamp pinch bolts, axle, and axle pinch bolts interact with each other. Tighten in the wrong sequence and you can preload the fork legs laterally, creating stiction. The practical symptom is a fork that does not move freely through the first part of its stroke after reassembly. Owners often misread this as valving harshness when it is simply binding from assembly error.
Fluid measurement is another area where metric thinking helps. Suspension tuners often reference oil height in millimeters from the top of the compressed tube with springs removed, not just total volume added. Height determines the air spring effect in the last part of the stroke. Being off by 10 millimeters can materially change bottoming resistance. A graduated fork oil level tool gives better repeatability than pouring in a guessed volume from a bottle, especially after a full rebuild where residual oil quantity may differ from one leg to the other.
| Maintenance area | Metric-bike best practice | Why it matters on the GSX-R1000R |
|---|---|---|
| Crosshead screws | Use JIS bits, not Phillips | Prevents cam-out on bodywork and control hardware during fork access |
| Fastener removal | Use six-point metric sockets | Protects shallow flange bolt heads on calipers, fender mounts, and pinch bolts |
| Torque values | Follow newton-meter specs and sequence exactly | Reduces fork binding and preserves clamp integrity |
| Fork oil setting | Measure oil height in millimeters | Controls end-stroke air spring and left-right consistency |
| Replacement parts | Match metric dimensions and thread pitch precisely | Avoids damage to aluminum castings and sealing surfaces |
Step-by-Step Fork Maintenance Priorities for the 40th Anniversary Model
Begin with a clean motorcycle. Dirt hiding around the dust seals and axle clamps can enter the fork during service. Before disassembly, record existing clicker positions, fork tube height above the top clamp, and any visible witness marks from previous work. Then inspect the chrome or coated tube surfaces under bright light. Nicks, corrosion points, or discoloration in the seal travel area are red flags. Light contamination can sometimes be cleared with a seal cleaning tool, but pitting or scoring usually means repair or replacement is the honest answer.
Next, support the bike securely with the front end unloaded. Remove calipers carefully and hang them so no hose is strained. Remove the front wheel, fender, and any guides. Loosen pinch bolts in the correct sequence and crack fork caps while the legs are still clamped where appropriate, using the correct holding method to avoid marring surfaces. Once the fork legs are out, keep left and right components separated and labeled. Mixing adjuster parts or shim stacks is a preventable mistake.
During teardown, inspect the oil for discoloration, metallic sheen, and odor. Burnt-smelling fluid suggests heavy heat cycling. Check bushing surfaces for worn coating, inspect the seal lip and garter spring, and verify straightness and smooth travel of internal components. Replace seals and bushings as sets when wear is present. Reusing one worn component beside a new one is a false economy on high-performance suspension. When refilling, bleed the cartridge thoroughly to purge trapped air, then set oil height precisely. Reassemble with correct lubrication on seals and threads where specified, not with generic grease applied everywhere.
After installation, align the front end deliberately. Torque axle and pinch hardware in sequence, compress the forks to settle the legs, and verify smooth travel before final checks. Then test ride conservatively. A correct service should deliver cleaner initial movement, more predictable brake support, and symmetrical feel through left and right transitions.
What DCT Maintenance Teaches About Modern Japanese Service Discipline
The GSX-R1000R does not use a dual clutch transmission, but DCT maintenance belongs in this hub because it illustrates the same workshop mindset required for advanced metric motorcycles. On Honda DCT machines, correct fluid specification, adaptation procedures, filter changes, and scan-tool-informed diagnostics are mandatory. Guesswork causes shift quality problems and expensive failures. Suspension work on the Suzuki follows the same principle. Correct process is not optional just because the parts are mechanical rather than mechatronic.
In practice, owners who understand DCT service culture tend to approach fork maintenance better. They expect model-specific procedures. They buy the service manual. They use calibrated torque wrenches. They know that one fluid labeled “close enough” is often not close enough. They respect breakaway torque differences, crush washer replacement, and diagnostic recording. These habits transfer directly to the GSX-R1000R’s chassis service. The common thread is that Japanese engineering usually delivers excellent durability when maintained to specification and becomes unforgiving when maintained by assumption.
This is also why a maintenance encyclopedia should cross-link these topics. A rider learning why DCT clutch relearn procedures matter is also learning why fork oil height must be measured, why JIS bits prevent damage, and why metric thread pitch cannot be guessed. The systems differ, but the maintenance logic is unified.
Common Mistakes, Troubleshooting Clues, and When to Use a Suspension Specialist
The most common fork-service mistakes on modern superbikes are avoidable. Number one is damaging fasteners through wrong tool selection. Number two is creating stiction by improper clamp and axle tightening sequence. Number three is replacing seals without inspecting bushings and tube finish, which often leads to repeat leaks. Number four is using approximate oil quantities rather than setting oil height. Number five is changing clickers to mask a mechanical problem.
Troubleshooting clues are usually clear if you know what to feel. Oil on the lower fork leg or brake caliper area indicates an active seal leak. A dry but dirty ring at the dust seal may just need cleaning. Excess dive with otherwise normal spring rate can point to degraded oil. Harshness over small bumps with no obvious external issue often suggests stiction, overclamped tubes, or worn bushings. Uneven feel side to side after service usually points to trapped air, mismatched oil height, or assembly inconsistency.
Know when to stop and send the forks out. If the tubes are bent, coatings are damaged, damping adjusters are not responding, or you plan to revalve for track use, a reputable suspension specialist is worth the cost. Shops familiar with Showa race-derived hardware can measure components accurately, source genuine seals and bushings, and verify shim stack integrity. That is especially relevant for a premium edition motorcycle where preserving both performance and value matters.
Building a Reliable Hub for Ongoing Metric Motorcycle Maintenance
The Suzuki GSX-R1000R 40th Anniversary is an ideal case study for metric maintenance done right. Its Big Piston Forks show how performance, precision, and service discipline intersect. Maintain them well and you protect braking stability, corner entry confidence, tire contact, and component life. Ignore the details and the front end will tell on you quickly. The core lessons are straightforward: use JIS drivers where Japanese crosshead screws appear, respect metric fastener differences, measure fork oil height precisely, follow torque sequence exactly, and treat modern Japanese service procedures with the same seriousness technicians bring to DCT-equipped machines.
As the hub page for the JIS standard, DCT maintenance, and metric quirks, this article establishes the operating rules for every related guide that follows. Standards matter. Tool fit matters. Sequence matters. Documentation matters. Those are not abstract principles; they are what keep a GSX-R1000R sharp, predictable, and safe at speed. If you maintain your own motorcycle, build your workshop around those rules now. Start with the correct manual, proper JIS and metric tools, and a written service checklist before your next fork inspection.
Frequently Asked Questions
Why is Big Piston Fork maintenance on the Suzuki GSX-R1000R 40th Anniversary so critical compared with a basic leak repair?
On the GSX-R1000R 40th Anniversary, fork service is about much more than replacing an oil seal after fluid appears on the outer tube. The Showa Balance Free Front Fork Big Piston design is a high-performance assembly that directly influences braking stability, corner entry confidence, chassis feedback, and tire contact over imperfect pavement. When these forks are neglected, the problem is rarely limited to visible leakage. Oil condition degrades with heat cycles, microscopic contamination circulates through the damping system, bushings wear, sealing lips harden, and fasteners that were installed without correct torque or proper tool engagement can distort components or damage threads.
This matters even more on a modern superbike because the fork is working at a level where small errors become noticeable. Incorrect oil height, trapped air, marred sealing surfaces, or over-tightened pinch bolts can all alter fork action. What starts as “just a service” can become harshness under braking, poor rebound control, stiction at initial movement, or premature seal failure. In a fork with tight tolerances and premium internal hardware, cleanliness and method are not optional. They are part of preserving the fork’s designed damping behavior.
The phrase “one stripped crosshead screw” captures the larger point perfectly. On metric Japanese motorcycles, seemingly minor mistakes often come from treating specialized hardware like generic hardware. If a soft JIS-style screw head is damaged by the wrong driver, extraction can consume hours and may force collateral damage to nearby parts. The same mindset applies everywhere in the fork service process: use the correct tools, respect torque values, protect machined surfaces, and follow a disciplined procedure. That is what separates a clean rebuild from expensive rework.
What tools and fastener practices help prevent damage when servicing the Showa Big Piston Forks?
The biggest preventative step is using tools that match the motorcycle’s metric hardware and the fork’s delicate surfaces. Many service headaches begin with the assumption that a Phillips screwdriver is close enough for Japanese crosshead screws. It usually is not. JIS-pattern drivers or bits fit these screw heads more accurately and reduce cam-out, which is the main cause of stripped heads. If the bike still has original screws in areas related to the fork or front end, using the right bit can save a lot of frustration immediately.
Torque discipline is equally important. A quality torque wrench, ideally in the correct range for smaller fasteners and another for larger axle and pinch hardware, is essential. Fork caps, caliper bolts, axle clamp bolts, fender fasteners, and triple clamp pinch bolts all have different load requirements. Over-tightening can crush tubes, distort clamping surfaces, damage threads in aluminum, or create binding that feels like a suspension problem when it is actually an assembly problem. Under-tightening is no better, because it risks movement, misalignment, or loosening under load.
Soft jaws, fork holding tools, seal drivers sized correctly for the fork, pick tools used carefully around seals, and non-marring clamps all help protect the parts while they are apart. The inner and outer tubes must remain free from scratches, dents, and burrs, especially where seals ride. Even a tiny nick can shorten seal life. A proper measuring setup also matters. Whether you are checking oil volume, setting oil height, or inspecting straightness and wear, precision tools reduce guesswork.
Finally, cleanliness and organization are part of tool discipline. Lay out components in order, keep damping parts clean, protect exposed internals from lint and grit, and never force a part because “it should go.” On these forks, force is often a sign that something is misaligned, threaded incorrectly, or assembled out of sequence.
How does fork oil choice and fluid condition affect the performance of the Big Piston Forks?
Fork oil is not just a lubricant. It is a working part of the damping system. In the Big Piston Fork assembly, oil viscosity, condition, volume, and air gap all influence how the fork responds through compression and rebound. Fresh oil of the correct specification maintains predictable damping characteristics, while aged oil can shear down, aerate more easily, or carry contaminants that affect internal components and flow behavior. The result can be inconsistent feel, reduced support under braking, or a fork that no longer reacts with the sharp control the GSX-R1000R is known for.
Fluid level matters just as much as fluid grade. Too much oil reduces the air spring volume and can make the fork feel excessively firm near the end of its stroke, which may upset chassis balance over bumps or during hard trail braking. Too little oil can reduce bottoming resistance and compromise control. The correct measurement procedure is important, because oil height is typically set with the fork in a specific compressed state and with internals configured according to the service method. Guessing by volume alone can lead to uneven fork behavior side to side.
Contamination is another issue riders often underestimate. As bushings and seals wear, tiny particles can circulate in the oil. Over time, these particles can increase wear, alter smoothness, and affect the precision of internal damping components. That is why a fork can feel “not quite right” long before it actually leaks. Service intervals should reflect how the bike is used. Track days, aggressive canyon riding, poor road surfaces, and high heat all justify more frequent inspections and fluid replacement than casual street use.
Using the manufacturer-recommended fluid specification or a known equivalent from a reputable suspension source is the safest path. Mixing oils casually or substituting by assumption can change damping in ways that are not obvious until the bike is under stress. On a machine this capable, consistency is everything.
What are the most common mistakes during a fork rebuild, and how can they be avoided?
The most common mistake is rushing disassembly and damaging fasteners or sealing surfaces before the real work even begins. This often happens when the wrong driver is used on Japanese crosshead screws, when a cap is loosened without properly supporting the fork, or when parts are clamped carelessly in a vise. Avoiding this starts with preparation: verify the procedure, clean the fork exterior before opening anything, and use the correct holding tools and bit types from the beginning.
Another frequent error is poor cleanliness. Opening a fork in a dusty work area, reusing dirty rags, or setting precision parts on contaminated surfaces can introduce debris into the damping system. The fork may go back together, but performance and longevity suffer. Suspension internals reward clean-room habits even in a home workshop. Keep parts arranged in order, use clean containers, and inspect every component before reassembly.
Seal installation is another area where preventable damage happens. New seals can be nicked when they pass over sharp edges or threads if those areas are not protected. Seal lips can also be installed dry, backward, or driven in unevenly. Bushings and washers may be reversed or stacked incorrectly. These are not cosmetic errors; they directly affect fork smoothness and seal life. A proper seal driver, assembly lubricant or clean fork oil where appropriate, and careful confirmation of component order make a major difference.
One more major mistake is ignoring torque values and alignment steps during front-end reassembly. Even if the fork internals are perfect, uneven triple clamp clamping, mis-sequenced axle tightening, or excessive pinch bolt torque can create binding that mimics bad suspension tuning. The fork legs need to remain straight and free to move naturally. Following the correct tightening sequence and allowing the front end to settle before final clamp torque helps prevent stiction and preserves the fork’s intended action.
How can you tell when the GSX-R1000R’s Big Piston Forks need service, even if they are not visibly leaking?
Visible oil on the fork leg is the obvious sign, but it is far from the only one. Many forks need attention before an external leak develops. One early indicator is a change in ride feel: harsher response over small bumps, reduced confidence on corner entry, more dive than usual under braking, or a vague front-end feel where the tire seems less connected. Riders often describe this as the bike feeling “busy,” “wooden,” or less planted than it used to be. Those subjective impressions matter, especially if tires, geometry, and brake condition are unchanged.
Stiction is another warning sign. If the fork does not move smoothly through the initial part of its travel, worn bushings, contamination, incorrect assembly torque, or seal drag may be involved. Uneven performance between the left and right fork leg can also show up as inconsistent rebound feel, odd chassis behavior, or a front end that does not recover smoothly after heavy braking or large bumps. Sometimes you can feel this when pushing down on the bars in the garage, but dynamic riding symptoms are usually more revealing.
Physical inspection also tells a story. Look for grime rings near the seal area, pitting or scratches on the tube, worn coating, corrosion, or evidence that the dust seals are trapping contamination. Check whether the fork action sounds dry or notchy. Review service history as well. If the bike has seen track use, repeated heat cycles, or several seasons without fluid replacement, the forks may be overdue even if they still appear clean externally.
The best approach