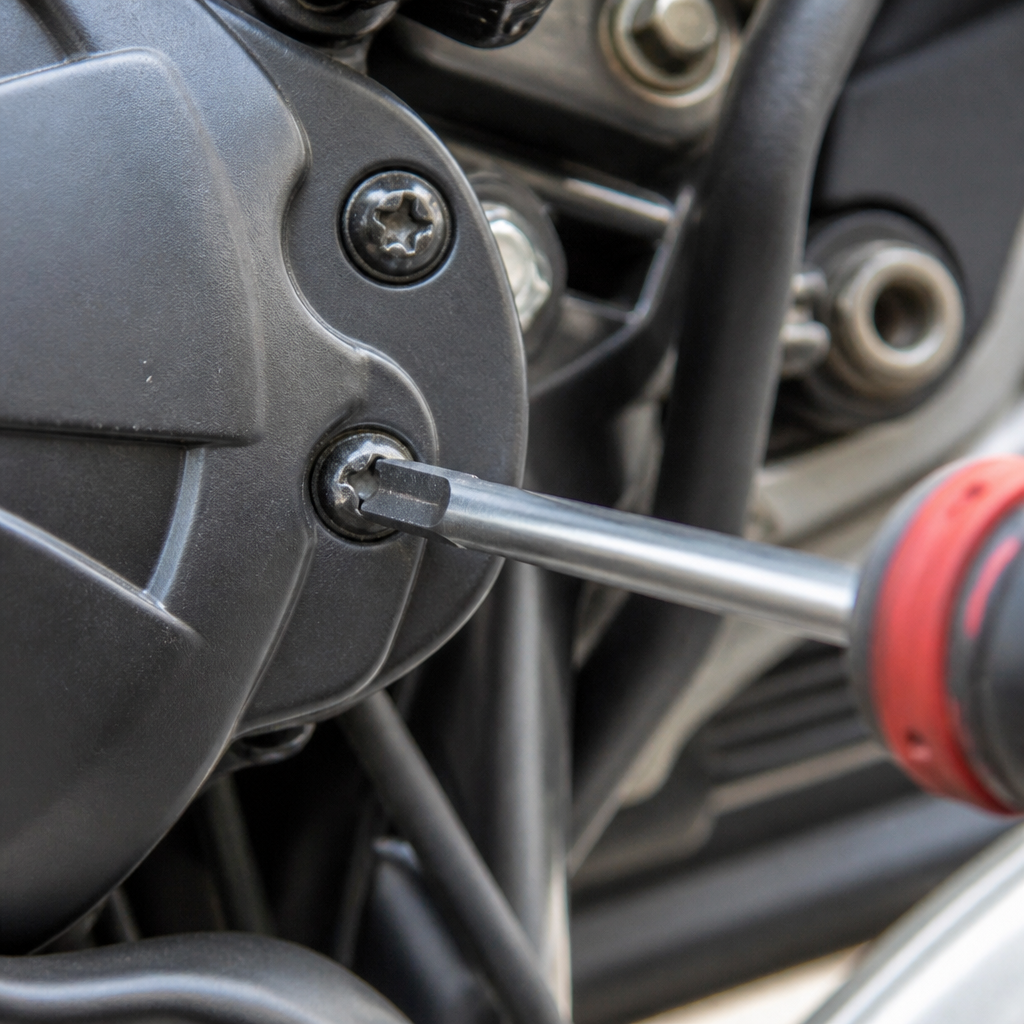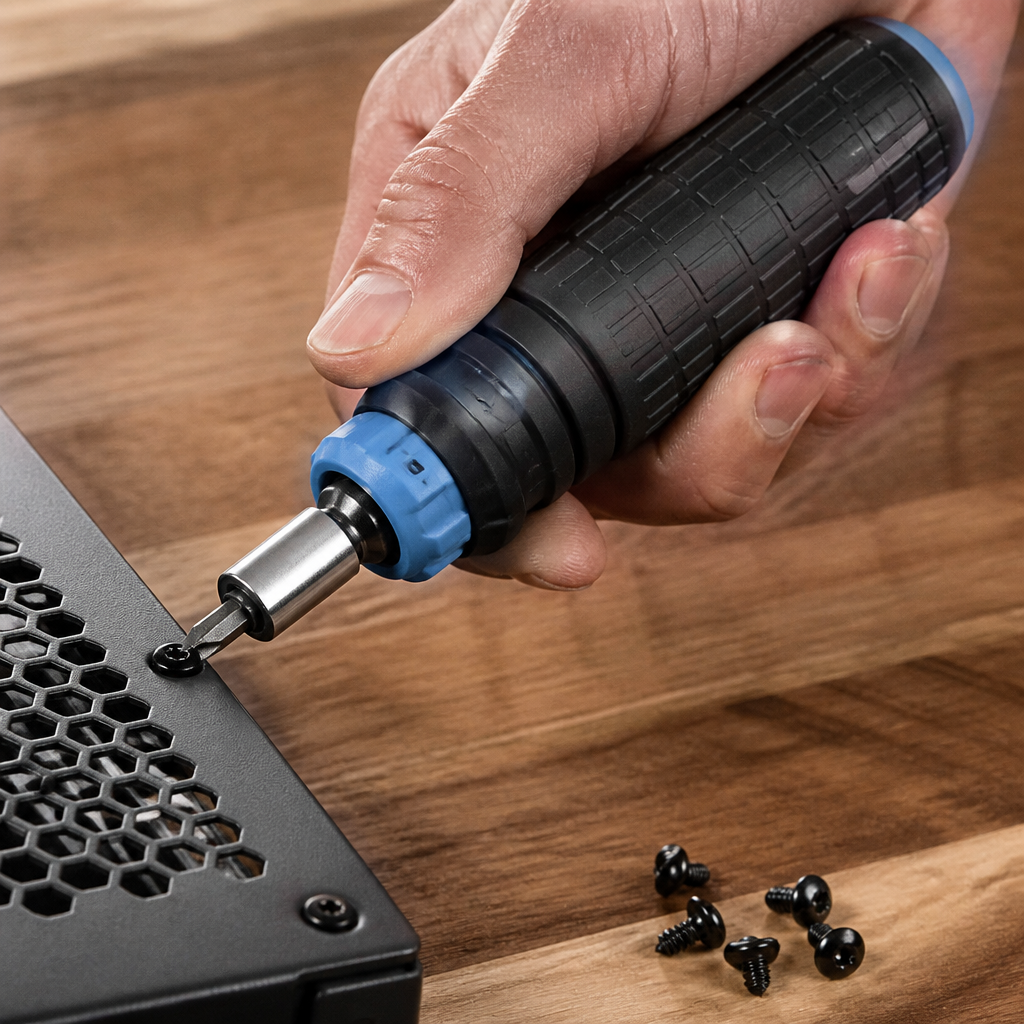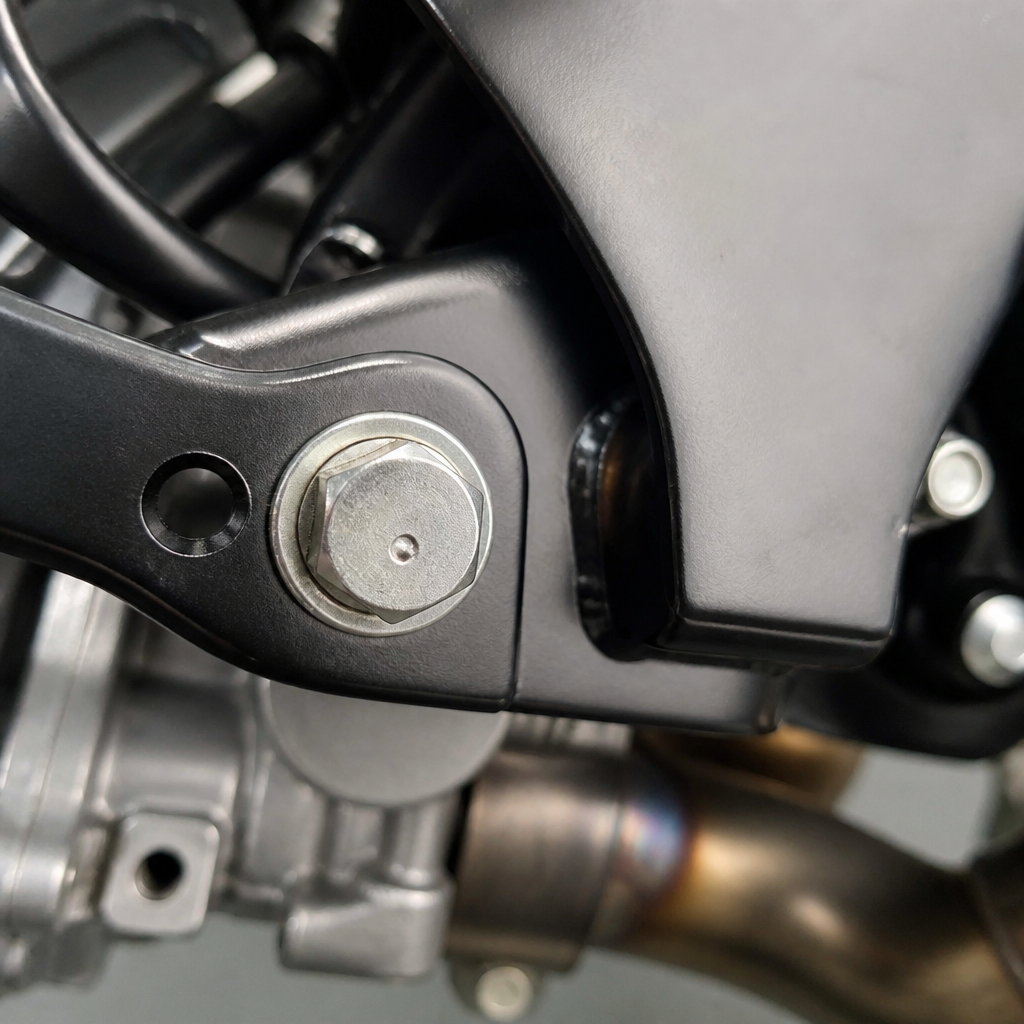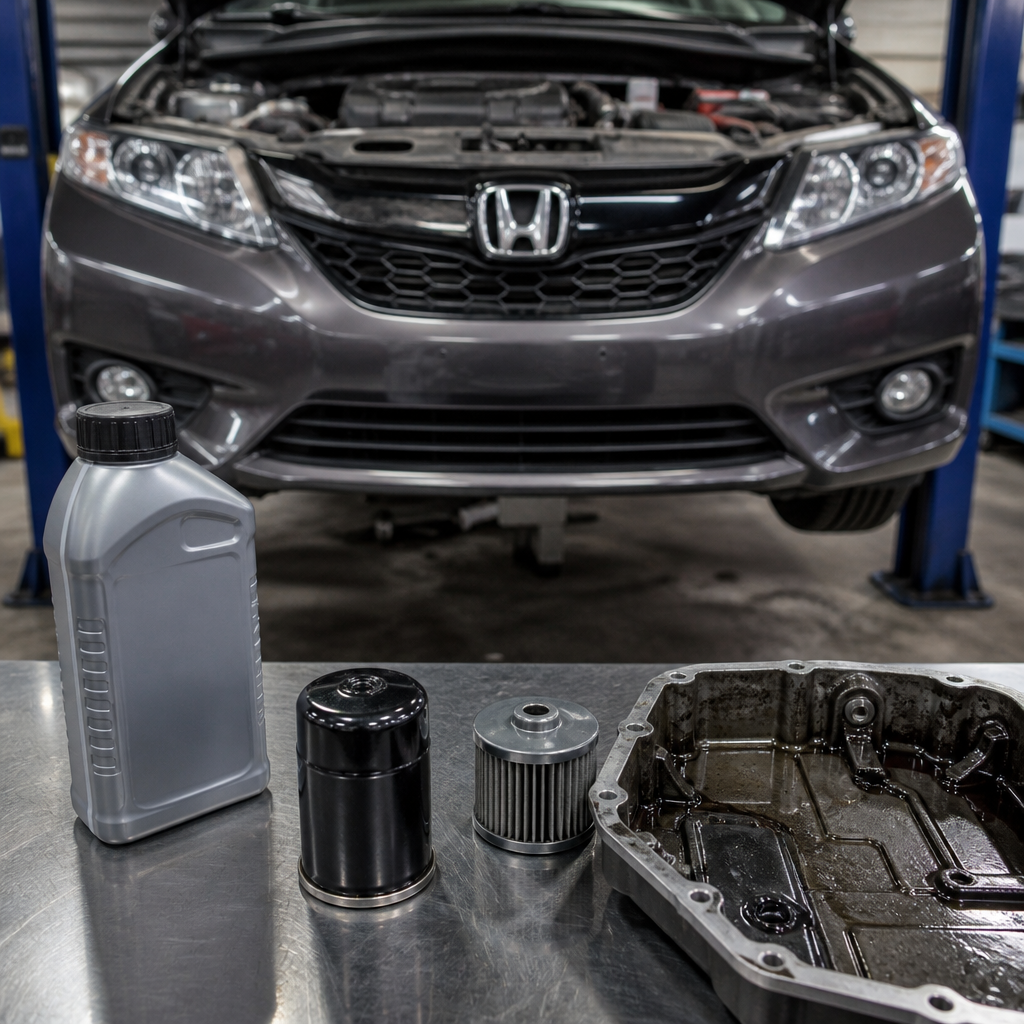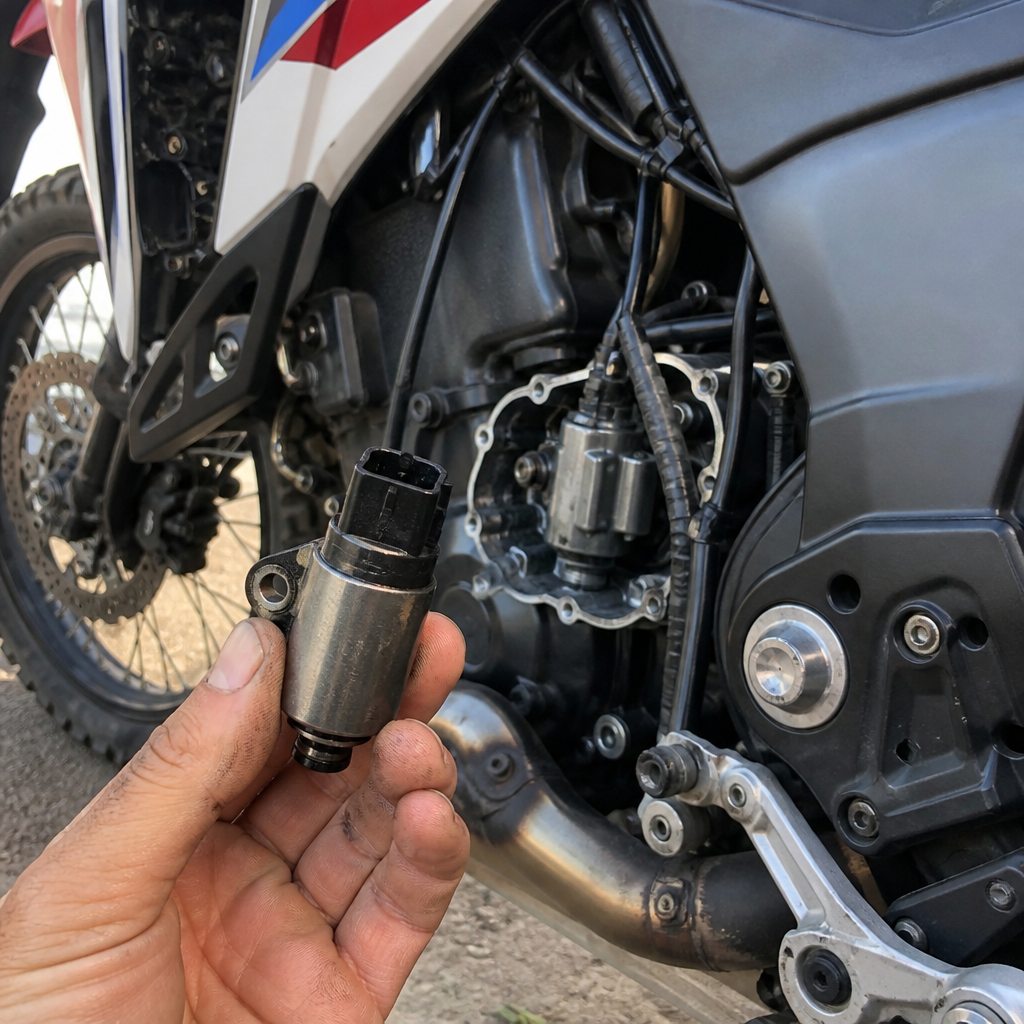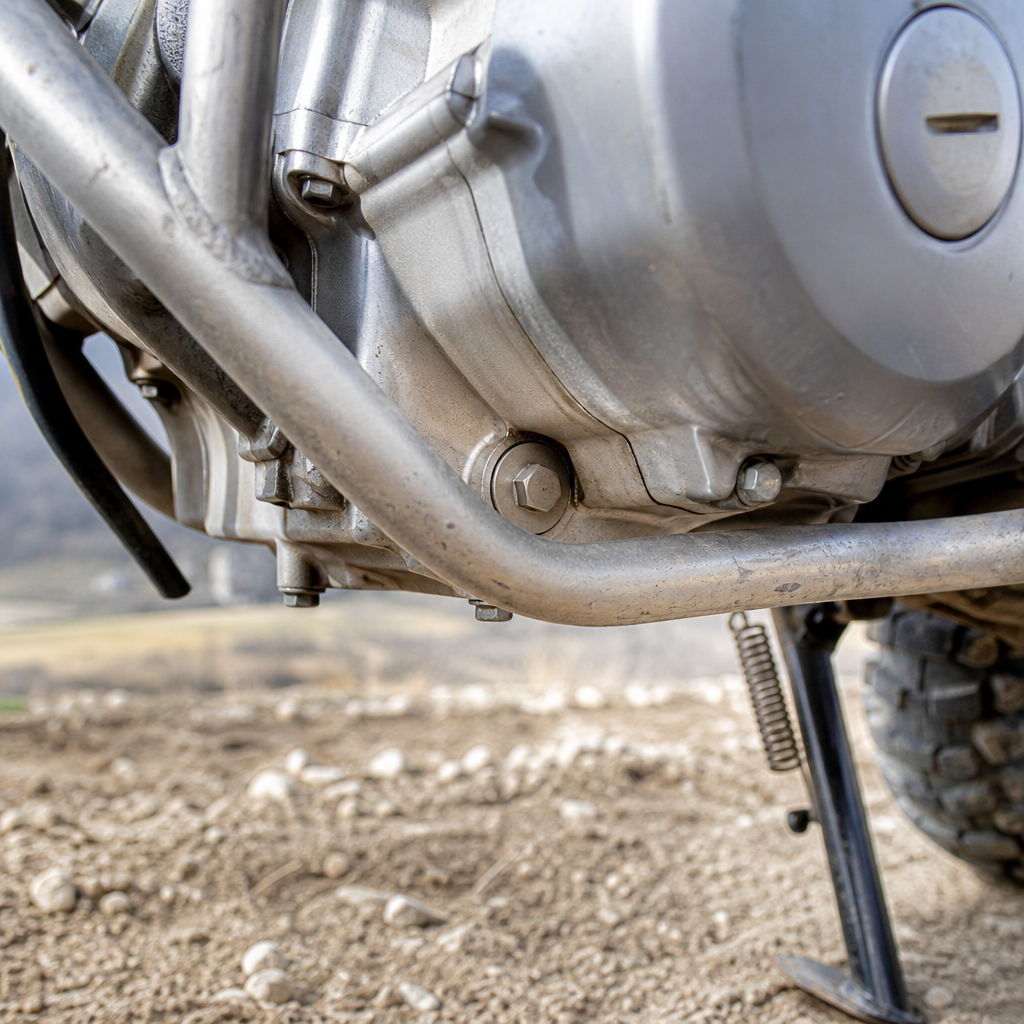
The Suzuki DR650S sump plug looks ordinary, yet on 1990-2026 models it is the single most important bolt in the entire motorcycle because it sits at the intersection of lubrication, thread integrity, service discipline, and the metric standards that govern every successful oil change. A sump plug, often called the drain plug, seals the engine’s oil pan and allows used oil to be removed during maintenance. On the DR650S, that simple task carries outsized consequences: overtighten it and you can damage the crankcase threads, undertighten it and you risk leakage, ignore washer condition and you invite seepage, use the wrong tool standard and you increase the chance of rounding the head. I have serviced air-cooled Japanese singles for years, and the DR650S repeatedly proves the same lesson: reliability depends less on exotic parts than on correct handling of basic fasteners. That is why this topic belongs at the center of any maintenance and technical encyclopedia focused on metric motorcycles.
Understanding the sump plug also opens the door to broader issues riders regularly misunderstand, especially the Japanese Industrial Standards tool ecosystem, the practical meaning of metric tolerances, and the way modern drivetrain terminology can confuse maintenance planning. Although the DR650S itself does not use a dual-clutch transmission, many owners cross-shop Suzuki dual-sport models with newer adventure and commuter motorcycles that do, and they bring assumptions from DCT maintenance into conversations about oil service, thread seal strategy, and clutch-safe lubricants. A good hub article should separate what applies to the DR650S directly from what belongs to broader motorcycle maintenance knowledge. It should also connect the plug to related topics: crush washer selection, torque wrench use, thread repair with Time-Sert or Helicoil inserts, case metallurgy, service interval logic, and the small but important metric quirks that distinguish Japanese motorcycles from European or American machines. Once those relationships are clear, the humble sump plug stops being a throwaway bolt and becomes a maintenance benchmark.
Why the DR650S Sump Plug Matters More Than Other Fasteners
The DR650S engine is famously durable, but durability in an air/oil-cooled single depends on clean oil and a sealed lubrication system. The sump plug is the service point touched most often by owners, far more than cylinder studs, suspension pivots, or internal transmission hardware. That frequency alone makes it critical. Every oil change creates an opportunity either to preserve the engine correctly or to start a chain of avoidable damage. The DR650S uses aluminum crankcase threads, while the drain plug itself is steel. Steel wins that contest when a mechanic leans too hard on a ratchet. Once the softer aluminum threads distort, the repair is no longer a routine oil change but a machine-shop problem, often solved with a thread insert. In real workshop practice, stripped sump threads are among the most common owner-induced faults on simple Japanese motorcycles.
There is also a systems reason this bolt matters. Oil on the DR650S is not merely a lubricant; it is a cooling medium and a contaminant carrier. A slow leak from a damaged washer or compromised seat can reduce oil level over time, especially on long highway runs where vibration and heat cycles work against marginal seals. The rider may not notice until the engine sounds harsher, shifts less cleanly, or shows oil mist on the skid plate. By then, the source is often the drain point that seemed minor during the last service. This is why experienced technicians clean the sealing face, inspect the plug head and threads, replace the crush washer when required, and torque the fastener to specification with a calibrated wrench instead of relying on feel alone.
The JIS Standard and the Tooling Mistakes Riders Make
When riders hear JIS, they usually think of cross-head screws on carburetors and switchgear, not sump plugs. That is too narrow. The broader lesson behind Japanese Industrial Standards is that Japanese motorcycles were designed around precise dimensional and tooling conventions, and maintenance errors often start when owners apply generic assumptions. On the DR650S, the sump plug typically uses a metric hex head, so the issue is not Phillips-versus-JIS driver choice at the plug itself. The issue is the mindset: using correct metric tools, understanding Japanese torque philosophy, and avoiding hardware substitutions that seem close enough. A worn imperial socket on a metric bolt head is exactly the kind of shortcut that rounds corners, especially after years of heat cycling and previous overtorque.
In the workshop, I treat JIS awareness as a gateway habit. If an owner knows to use Vessel or Hozan JIS drivers on carb screws, that same owner is more likely to respect 6-point metric sockets, torque values in newton-meters, and proper washer design at the sump. Japanese manufacturers expected service with correctly sized tools and clean mating surfaces, not thread tape, impact guns, or “one more pull for luck.” Suzuki’s service information is built around that assumption. The practical takeaway is direct: on a DR650S, use a quality 6-point metric socket, verify the specified torque in the factory or model-specific manual, and tighten the plug only after the washer and seat have been inspected. JIS awareness is not trivia; it is a discipline that reduces fastener damage across the motorcycle.
Metric Quirks That Turn a Simple Oil Change Into an Expensive Repair
Metric motorcycles reward precision, and the DR650S is full of small details that matter. Thread pitch is one of them. Owners sometimes assume any drain plug that threads in smoothly for a turn or two must be acceptable. That is dangerous. Similar-diameter metric fasteners can have different pitches, and forcing the wrong plug into aluminum threads can ruin the case before full engagement even begins. Washer dimensions matter too. A crush washer that is too hard, too thin, or too large in inner diameter may not deform correctly under specified torque, leading to leaks or false confidence. This is why experienced mechanics match the plug, washer, and torque spec as a system rather than as interchangeable pieces.
Another metric quirk is torque interpretation. Many riders still think in foot-pounds, yet service literature for Japanese motorcycles is usually more precise in newton-meters. Conversion errors are common, especially when someone misreads a chart or uses an inch-pound wrench outside its effective range. Add a long-handled ratchet and warm aluminum, and the risk rises fast. Surface condition also matters: a torque value assumes clean threads unless the manual states otherwise. Oiled threads can alter clamping force, while sealants can create misleading drag. The DR650S sump plug does not need improvisation; it needs clean, undamaged threads and the correct washer. That is the recurring pattern in successful long-term ownership.
| Maintenance factor | Correct DR650S practice | Common mistake | Likely result |
|---|---|---|---|
| Socket choice | 6-point metric socket in the exact size | Worn 12-point or near-fit imperial socket | Rounded plug head |
| Washer use | Inspect and replace crush washer as needed | Reusing a flattened or mismatched washer | Oil seepage |
| Torque method | Use calibrated torque wrench in N·m | Tightening by feel with extra leverage | Stripped crankcase threads |
| Thread condition | Clean and hand-start the plug fully | Cross-threading or forcing engagement | Case damage and insert repair |
| Replacement hardware | Use OEM-spec or verified equivalent plug | Generic plug with wrong pitch or seat | Poor sealing or thread failure |
Oil Service Procedure: What Correct Looks Like
A correct DR650S oil change is methodical, not dramatic. Warm the engine briefly so contaminants are suspended, then shut it down and place the bike securely upright. Remove the sump plug with the correct metric socket, paying attention to initial breakaway force; if it feels abnormally tight, slow down and support the tool squarely to protect the head. Drain the oil completely, inspect the old oil for metallic debris, then examine the plug threads and sealing face. If the plug uses a magnet, check for fine fuzz versus larger chips; a light paste can be normal wear, while chunks are not. Clean the plug, fit the correct washer, and reinstall by hand for several turns before any wrench touches it.
That hand-start step prevents most disasters. If the plug does not spin in smoothly, back it out and inspect both male and female threads under good light. Once seated, tighten to specification with a torque wrench. Then refill with the oil grade appropriate for ambient temperature and riding conditions, using a motorcycle-compatible formulation that meets the clutch and gearbox requirements of a wet-clutch single. Start the engine, check for leaks, let oil settle, and verify level according to the manual. This disciplined sequence sounds basic, but it is exactly where neglected details separate a reliable DR650S from one with recurring seepage, butchered hardware, or permanent case repairs.
DCT Maintenance: What Applies, What Does Not, and Why It Still Belongs Here
The DR650S does not have a dual-clutch transmission, so no owner should search for a DR650S DCT filter, adaptation routine, or clutch pack service interval. Still, DCT maintenance belongs in this hub because many riders use encyclopedia pages to compare maintenance realities across motorcycles, and oil-service terminology often gets blurred. On a DCT-equipped motorcycle, oil selection can influence shift quality, clutch engagement behavior, and hydraulic control passages in ways beyond the needs of a conventional manual gearbox. Those machines may have additional filters, screens, service steps, or adaptation procedures specified by the manufacturer. The DR650S does not share that complexity, but understanding the distinction prevents owners from applying irrelevant advice.
The useful crossover lesson is this: oil service discipline matters on every motorcycle, but the failure modes differ. On the DR650S, the main sump-plug risks are stripped threads, leaks, and neglected oil condition in an air/oil-cooled engine that depends on regular service. On DCT machines, contamination control and exact fluid standards can have added consequences for mechatronic operation and clutch modulation. In both cases, the right response is the same: follow the model-specific service literature, not generic forum folklore. As a hub topic, this article points readers toward that habit. Knowing when a maintenance rule is universal and when it is model-specific is one of the most valuable skills a motorcycle owner can develop.
Failure Modes, Repairs, and Long-Term Prevention
When a DR650S sump plug problem appears, it usually falls into one of four categories: rounded head, damaged threads, sealing surface issues, or recurring leaks despite correct torque. A rounded head is often solvable with extraction sockets, but repeated abuse may require plug replacement. Damaged crankcase threads are more serious. In professional repair, a solid insert such as a Time-Sert often provides a stronger and more reliable result than a simple coil insert, especially where sealing and repeated service matter. The repair must be done square to the case, with careful control of swarf, because metal chips left in the engine are unacceptable. If the sealing face on the case is gouged, even perfect threads may not stop seepage without additional corrective work.
Prevention is cheaper and simpler than any repair. Keep a dedicated metric oil-service kit, replace questionable plugs before they fail, and log torque values and washer changes in your maintenance record. If a previous owner has already overtorqued the plug, do not assume one more normal oil change means everything is fine; inspect the threads closely because partial thread pull-out can worsen suddenly. Riders who travel far from home should carry the correct socket and a spare washer, not because the DR650S is fragile, but because field maintenance succeeds when the small details are planned. Treat the sump plug as a precision service point, and the motorcycle rewards you with the dependable simplicity for which the DR650S is known.
The 1990-2026 Suzuki DR650S sump plug is the most important bolt because it condenses the core truths of motorcycle maintenance into one repeatable task: use the correct metric tools, respect Japanese service standards, understand model-specific requirements, and never confuse simplicity with permission to be careless. This one fastener controls the success of every oil change, protects vulnerable aluminum threads, and reveals whether an owner approaches maintenance with discipline or guesswork. It also serves as the ideal hub topic for deeper reading on crush washers, torque practice, thread repair, oil specification, and the broader differences between conventional manual gearboxes and DCT-equipped motorcycles.
If you remember only one point, make it this: the DR650S does not usually fail because the machine is weak; it fails because routine service was done badly. A clean drain seat, the right washer, hand-started threads, and a verified torque value prevent the majority of sump-plug problems. Build your maintenance process around those fundamentals, and every related metric quirk becomes easier to manage. Use this page as your starting reference, then continue into detailed articles on JIS tooling, oil service procedures, and thread repair methods so your next DR650S oil change is uneventful for all the right reasons.
Frequently Asked Questions
Why is the sump plug on the 1990-2026 Suzuki DR650S considered the most important bolt on the bike?
The sump plug is considered the most important bolt on the Suzuki DR650S because it directly controls one of the engine’s most critical systems: lubrication. Every internal engine component that depends on clean, properly contained oil is affected by the condition of this single fastener. The plug seals the drain point in the engine sump, allowing oil to stay where it belongs during operation and to be removed safely during service. If that seal fails, the consequences can range from a minor seep to rapid oil loss, and oil loss on an air/oil-cooled single-cylinder engine is never something to take lightly.
What makes the DR650S sump plug especially important across 1990-2026 models is that it also sits at the center of thread integrity and maintenance discipline. The engine cases are aluminum, while the plug itself is steel, which means the softer internal threads can be damaged if the plug is cross-threaded, overtightened, or installed carelessly. Unlike a cosmetic fastener or a non-essential bracket bolt, the sump plug has no margin for negligence. A damaged drain hole can turn a routine oil change into a thread repair, a helicoil installation, or in worst cases a major engine-case issue.
It also represents a perfect example of how simple maintenance practices separate a healthy dual-sport from an expensive problem. The right plug, correct thread engagement, proper torque, and a fresh sealing washer all matter. Riders often focus on valves, carburetion, gearing, or suspension, but the humble drain plug is the recurring service point that gets handled over and over for the life of the motorcycle. Because of that repetition, small mistakes add up. On the DR650S, the sump plug is not just a bolt you remove during oil changes; it is a reliability checkpoint every owner and mechanic interacts with regularly.
What can go wrong if the DR650S sump plug is overtightened, undertightened, or installed incorrectly?
A surprising amount can go wrong, and most of it starts with the mismatch between a steel plug and aluminum engine threads. If the sump plug is overtightened, the most immediate risk is stripping the internal threads in the engine case. Once those threads are damaged, the plug may no longer tighten correctly, may leak even with a new washer, or may fail to hold securely at all. In practical terms, that can mean anything from a slow drip on the garage floor to a repair that requires thread restoration. Overtightening can also deform the sealing washer, giving the false impression of a better seal while actually increasing stress on the threaded bore.
If the plug is undertightened, the risks are different but just as serious. A loose plug can seep oil, back out over time from vibration, or fail to maintain a reliable seal as the engine heats and cools. The DR650S is often used on pavement, gravel, and rough terrain, so vibration and repeated load changes are part of normal operation. An improperly secured drain plug in that environment is asking for trouble. Even a small oil leak can create a maintenance blind spot, where the owner notices residue but delays correction until the oil level becomes a real concern.
Incorrect installation causes its own category of problems. Cross-threading is one of the worst because it damages the threads during insertion, often before the installer realizes anything is wrong. Starting the plug with a wrench instead of by hand increases that risk. Reusing a crushed or damaged sealing washer can prevent proper sealing even when the plug is torqued correctly. Installing the wrong plug entirely, whether due to incorrect thread pitch or poor aftermarket fitment, can compromise both thread engagement and sealing surface contact. In short, a bad sump plug installation can lead to leaks, stripped threads, repeat repairs, and potentially severe engine damage if oil loss goes unnoticed.
What is the correct way to remove and reinstall the sump plug during a DR650S oil change?
The correct process starts before the plug is ever turned. Warm the engine briefly so the oil flows more freely, but do not work on a dangerously hot engine. With the bike stable and the correct tools in hand, clean the area around the sump plug first so grit and dirt do not fall into the drain opening. When removing the plug, use the proper socket or wrench size and break it loose smoothly without rounding the hex. As the plug comes out, pay attention to how it feels. If it seems unusually tight, gritty, or inconsistent, that can be an early warning sign of thread wear or previous damage.
Once removed, inspect the plug carefully. Look at the threads for flattening, galling, or burrs. Check the sealing surface and replace the sealing washer if there is any doubt about its condition. The drain hole threads in the engine case should also be examined as well as possible. They should look clean and even, not torn, shiny, or spiraled. This is also the moment to make sure the plug and washer are free of debris and old oil sludge that could interfere with sealing.
Reinstallation is where good habits matter most. Always start the sump plug by hand, turning it several full threads with no resistance beyond normal engagement. If it does not thread in smoothly by hand, stop immediately and reassess. Never force it. Once it seats properly against the washer, use a torque wrench and tighten it to the manufacturer’s specification for the DR650S. That step is essential because “feel” varies widely from person to person, especially on aluminum threads. Tightening by specification protects both the seal and the engine case.
After refilling the engine with the correct oil and completing the oil change procedure, start the bike and check for leaks around the sump plug. Then inspect it again after a short ride. A proper oil change is not finished when the plug is tightened; it is finished when you confirm that the plug seals correctly under real operating conditions. That final inspection can catch a washer issue, a seating problem, or a slow leak before it becomes a bigger problem.
Why do thread size, pitch, and metric standards matter so much for the DR650S sump plug?
They matter because the sump plug is not a generic bolt you can replace casually from a random hardware bin. It is a precision-fit service fastener that must match the engine case threads exactly in diameter, pitch, and seating design. On a Japanese motorcycle like the Suzuki DR650S, metric standards are fundamental to proper maintenance. If the thread pitch is wrong, even slightly, the plug may appear to start correctly but will damage the threads as it goes in. If the diameter or seat style is wrong, the plug may not seal or may bottom out improperly, creating a false sense of tightness.
This is especially important because drain plugs often look deceptively simple. Many riders see a steel plug with a washer and assume equivalents are interchangeable, but the details matter. The correct thread form ensures full engagement with the aluminum sump threads. The correct shoulder and washer arrangement ensure even clamping pressure at the sealing surface. The correct length ensures the plug neither engages too shallowly nor extends in a way it should not. These are not theoretical concerns. A mismatched plug can ruin engine-case threads in a single installation.
Metric standards also matter from a service consistency standpoint across the 1990-2026 DR650S range. Owners, independent shops, and parts suppliers all rely on standardized dimensions and specifications to keep maintenance predictable and safe. Using the proper plug, washer, and torque specification turns oil service into a repeatable procedure rather than a gamble. In SEO terms the sump plug may sound like a small component, but in mechanical terms it is a textbook case of why precision in fastener standards protects reliability. On the DR650S, respecting those standards is one of the easiest ways to avoid unnecessary damage.
How can DR650S owners protect the sump plug threads and avoid expensive oil-drain repairs over the long term?
The best protection starts with consistency and patience. Always use the correct sump plug for the Suzuki DR650S, always install it by hand first, and always tighten it with a torque wrench to the proper specification. Those three habits eliminate most of the common causes of drain-plug damage. The reason they work is simple: thread damage usually happens not because the design is flawed, but because service shortcuts are repeated over time. One rushed oil change, one overconfident tightening attempt, or one reused damaged washer can begin a chain of problems that gets worse at every subsequent service.
Replacing the sealing washer regularly is another smart long-term practice. A fresh washer helps achieve a proper seal without the temptation to overtighten the plug. When a washer becomes work-hardened, distorted, or grooved, people often compensate by adding extra torque, and that extra torque is what threatens the aluminum threads. Cleanliness matters too. Dirt on the threads, debris on the seat, or metal particles from previous wear can create resistance during installation and mislead the installer into thinking the plug is tightening normally.
Owners should also pay attention to warning signs rather than treating leaks casually. If the plug suddenly feels loose, tight, rough, or inconsistent compared with previous oil changes, inspect it closely. If oil weeps despite a new washer and proper torque, that may indicate damage to the plug, the seat, or the threads. Addressing the issue early