The Kawasaki Versys 650 is widely respected as a durable middleweight adventure-touring motorcycle, but owners of high-vibration examples should pay close attention to one structural issue: engine mount cracks. In practical workshop terms, an engine mount crack is any fracture, elongation, or material separation around the brackets, bosses, spacers, or frame tabs that secure the parallel-twin engine to the chassis. Because the Versys 650 uses the engine as a stressed member, mount integrity affects alignment, handling, vibration transmission, and long-term frame life. I have inspected several used Versys models that showed no obvious crash damage yet had fretting marks, chipped paint around mount bosses, and early hairline cracks caused by sustained vibration, incorrect torque, or previous improper service.
This matters because vibration problems rarely stay isolated. A mount that loosens or begins to crack can accelerate wear in fasteners, distort sleeves, upset chassis geometry, and mask other faults such as worn rubber contact points, bent brackets, or uneven chain adjustment. On metric motorcycles, especially Japanese models, careful service also depends on understanding fastener standards, tool fit, and model-specific mechanical design. That is why this hub page goes beyond the immediate inspection procedure. It connects three themes that repeatedly surface in real maintenance work: the Japanese Industrial Standard screw and driver system, dual-clutch transmission service concepts that many riders now encounter across mixed-brand garages, and the metric quirks that can turn a simple inspection into stripped fasteners or incorrect reassembly if ignored.
For Versys 650 owners, buyers, and technicians, the key question is straightforward: how do you check for engine mount cracks correctly on high-vibration models, and what broader mechanical knowledge helps you avoid causing damage while doing it? The answer starts with a methodical inspection routine, then expands into proper fastener handling, torque discipline, and awareness of drivetrain service standards used on modern metric motorcycles. Even though the Versys 650 itself does not use a dual-clutch transmission, understanding that maintenance ecosystem is useful because this article serves as a technical hub inside a broader metric encyclopedia. Riders often maintain multiple bikes, compare procedures across brands, or arrive here after searching for Japanese motorcycle service standards in general. The common thread is precision: correct tools, correct specifications, correct inspection order, and an informed view of how design choices affect maintenance outcomes.
How to Inspect Kawasaki Versys 650 Engine Mounts for Cracks
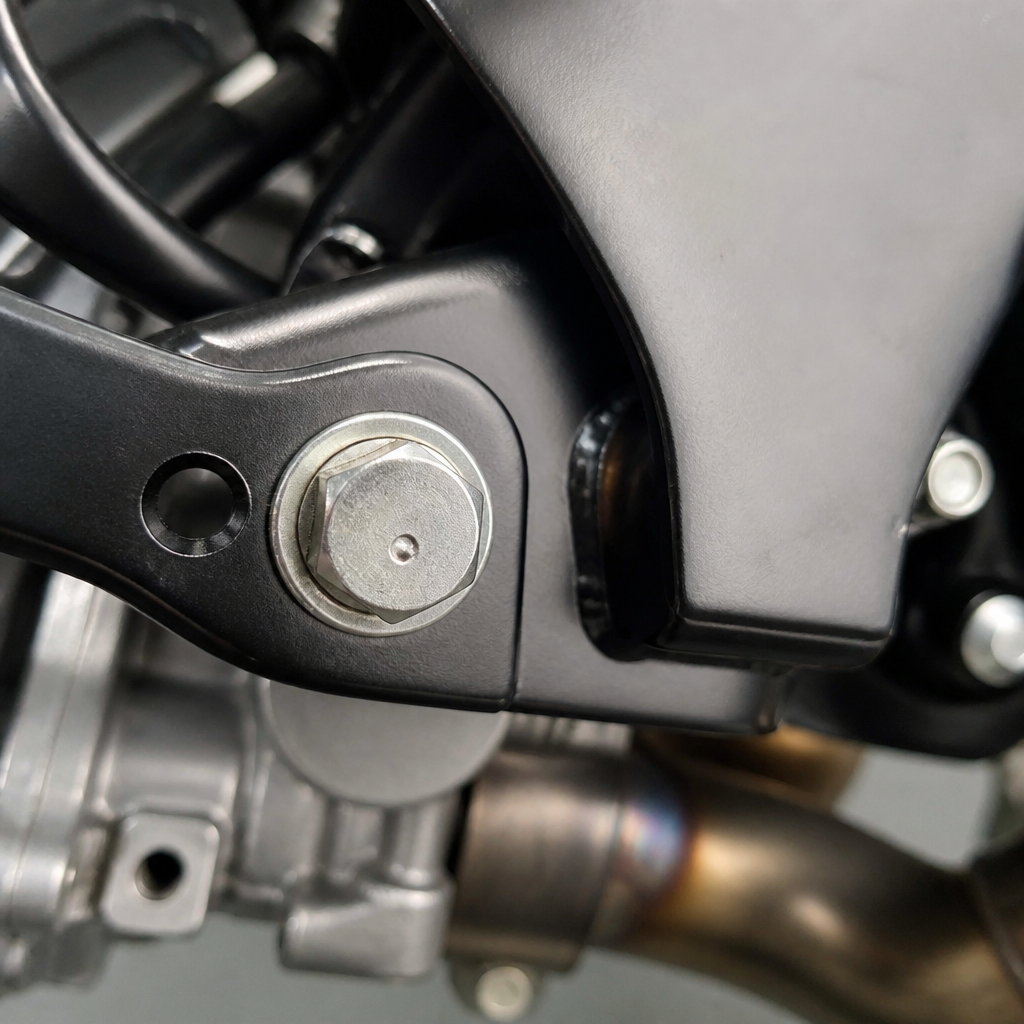
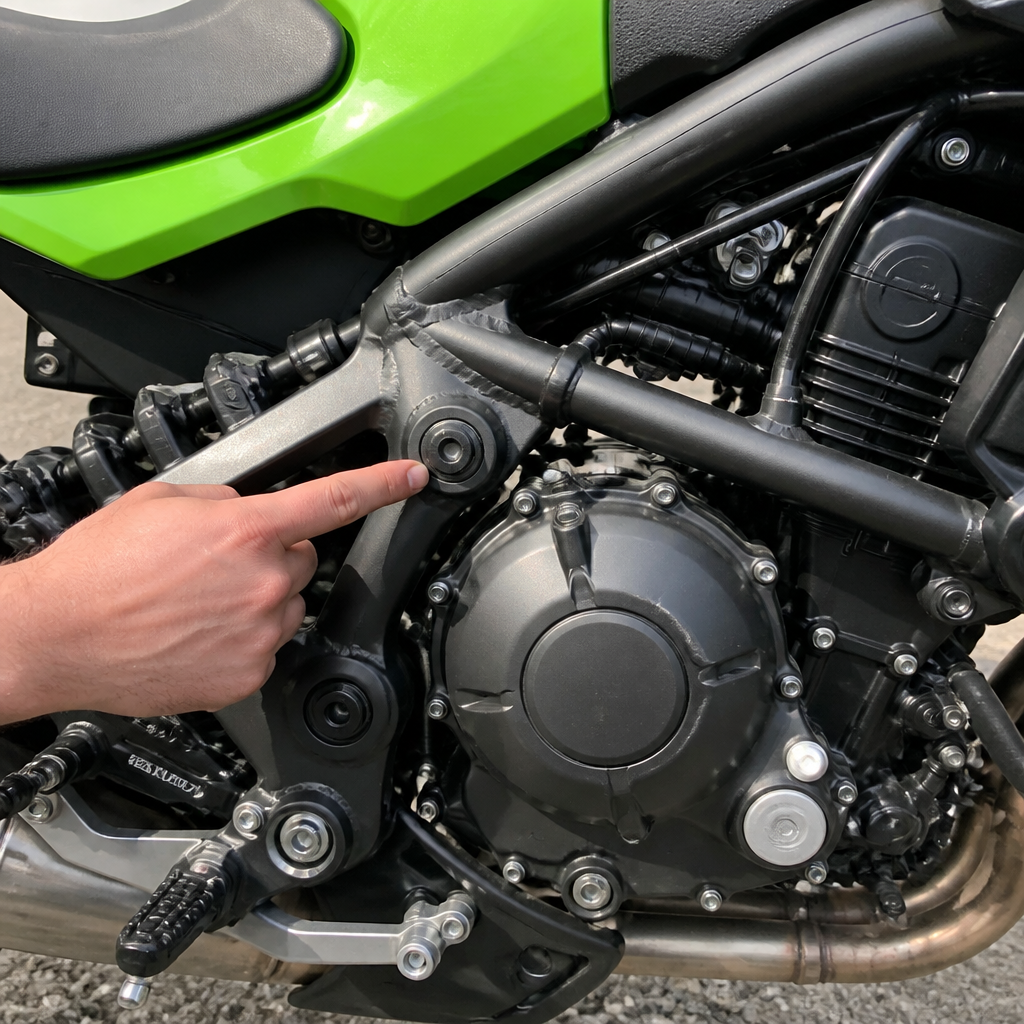
On a high-vibration Versys 650, engine mount inspection should be done with the bike clean, upright, and fully cooled. Start by removing side fairings and any crash bars that obstruct the upper and lower mount areas. Use a bright inspection lamp and examine each mount point for chipped paint, rust staining, black fretting dust, witness marks around washers, and fine lines radiating outward from bolt holes. Hairline cracks commonly start at stress risers near weld toes, bracket edges, or threaded bosses where clamping force was uneven. Run a fingernail across suspicious marks; a true crack usually catches. If access allows, use a mirror or borescope to inspect the rearward faces of brackets where cracks often hide.
Next, verify fastener condition before loosening anything. Check whether the bolt heads and flange nuts show tool damage, mismatched hardware, or signs that someone reused stretched fasteners. On the Versys, common causes of recurring vibration-related issues include over-tightened mounts, under-torqued mounts, corroded sleeves, and reassembly with dirt trapped between mating faces. I always compare left and right spacer orientation because swapped spacers can preload the frame and create abnormal stress. If a crack is suspected, clean the area with brake cleaner and repeat the inspection. For confirmation, a dye penetrant kit is highly effective and inexpensive. It reveals fine fractures that paint or grime can conceal, especially around lower mounts exposed to road contamination.
Do not assume that increased handlebar buzz automatically means a cracked mount. The Versys 650 parallel twin naturally produces some vibration, and rider complaints can also come from valve clearance drift, throttle body imbalance, worn chain and sprockets, hardened footpeg rubbers, or crash bars acting as resonators. The practical test is correlation: if vibration increased after a tip-over, engine removal, or improper fastener service, mount inspection moves higher on the list. If a crack is confirmed, stop riding until the frame and mounting system are properly evaluated. Temporary tightening may reduce movement, but it does not restore structural strength.
Why High-Vibration Models Develop Mount Problems
Not every Versys 650 will develop engine mount cracks, but certain conditions raise the risk. Sustained operation at rpm ranges that excite a resonance, repeated rough-road impacts with luggage, low-speed drops, and aftermarket accessories that change load paths can all contribute. In workshop inspections, I have seen rigid crash bars transfer impact energy into mount zones that otherwise would have escaped damage. Similarly, skid plate systems tied directly into engine or frame mounts can amplify stress if the hardware stack-up is incorrect. The engine acts as part of the chassis structure, so any accessory that shares those points must be treated as a structural change, not just a bolt-on cosmetic addition.
Poor torque practice is another major factor. A mount fastener works by clamping components together with predictable preload. If it is too loose, micro-movement occurs, which creates fretting and cyclic stress. If it is too tight, threads and brackets can be overloaded, and the surrounding material may deform. Kawasaki service data should always be the final authority for torque values and tightening order. When owners work from generic online advice instead of model-specific specifications, problems follow. I have repeatedly found cases where one side was tightened fully before the opposite side was seated, leaving the engine slightly biased in the frame. That kind of preload is invisible at a glance but very clear once wear patterns appear.
| Inspection area | What to look for | Why it matters |
|---|---|---|
| Upper mount brackets | Paint cracks, bolt looseness, distorted spacers | Upper mounts influence alignment and vibration transfer |
| Lower frame tabs | Rust lines, fretting dust, hairline fractures near welds | Lower mounts absorb impact and road load |
| Through-bolts and nuts | Tool damage, stretched threads, mismatched hardware | Incorrect hardware changes clamp load |
| Accessory mounting interfaces | Crash bar pressure, skid plate misalignment | Add-ons can redirect stress into frame points |
Environmental factors matter too. Corrosion around steel fasteners and aluminum interfaces can interfere with accurate torque readings and make disassembly rough enough to damage mounting points. Bikes used year-round in wet or salted conditions deserve more frequent checks. For used-bike buyers, a quick mount inspection can reveal more than a polished exterior ever will. Fresh paint around a mount area, uneven washer impressions, or a single new bolt in an otherwise aged assembly should prompt deeper questions about crash history or prior repairs.
The JIS Standard and Why It Matters During Metric Motorcycle Service
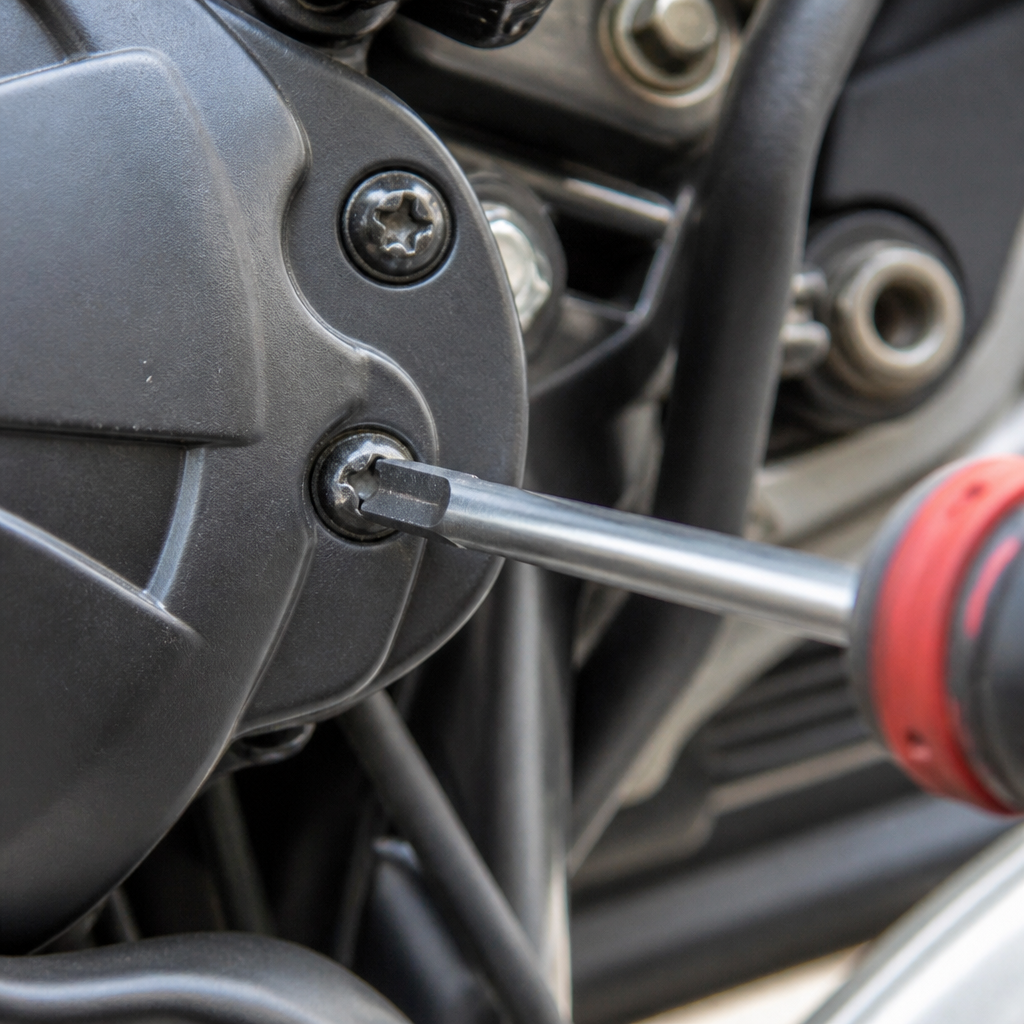
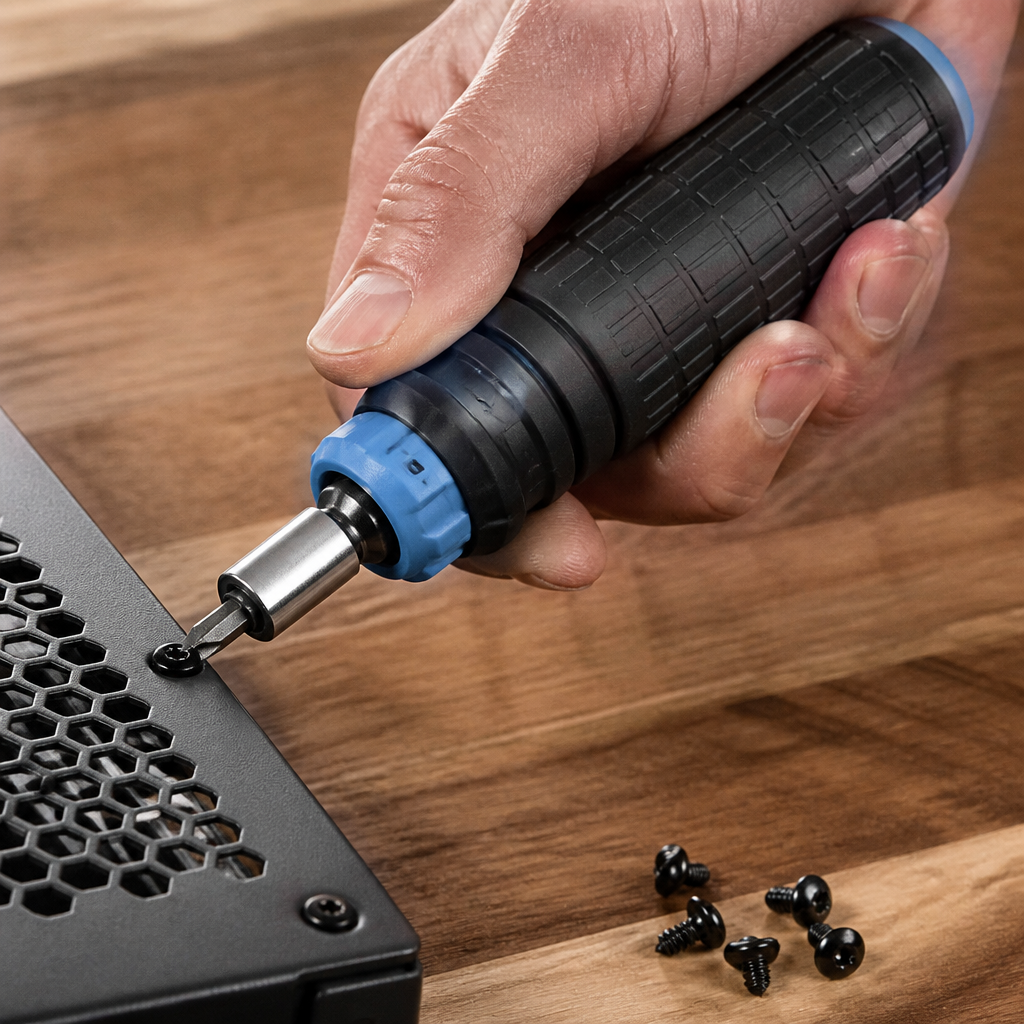
Any serious hub on metric motorcycle maintenance must explain the JIS standard because it affects routine work across Japanese machines. For decades, many screws on Japanese motorcycles were made to Japanese Industrial Standard geometry rather than the more common Phillips profile most riders assume they see. The difference is not trivial. A Phillips driver is intentionally designed to cam out under high torque, while a proper JIS driver engages more fully and reduces slippage. On carburetor tops, switchgear housings, hose clamps, and engine covers, using the wrong driver is a classic way to chew up screw heads and turn simple service into drilling and extraction.
Although newer motorcycles increasingly use socket-head, Torx, or hex-flange fasteners, JIS-related confusion remains common in fairings, controls, and legacy components. On a Versys 650 engine mount inspection, you may only encounter a few cross-head screws while removing trim or ancillary parts, but this is exactly where damage starts. I keep Vessel and Hozan JIS drivers in regular rotation because fit is visibly better than generic screwdrivers. If a screw resists, an impact driver with the correct bit often breaks it free cleanly without deforming the head. Once stripped, a small screw can delay an inspection far longer than any structural check itself.
The larger lesson is that metric service is not just about measuring in millimeters. It is about respecting the standards embedded in the machine. That includes flange bolt seating, thread pitch differences, crush washer dimensions, and proper use of anti-seize or threadlocker only where the manufacturer specifies. Many technicians learn this after one expensive mistake, such as substituting a visually similar bolt with the wrong shank length and bottoming it into a blind hole. Engine mount areas are especially unforgiving because fastener length, washer thickness, and spacer orientation directly affect clamp load and alignment.
DCT Maintenance as Part of the Broader Metric Knowledge Base
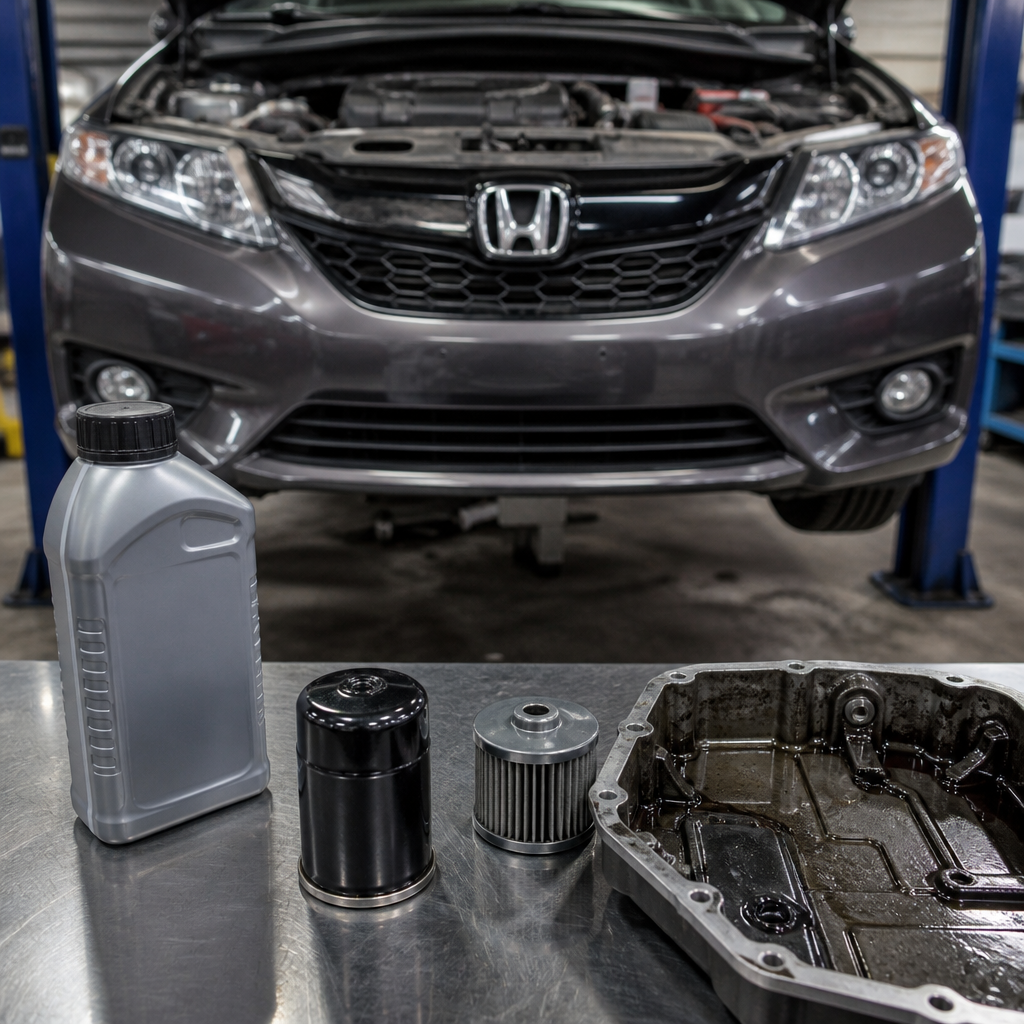
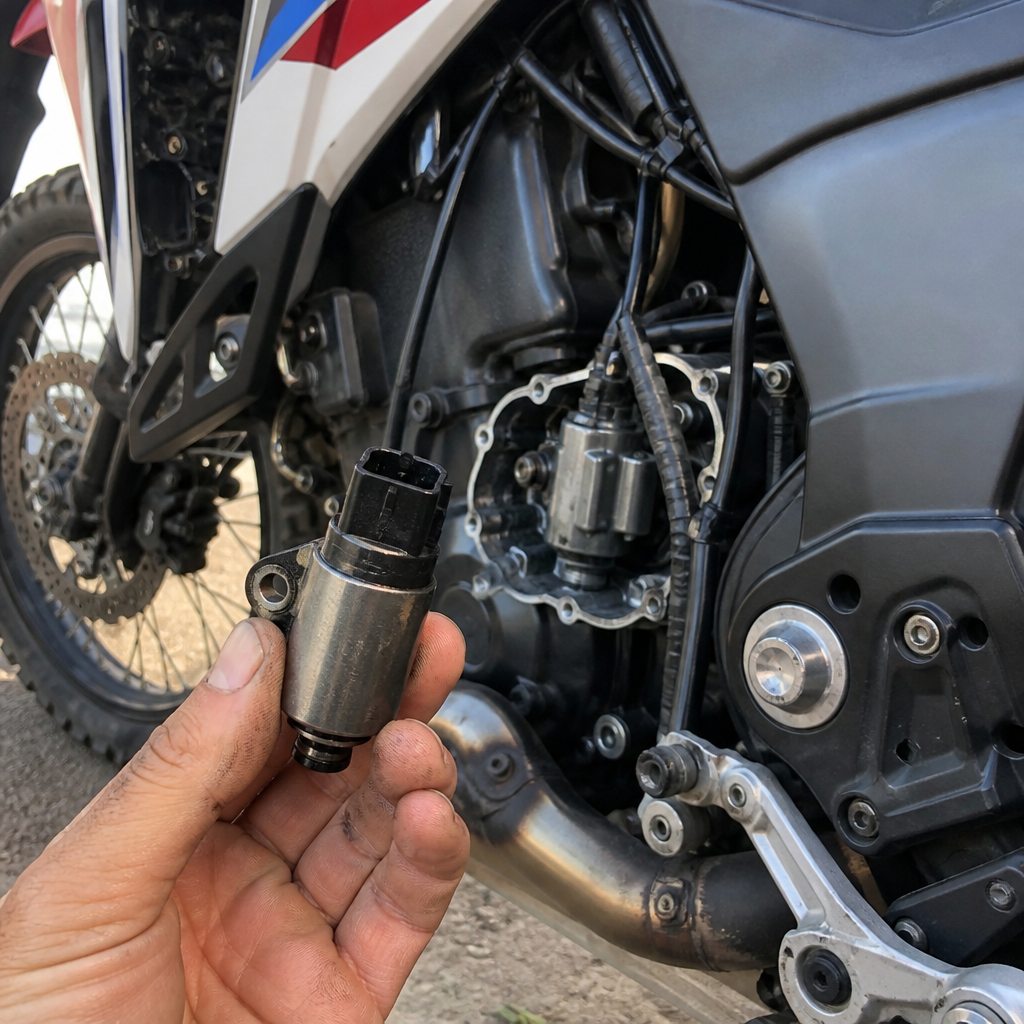
The Versys 650 does not use a dual-clutch transmission, yet DCT maintenance belongs in this hub because riders increasingly cross-shop and self-service multiple metric motorcycles. Honda’s DCT system uses hydraulically actuated clutches, shift solenoids, filters, and electronic control logic that require a different maintenance mindset than conventional manual gearboxes. The core lesson carries over well: follow the exact service schedule, use the correct oil specification, understand calibration procedures, and never improvise around transmission-related fasteners or sensors. On DCT models, neglected fluid and filter changes can degrade shift quality, while improper battery voltage can trigger adaptation issues or fault codes.
Why include this here? Because technical literacy compounds. Owners who understand one sophisticated metric system are usually better prepared to approach another with discipline. DCT service teaches respect for procedure, cleanliness, and correct scan-tool interpretation. Those same habits improve structural inspections on a Versys 650. For example, documenting baseline vibration, checking service history, and verifying whether previous work involved engine removal are all procedural habits borrowed from more systematized maintenance environments. Riders who jump between Kawasaki, Honda, Yamaha, and Suzuki machines benefit from a unified framework: identify the exact hardware standard, consult the service manual, use the correct torque sequence, and confirm the effect of every accessory or prior repair.
There is also a practical shop reality. Independent garages often see mixed fleets. A rider may bring in a DCT-equipped Honda commuter and a Versys 650 touring bike on the same day. The best shops maintain consistency in documentation, fluid labeling, fastener handling, and post-service inspection regardless of brand. That consistency prevents oversights, especially when one motorcycle has highly electronic drivetrain needs and the other has a seemingly straightforward chassis concern that can still become serious if missed.
Metric Quirks That Affect Real-World Repairs
Metric motorcycles share broad conventions, but each model has quirks that matter in the workshop. On the Versys 650, bodywork layering can obscure access, and accessory installations often complicate what should be direct visual lines to the mounts. Thread pitches may be familiar, yet bolt shoulder lengths and captive collar arrangements can vary enough to punish assumptions. Another common quirk is mixed-material assembly: steel bolts threading into aluminum cases or brackets require clean threads and accurate torque to avoid galling or false readings. A torque wrench is only trustworthy when the threads, seating faces, and hardware condition are correct.
One of the most overlooked quirks is that vibration complaints can be cumulative rather than singular. I have had bikes arrive with a suspected engine mount problem that ultimately traced to several smaller faults acting together: out-of-balance throttle bodies, flattened bar-end weights, tired chain dampers, and a lower mount bolt that had lost preload. Riders often search for one dramatic failure, but motorcycles age through stacked tolerances. That is why a good inspection includes adjacent systems. Check chain alignment, rear wheel alignment marks against actual measurement, exhaust bracket security, and any accessory fasteners tied to the frame. If multiple parts are loose, the mount issue may be a symptom of broader maintenance drift rather than the root cause.
When repairs are needed, frame cracks should be evaluated conservatively. Cosmetic touch-up paint is not repair. Structural welding on a motorcycle frame demands correct material identification, fixturing, crack-stop preparation, and post-repair alignment verification. In some cases, replacement is safer than repair, especially if the crack extends through a high-load area or previous welding quality is uncertain. After any repair, re-torque cycles and vibration monitoring are essential. Marking bolt positions with torque seal can help identify movement during follow-up inspections. For owners doing their own work, the smartest move is simple: buy the service manual, use proper JIS-capable tools, keep a torque log, and inspect engine mounts whenever vibration changes. That routine catches small problems early and protects the reliability that makes the Versys 650 such a strong all-round motorcycle.
Conclusion
Checking engine mount cracks on a Kawasaki Versys 650 is not difficult, but it must be done with discipline. Clean the bike, expose every mount point, inspect for paint disruption, fretting, corrosion, and hairline fractures, and verify that hardware, spacers, and accessories are installed exactly as intended. High-vibration models deserve closer attention because repeated resonance, rough use, poor torque practice, and aftermarket parts can all increase stress around structural mounting points. A confirmed crack is never a cosmetic issue; it is a chassis problem that should be addressed before further riding.
The broader value of this hub is that it connects the inspection to the larger world of metric motorcycle service. Understanding JIS fasteners prevents needless damage during disassembly. Understanding DCT maintenance reinforces procedural accuracy even on bikes without that transmission. Understanding metric quirks helps riders avoid false assumptions about hardware, torque, and accessory fitment. Put together, these skills make you more effective whether you are maintaining one Versys 650 or an entire mixed-brand garage. Use the factory manual, use the right tools, and make engine mount inspection part of your regular maintenance routine.
Frequently Asked Questions
What are the most common signs of an engine mount crack on a Kawasaki Versys 650?
On a Kawasaki Versys 650, the earliest warning signs usually show up as changes in vibration, alignment, or fastener behavior rather than an obvious visible fracture. Owners of high-vibration bikes often notice a new buzz through the bars, pegs, or seat at specific RPM ranges, especially if the motorcycle previously felt normal in those same conditions. You may also hear a metallic ticking, creaking, or light knocking noise from the frame or engine area during throttle transitions, hard acceleration, engine braking, or when riding over rough pavement. In some cases, the bike may begin to feel slightly unsettled in corners or less precise during low-speed maneuvering because the engine is part of the chassis structure and helps maintain overall rigidity.
Visual clues are just as important. Look for chipped paint, rust lines, dark witness marks, shiny fretting around the mount points, elongated bolt holes, or small separation lines around welded tabs, brackets, and bosses. A crack may appear as a very fine line that becomes more visible after cleaning the area thoroughly. Also inspect for bolts that repeatedly loosen, spacers that no longer sit squarely, or washers that show uneven contact patterns. These symptoms can suggest movement at the mount even before a major crack is obvious. If any of these signs appear, the motorcycle should be inspected carefully before continued use, because a small mount issue can progress into a larger structural problem if vibration and load cycles continue unchecked.
Why are engine mount cracks especially important on the Versys 650 compared with some other motorcycles?
The issue matters more on the Versys 650 because its parallel-twin engine is not simply hanging in the frame; it functions as a stressed member in the chassis. That means the engine contributes to the bike’s structural stiffness and helps tie key portions of the frame together. When an engine mount develops a crack, elongation, or separation, the problem is not limited to a single bracket. It can affect how loads are transferred through the motorcycle during acceleration, braking, cornering, and impacts from uneven roads. On a high-vibration example, repeated movement at a compromised mount can gradually increase stress on nearby tabs, bolts, spacers, welds, and even other mounting points.
In practical terms, that can lead to worsening vibration, accelerated fastener loosening, alignment changes, and unpredictable handling feel. A mount that no longer clamps correctly can allow micro-movement that wears surrounding components and spreads fatigue into adjacent material. Because the Versys 650 is often used for commuting, touring, and rougher backroad travel, the bike may be exposed to a mix of steady highway vibration and shock loads from poor surfaces, luggage, or passenger weight. All of that makes mount integrity more than a cosmetic concern. It is directly tied to chassis stability, rider confidence, and long-term durability, which is why any suspected crack should be treated as a structural inspection issue rather than just an annoyance.
How should I inspect a Kawasaki Versys 650 for engine mount cracks safely and thoroughly?
Start with the motorcycle on a stable stand or level surface so you can inspect it without the bike shifting unexpectedly. The engine should be cool, and the mount areas should be cleaned thoroughly before inspection. Dirt, chain lube residue, road grime, and oxidized paint can easily hide early-stage cracks. Use a degreaser, soft brush, good lighting, and a bright inspection lamp. Then examine every accessible engine mount area, including the frame tabs, welded joints, brackets, bosses, bolt heads, washers, sleeves, and spacers. Pay special attention to corners, weld toes, and areas where paint has lifted or where you see rust staining, as these often reveal fatigue movement.
A careful inspection includes both visual and mechanical checks. Look for hairline fractures, ovalized holes, witness marks showing movement, or any gap that suggests material separation. Check whether bolts appear centered and seated correctly. If torque history is unknown, inspect for signs of over-tightening or under-tightening, but do not randomly loosen structural bolts unless you are following the service procedure. In many cases, removing bodywork or side covers improves visibility. A small inspection mirror can help you see the back side of tabs and brackets. If a suspected crack is difficult to confirm, a dye penetrant crack inspection can be very useful, especially on cleaned metal surfaces. Also compare left and right sides for symmetry; one side may show abnormal spacer orientation, paint disturbance, or visible stress marks. If you find anything questionable, it is best to stop riding and have the area evaluated by a qualified technician familiar with motorcycle frames and stressed-engine designs.
What usually causes engine mount cracks on high-vibration Versys 650 models?
Engine mount cracks usually result from fatigue, which means the metal has been exposed to repeated stress cycles over time until a fracture begins. On high-vibration Versys 650 motorcycles, that process can be accelerated by several factors working together. Persistent vibration at certain RPM ranges can increase cyclic loading at the mounts, particularly if the bike has a minor imbalance, poorly synchronized throttle bodies, worn engine mounting hardware, or a history of impacts. Loose or incorrectly torqued mount bolts are another major contributor because they allow movement between parts that should be clamped solidly. That movement creates fretting, uneven load paths, and localized stress concentrations that can eventually lead to cracks around tabs, bosses, or bolt holes.
Other causes include crash damage, tip-over loads, corrosion hidden under paint, previous improper repairs, aftermarket crash bars or accessories that alter stress distribution, and repeated heavy use with luggage or rough-road riding. Even a simple issue such as missing spacers, incorrect washers, or hardware installed in the wrong order can create side-loading and distortion at the mount. Over-tightening can be just as harmful as under-tightening because it may crush spacers, deform brackets, or overstress the surrounding material. In short, cracks rarely appear without a reason. They are usually a sign that the mount has been carrying abnormal load, experiencing prolonged vibration, or both. Identifying the root cause is essential, because repairing the visible crack without correcting the underlying problem can lead to repeat failure.
Can I keep riding if I find a small crack, and what is the proper repair approach?
As a general rule, no, you should not continue riding a Kawasaki Versys 650 if you have confirmed or strongly suspect an engine mount crack. Even a small crack can grow quickly once the surrounding area starts flexing under engine vibration and chassis loads. Because the engine serves as a stressed member, a compromised mount can affect frame stiffness, alignment, and the behavior of nearby fasteners and brackets. What seems like a minor crack in the garage can turn into a much more serious structural issue after a few rides, especially on rough roads, under hard acceleration, or with luggage and passenger weight onboard.
The proper repair approach depends on the exact location and severity of the damage. First, the bike should be inspected thoroughly to determine whether the crack is isolated or part of a larger pattern involving bolt hole elongation, spacer wear, tab distortion, or damage to adjacent mounts. The root cause must be identified before repair begins. In some cases, replacement of damaged brackets, hardware, spacers, or frame components is the safest solution. If welding is considered, it should only be carried out by a professional with experience in motorcycle structural repair, correct material identification, heat control, and post-repair alignment verification. A poor weld repair can weaken the area further or introduce distortion. After repair, all mounting hardware should be checked against factory specifications for condition, orientation, and torque, and the motorcycle should be monitored closely for any recurrence of vibration, noise, or fastener movement. When structural integrity is in question, a conservative approach is always the right one.