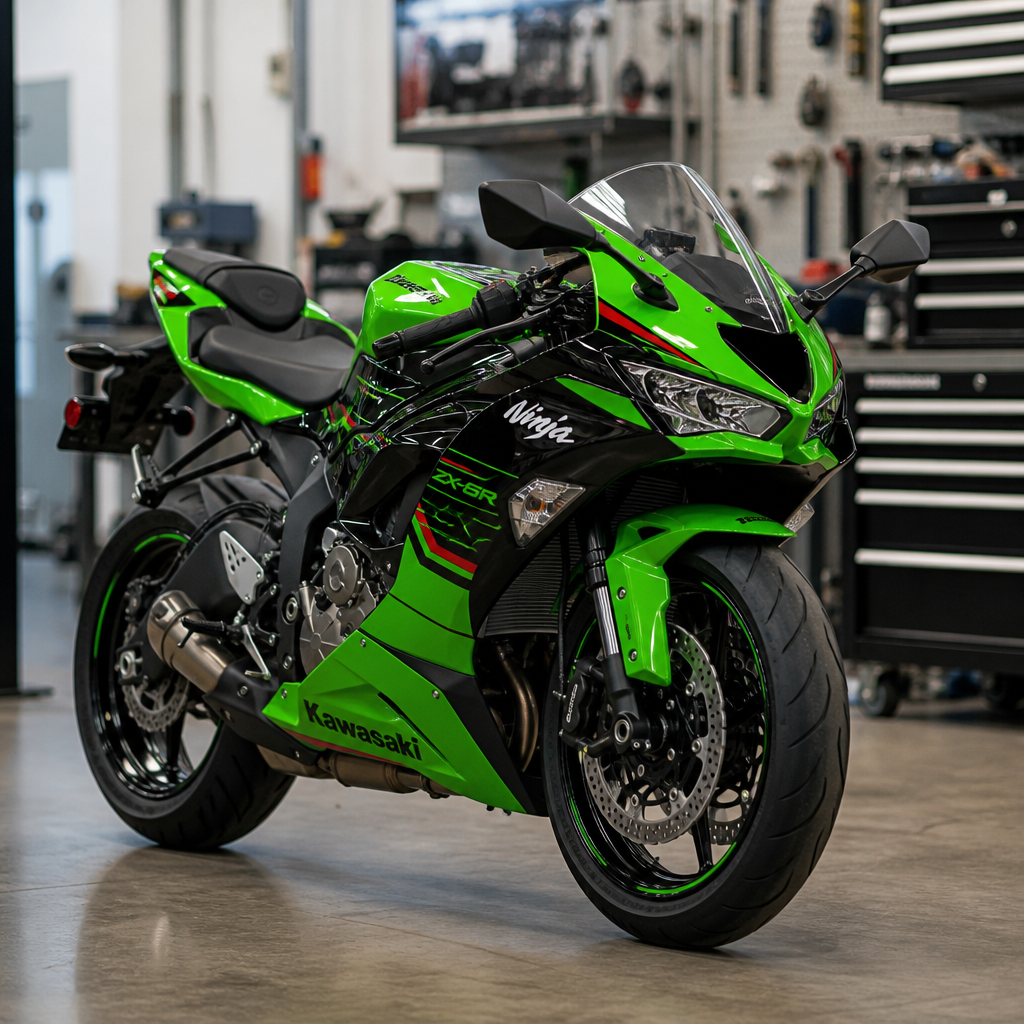
The Kawasaki Ninja 1100SX in 2026 blends sport-touring speed with parts that reward precise maintenance, and the Brembo M4.32 front calipers deserve special attention because braking performance, pad life, rotor condition, and lever feel all depend on how carefully they are serviced. Owners often focus on engine oil, chain adjustment, and tire pressures first, yet in my workshop experience, neglected calipers create the most avoidable complaints: dragging pads, pulsing at the lever, uneven wear, overheated fluid, and corrosion around hardware that should have been cleaned months earlier. This hub article explains how to maintain the Brembo M4.32 calipers on the Ninja 1100SX while also covering the broader metric-service topics riders keep running into: the JIS standard used on many Japanese fasteners, dual-clutch transmission maintenance principles that influence workshop tool habits even when a specific motorcycle is not equipped with one, and the metric quirks that catch out otherwise competent home mechanics.
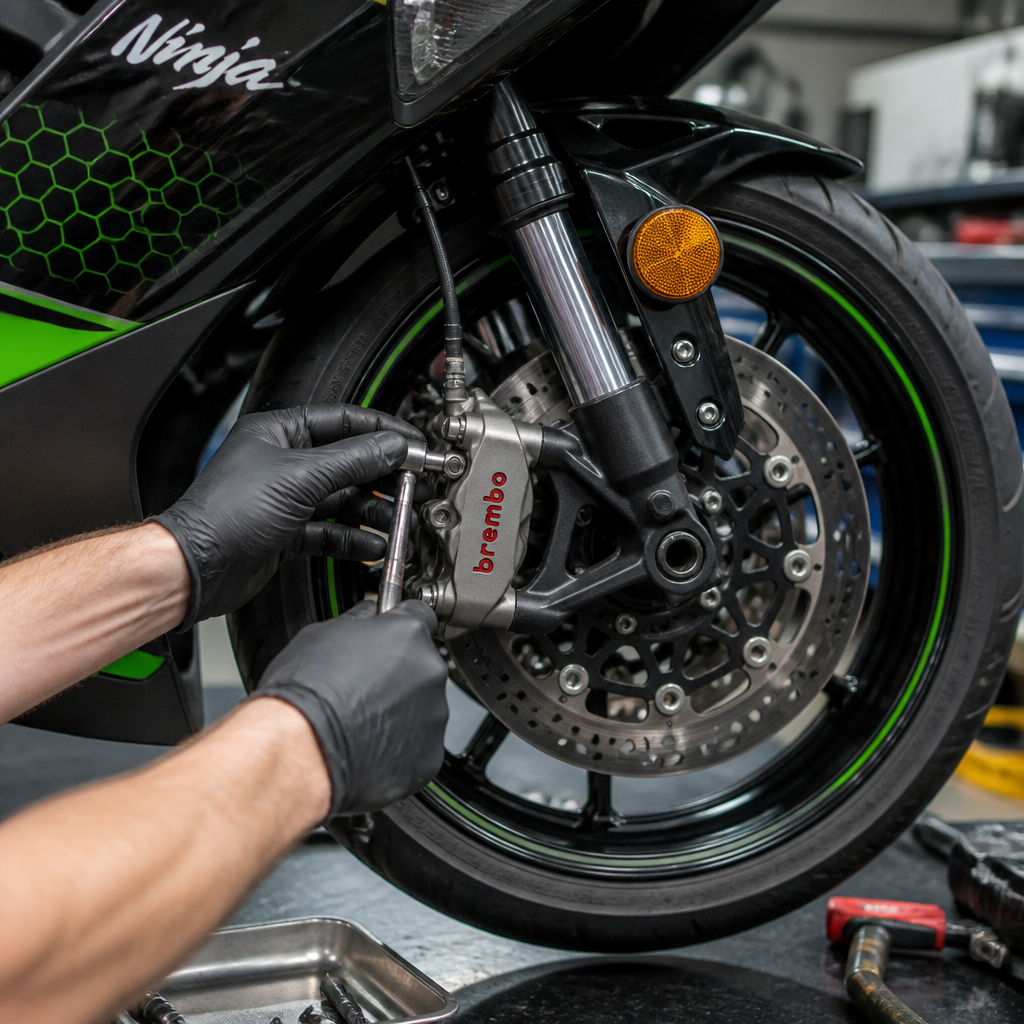
Brembo M4.32 calipers are four-piston monoblock radial-mount units, with 32 millimeter pistons arranged to deliver strong, even clamping force and controlled heat management. On a heavy, fast sport-tourer, they work hard. Mountain descents, two-up riding, luggage loads, and repeated high-speed stops raise temperatures quickly, so cleanliness and correct fluid service matter more than on a lightweight commuter. JIS refers to Japanese Industrial Standards screw profiles, which look similar to Phillips but are materially different at the bit interface; using the wrong driver damages screw heads and wastes time. Metric quirks include thread pitch assumptions, torque unit mistakes, seal sizing, hose fitting differences, and the habit of mixing inch-based tools into jobs designed entirely around metric tolerances.
This matters because brake work sits at the intersection of safety and precision. A slightly rounded reservoir screw, a contaminated pad, or a misread torque value can turn a routine pad change into an expensive repair. Riders searching for a clear maintenance reference usually want direct answers: how often should fluid be changed, when should pistons be cleaned, what tools fit correctly, and what mistakes should be avoided. The most useful answer is that the calipers need regular inspection at every wheel removal, fluid changes on schedule or sooner under hard use, piston cleaning before contamination hardens, and strict use of the correct Japanese and metric tools. Treat this article as the central reference point for the subtopic, with the caliper itself as the practical example that ties the broader standards together.
Understanding the Brembo M4.32 on the Ninja 1100SX
The M4.32 is popular because it offers race-derived rigidity without the service fragility some riders expect from premium components. A monoblock body means the caliper is machined from a single casting or forging structure rather than bolted halves, which improves stiffness and lever consistency under load. Radial mounting aligns the caliper more directly with braking forces and simplifies precise fitment to modern forks. In practice, that translates into a firmer lever and better feedback, but only when pistons retract cleanly and pads move freely on their guide surfaces. When dirt accumulates on exposed piston walls, retraction becomes inconsistent and the rider feels extra drag, heat, or a vague lever after repeated use.
The first maintenance principle is to separate symptoms from causes. Squeal is not always a bad pad compound; it can come from glazing, tapered wear, dirty abutments, or rotor contamination. Lever travel is not always trapped air; it may be pad knock-back, hot fluid with reduced boiling margin, or excessive piston seal rollback caused by contamination. Uneven pad wear often points to one or more sticky pistons rather than a defective caliper body. I approach these brakes with a baseline routine: inspect pad thickness across both ends of each pad, check rotor thickness and runout against service limits, examine dust seals for distortion, inspect banjo fittings for weeping, and confirm that all mounting hardware has been torqued correctly after the last service.
For the Ninja 1100SX, service intervals should reflect use, not only mileage. A rider commuting in wet winter conditions may need piston cleaning more often than a weekend rider covering greater distance in dry weather. Fluid replacement every twelve to twenty-four months is a sensible range depending on climate, storage, and heat cycles, with aggressive mountain or track-adjacent riding justifying the shorter interval. Pads should never be replaced without also checking spring clips, retaining pins, anti-rattle hardware, and the sliding contact points that affect smooth release. Premium calipers stay premium only if the surrounding maintenance is equally disciplined.
The JIS Standard and Why It Affects Brake Service
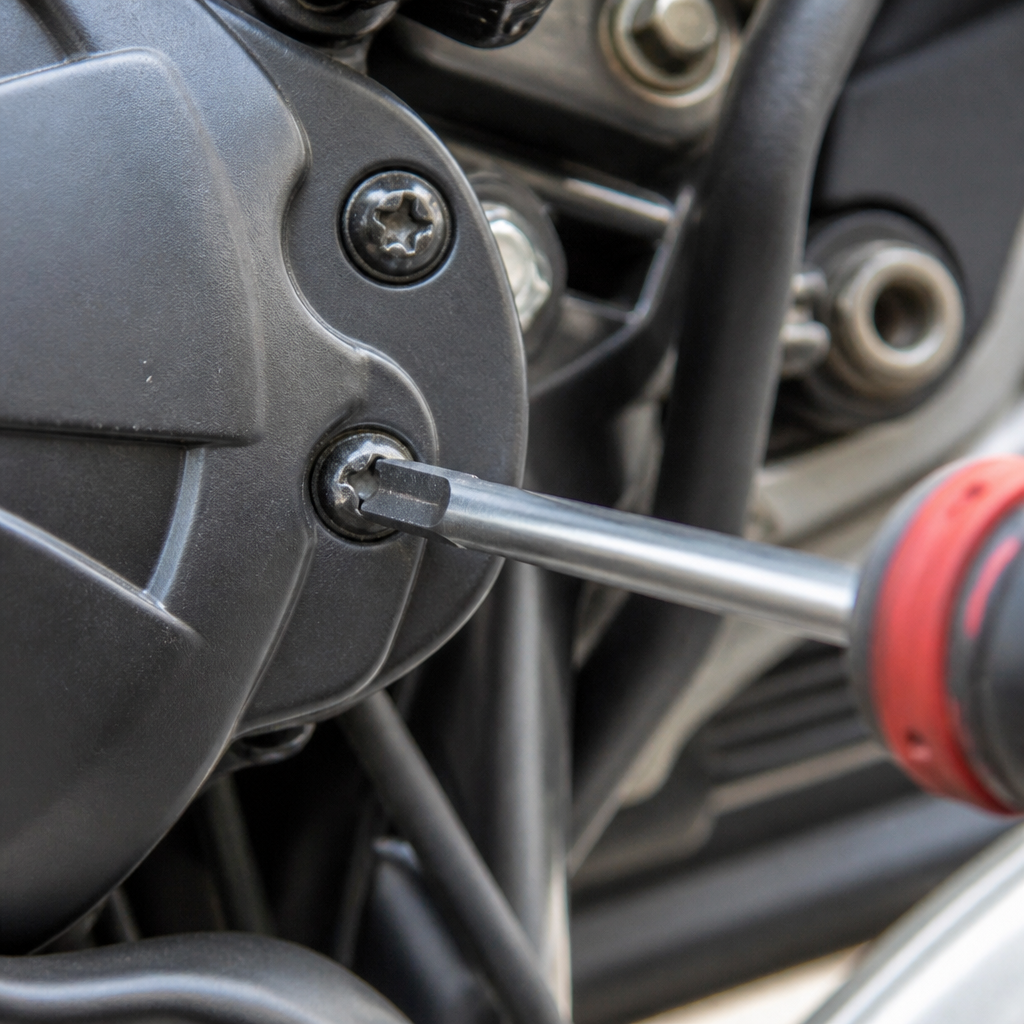
Many Japanese motorcycles still include fasteners that punish casual tool choice, and brake master cylinder reservoir screws are the classic example. JIS crosshead screws are designed with a different geometry than Phillips. A Phillips bit is intentionally cam-out prone under higher torque; a JIS driver seats deeper and transmits force with less tendency to climb out. In the workshop, this distinction determines whether a fluid change takes five minutes or becomes an extraction job. If you have ever scarred a reservoir cap screw that looked normal, incorrect bit fit was probably the reason.
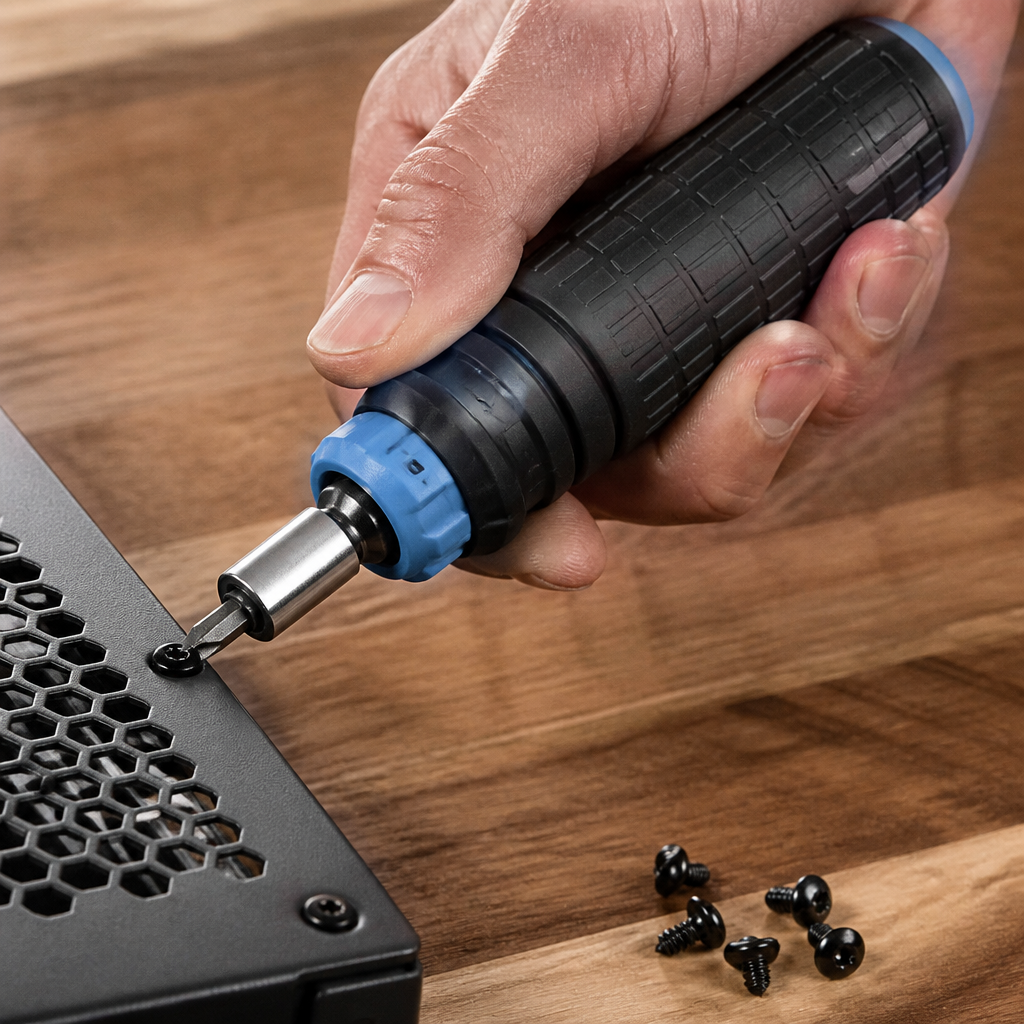
Good JIS practice is simple. Use a vessel-style JIS driver or high-quality bits specifically marked for Japanese crosshead fasteners. Press down firmly, crack each screw loose before opening the reservoir fully, and replace damaged screws with stainless or OEM hardware only after confirming thread length and head profile. Brake fluid attacks paint quickly, so the less struggle around the cap, the better. This standard also matters elsewhere on the bike: switchgear, fairing hardware, hose clamp screws, and ancillary brackets often respond better to proper Japanese drivers than to generic crosshead tools.
There is a larger lesson here for maintenance culture. The Ninja 1100SX is engineered in a metric ecosystem with Japanese fastener conventions layered on top. Respecting that ecosystem reduces damage. A rider who invests in JIS drivers, metric hex bits, 3/8-inch torque wrenches calibrated in newton-meters, and flare-nut spanners for hydraulic fittings will complete cleaner brake services than someone relying on a universal household toolkit. The difference is not cosmetic. Better tool fit protects screw heads, sealing faces, bleed nipples, and hose nuts, which directly preserves reliability.
Core Caliper Maintenance Procedure in Plain Terms
Routine Brembo M4.32 maintenance starts with cleanliness and ends with verification. Support the motorcycle securely, remove the front calipers, and inspect the pads before pushing pistons back. If the pads are nearly worn out, replace them rather than forcing contaminated pistons deep into the bores and then trying to clean around old deposits later. I prefer to remove the pads, pump the pistons out slightly in controlled increments, and clean only the exposed piston surfaces with fresh brake fluid or a brake-safe cleaner approved for seals, plus a soft detailing brush or lint-free swab. Avoid metal picks on piston surfaces and never use petroleum-based products near seals.
Once the exposed piston walls are clean, press them back evenly using a proper piston tool or wide plastic tire lever. Resistance should feel smooth and similar across all pistons. A single stubborn piston indicates contamination or internal seal drag that deserves further investigation. Check pad retaining pins for grooves, corrosion, or heat discoloration. Inspect the pad spring plate and abutment areas. Clean the caliper exterior, but do not blast water or compressed debris directly at seals. Reinstall pads, torque hardware to specification, and ensure the pads sit squarely against the rotor once the lever is pumped back up.
| Task | What to Check | Typical Trigger for Service | Common Mistake |
|---|---|---|---|
| Pad inspection | Remaining friction material, taper wear, glazing | Every tire change or 4,000 to 6,000 miles | Ignoring inside pad wear |
| Piston cleaning | Dirt ring on exposed piston surface, sticky retraction | Wet use, winter riding, drag symptoms | Using metal tools or harsh solvents |
| Fluid replacement | Color, moisture age, lever feel under heat | 12 to 24 months, sooner under heavy use | Spilling fluid on paint or ABS components |
| Rotor inspection | Thickness, scoring, blueing, runout | At pad replacement | Blaming pulsation on pads alone |
| Hardware check | Pin wear, clip condition, banjo seepage, torque | Every caliper removal | Reusing damaged fasteners blindly |
Bleeding matters just as much as cleaning. Use the brake fluid grade specified by Kawasaki, typically a DOT 4 meeting recognized performance standards. Opened fluid should be considered short-life because it absorbs moisture from the air. During bleeding, keep the reservoir level stable, protect painted surfaces, and tap lines and caliper bodies lightly to release trapped bubbles. On machines with ABS, follow the manufacturer’s sequence; some systems require cycling through diagnostics or activating valves with a scan tool for a full flush after major component replacement. After service, the wheel must spin freely with only light pad contact noise, the lever must be firm, and all fasteners must be dry and correctly torqued.
DCT Maintenance Lessons That Apply to Metric Motorcycle Service
Although the Ninja 1100SX is not defined by a dual-clutch transmission in the way some other machines are, DCT maintenance belongs in this hub because it teaches the same discipline modern motorcycles demand: exact fluid selection, strict procedural order, scan-tool awareness, and zero tolerance for approximate fastener handling. Riders who service both motorcycles and scooters, or who move between brands, benefit from understanding these habits. DCT systems rely on hydraulic control circuits, clutch packs, adaptation values, and carefully specified lubricants. Servicing them successfully requires reading the manual in sequence, measuring accurately, and using metric tools that fit perfectly. Those are exactly the habits that prevent brake mistakes.
In practical terms, the crossover is clear. Someone careless enough to round a JIS reservoir screw is often the same person likely to overtighten a drain plug, confuse 12 millimeter and half-inch tools, or use the wrong fluid because “it should be close enough.” Modern transmission service rejects that mindset. So does Brembo caliper maintenance. Precision saves money. It also protects rider confidence, because the real reward of correct service is not the invoice avoided; it is a machine that feels transparent and dependable at speed. When you apply DCT-style rigor to brake work, you naturally document service dates, fluid types, torque values, wear measurements, and any recurring symptoms. That recordkeeping turns troubleshooting from guesswork into diagnosis.
Metric Quirks That Catch Owners and How to Avoid Them
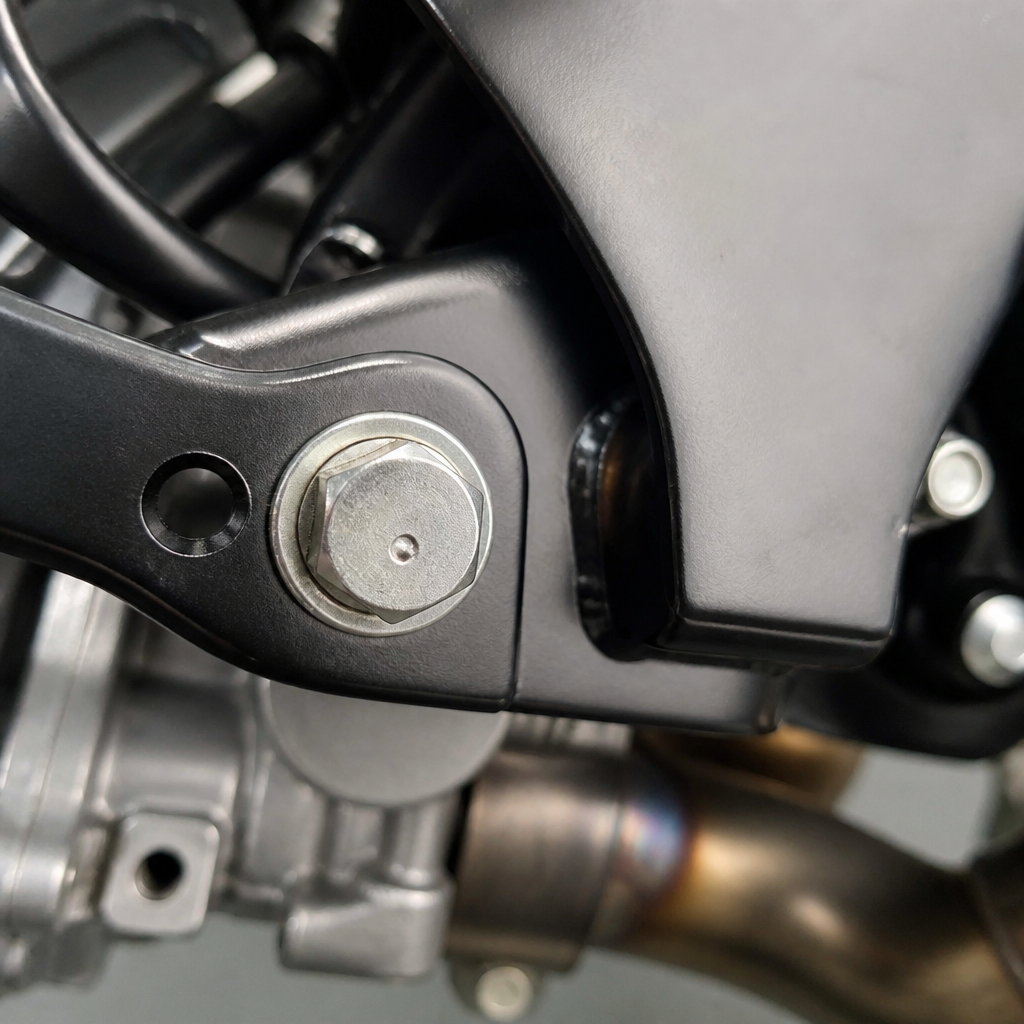
Metric motorcycles are straightforward once you stop assuming every fastener behaves the same. Thread pitch is the first trap. Two bolts may share diameter and head size yet use different pitch, especially across aftermarket accessories and replacement hardware. For brake components, forcing the wrong pitch into aluminum threads can ruin a caliper bracket or master cylinder body quickly. Always thread hardware in by hand first, confirm smooth engagement, and verify part numbers when replacing banjo bolts, pad pins, or mounting bolts.
The second trap is torque conversion. Brake torque values are often listed in newton-meters, but many home mechanics still think in pound-feet or inch-pounds. Mixing them up creates under-tightened calipers or stripped smaller screws. Keep a torque wrench scaled for the job, not a large wrench trying to cover everything. Third is seal compatibility. Not every cleaner, grease, or assembly paste belongs near brake seals. Use brake-specific products and follow Brembo or Kawasaki guidance. Fourth is measurement habit. Rotor thickness, piston diameter, and service limits are metric values; read your micrometers and verniers accordingly instead of converting mid-job and risking errors.
Finally, remember that aftermarket parts vary widely. Stainless braided lines, different pad compounds, titanium hardware, and decorative fasteners can improve or complicate service depending on source quality. Galfer, SBS, EBC, Brembo, and HEL all make products with established reputations, but fitment and specification must still be confirmed for the exact model year. The best maintenance outcome usually comes from combining OEM specifications with carefully chosen aftermarket consumables, not replacing critical hardware impulsively because it looks universal.
Building a Reliable Maintenance Schedule for 2026 Ownership
The smartest way to maintain the Ninja 1100SX brakes in 2026 is to build a repeatable schedule instead of waiting for a symptom. Check the front calipers visually during every wash or chain service. At each tire change, inspect pads, rotor surfaces, and hose routing. Once a year, or sooner in wet climates, remove the calipers for detailed piston cleaning. Replace fluid at least every two years, and annually if you ride hard in hot terrain or carry frequent passenger and luggage loads. During winter storage, avoid leaving contaminated road salt around the calipers; rinse, dry, and protect the motorcycle before parking it for long periods.
Documentation matters more than many riders think. Record pad brand, installation mileage, fluid type, bleed date, rotor measurements, and any lever-feel notes after spirited rides. Over time, patterns appear. You may learn that one pad compound dusts excessively on your commuting route, or that fluid darkens faster after alpine trips. That is actionable information. Good records also help the next technician, preserve resale confidence, and keep the machine aligned with the disciplined standard a performance touring bike deserves.
The core takeaway is simple: maintaining the Brembo M4.32 calipers on the Kawasaki Ninja 1100SX is not difficult, but it does require respect for detail. Use the correct JIS and metric tools, clean pistons before contamination hardens, replace fluid on schedule, inspect pads and rotors together, and treat every fastener and seal as part of a precise system. The same care that makes modern transmission service successful also makes brake service safe and repeatable. If you want consistent lever feel, strong stopping power, and fewer expensive surprises, build a written maintenance routine and follow it every time you service the bike.
Frequently Asked Questions
How often should I service the Brembo M4.32 calipers on a 2026 Kawasaki Ninja 1100SX?
For most Ninja 1100SX owners, the Brembo M4.32 front calipers deserve a basic inspection at every pad change and a more deliberate cleaning routine at regular intervals, especially if the bike sees mixed weather, commuting, mountain riding, or long sport-touring mileage. In practical terms, that means checking pad thickness, rotor condition, piston cleanliness, and lever feel often rather than waiting for a problem to announce itself. These calipers perform best when they are kept clean before contamination and brake dust harden around the piston edges. If you wait until the pads are wearing unevenly or the wheel no longer spins freely, you are already correcting neglect instead of preserving performance.
A good workshop habit is to inspect the calipers whenever the front wheel is off, whenever you hear pad noise that was not there before, or whenever the lever feel changes. Riders who use the front brake aggressively, ride in wet or salty conditions, or wash the bike infrequently should shorten service intervals because road grime and moisture can accelerate corrosion and piston drag. Brake fluid service also matters here. Even if the calipers themselves are mechanically healthy, old fluid can contribute to inconsistent lever feel and poor brake response. The takeaway is simple: routine, light maintenance done early is far better than infrequent, heavy maintenance done after symptoms appear.
What are the most common signs that the M4.32 calipers need attention?
The most common warning signs are dragging pads, uneven pad wear from side to side or piston to piston, a pulsing or inconsistent brake lever, reduced wheel free-spin, excessive brake dust on one side, squealing that persists after normal bedding, and a lever that feels slower to return than usual. On the Ninja 1100SX, these symptoms can easily be blamed on pads or rotors alone, but in many cases the root cause starts at the caliper. Dirt buildup around the piston surfaces can prevent smooth movement, which means some pistons push harder than others and retract less cleanly after braking. That creates heat, noise, wear, and eventually rider complaints that feel bigger than the original problem.
You should also pay attention to subtler clues. If one rotor runs noticeably hotter after a ride, if the bike resists rolling smoothly into the garage, or if the lever firms up differently from one ride to the next, it is worth investigating the calipers before replacing parts unnecessarily. Pulsing at the lever does not always mean a warped rotor. Sometimes pad material transfer, sticky pistons, or contaminated friction surfaces are contributing factors. Likewise, rapid pad wear is not always about riding style. A neglected caliper can consume pads unevenly and shorten rotor life. Catching these signs early usually means a straightforward service rather than a costly brake overhaul.
What is the correct way to clean Brembo M4.32 calipers without damaging seals or finishes?
The safest and most effective method is careful external cleaning with brake-safe products, soft brushes, lint-free cloths, and patience. Start by removing enough surrounding grime that you are not rubbing abrasive dirt into the caliper body or onto the pistons. With the pads removed, you can gently expose a small portion of each piston to inspect for baked-on dust, residue, or corrosion. Clean only with products intended for brake components, and avoid harsh chemicals that may affect seals, paint, anodized finishes, or nearby plastics. A soft nylon brush and dedicated brake cleaner used sparingly are much better choices than aggressive scraping or random solvents from the garage shelf.
The key detail many owners miss is that the piston surfaces must be clean before they are pushed back into the caliper. Forcing dirty pistons inward can drag contamination past the seals, increasing the chance of sticking later. Clean the exposed piston area carefully, cycle the pistons only slightly as needed, and never overextend them. Once the surfaces are clean, retract them evenly and reassemble with clean pads or replacement pads as needed. This process is not about making the calipers look polished for photos; it is about preserving smooth piston movement and consistent hydraulic action. If a piston remains reluctant to move evenly after cleaning, or if there is visible fluid leakage, that is the point to consider a proper rebuild rather than repeated external cleaning.
Why do my brake pads wear unevenly, and can caliper maintenance fix it?
Yes, caliper maintenance often fixes uneven pad wear, provided the issue is caught before the pads and rotors are too far gone. On the M4.32 calipers, uneven wear usually points to one or more pistons not moving and retracting as evenly as they should. That can happen when brake dust, road grime, moisture, or minor corrosion builds up around the piston edges. It can also be influenced by seized pad pins, dirty pad abutment areas, misaligned hardware, or a rider continuing to operate the bike after early signs of drag appear. The result is straightforward: one section of the pad keeps working harder, generating more heat and disappearing faster.
Proper maintenance addresses the problem at its source. Cleaning the piston surfaces, inspecting seals, ensuring the pads can move freely in the caliper, checking pad pins and retaining hardware, and verifying that the pistons extend and retract evenly can restore normal wear patterns. It is also important to inspect the rotors for thickness variation, grooves, blue spotting, or pad deposits, because worn or heat-affected rotors can reinforce uneven braking behavior. If the pads have already worn into an odd shape, replacing them after correcting the caliper issue is usually the best path. Fresh pads on a properly serviced caliper give you the best chance of restoring stable lever feel, quiet operation, and predictable braking performance.
When should I rebuild or replace the Brembo M4.32 calipers instead of just cleaning them?
Cleaning is appropriate when the calipers are fundamentally sound but contaminated. Rebuilding becomes the better choice when you have persistent piston sticking, damaged or hardened seals, visible fluid leakage, corrosion that is more than superficial, torn dust protection where applicable, or recurring problems that return quickly after cleaning. If the brake lever feel remains inconsistent even after proper bleeding and rotor/pad checks, and if one or more pistons still fail to move evenly, a rebuild is often the right next step. The same is true if the bike has gone long periods without brake fluid changes or has been exposed to harsh storage conditions. Age, moisture, and neglected fluid can all affect internal condition even if the exterior does not look terrible.
Replacement is generally reserved for severe physical damage, stripped threads, cracked castings, major corrosion in critical areas, or situations where rebuild quality cannot be guaranteed. In most cases, the M4.32 calipers are worth servicing correctly because their braking performance is excellent when maintained well. The important point is not to keep forcing a basic cleaning routine onto a caliper that is clearly asking for deeper work. On a powerful sport-touring machine like the 2026 Ninja 1100SX, front brake confidence matters too much to treat caliper issues casually. If inspection reveals internal wear or damage beyond normal upkeep, rebuilding with quality components or replacing the caliper assembly is the professional, safety-first decision.