The Honda CB1000F Hornet’s first 1,000-mile service sets the tone for the motorcycle’s entire life, because early maintenance catches break-in debris, confirms factory assembly torque, and establishes a baseline for every future inspection. On a modern Honda inline-four, that first scheduled visit is not just an oil change. It is a structured review of fasteners, fluid condition, electronic systems, drive components, and model-specific details that many riders overlook until a small issue becomes expensive. When riders ask what matters most at 1,000 miles, the short answer is simple: change the oil and filter, inspect the machine from front to rear, verify all adjustments, and use the correct Japanese and metric tools so nothing is damaged in the process.
For the CB1000F Hornet, three themes deserve special attention. First is the JIS standard, because many screws on Japanese motorcycles look like common Phillips heads but are not the same geometry. Using the wrong driver can cam out the recess and scar a fastener that should have come out cleanly. Second is DCT maintenance, which matters whenever Honda’s dual-clutch transmission hardware, calibration logic, fluid requirements, or service procedures are part of the ownership picture. Even riders on conventional manual-transmission models benefit from understanding Honda’s DCT service philosophy, because it shows how specific the manufacturer is about fluid type, adaptation, and inspection intervals. Third are metric quirks: thread pitch differences, torque conversions, hose clamp sizes, and the common mistake of mixing inch-based shop habits with metric hardware.
I have worked through enough first services on Japanese motorcycles to know that the biggest problems usually come from assumptions. A rider assumes every crosshead screw is Phillips, rounds a reservoir cap, then reaches for locking pliers and turns a ten-minute inspection into a replacement order. A general repair shop assumes all 10 mm bolts are interchangeable, then installs the wrong flange bolt pitch into an aluminum case. Someone uses a universal oil because the viscosity seems close, ignoring wet-clutch compatibility or Honda’s own specification. The first 1,000 miles are when these mistakes can still be prevented cheaply. That is why this Honda CB1000F Hornet maintenance guide focuses not only on what to inspect, but also on the standards and habits that keep the bike original, reliable, and easy to service later.
Another reason this service matters is that break-in wear is real, even on tightly built modern engines. During the first several hundred miles, piston rings seat, transmission dogs establish contact patterns, clutch surfaces bed in, and microscopic machining residue can circulate in oil until the first drain. Manufacturers account for this by scheduling an early service. Honda service literature typically pairs the initial inspection with checks of idle quality, coolant level, chain slack, brake feel, tire condition, lighting, switch operation, and software or fault-code review where applicable. If the bike has been ridden hard, stored outdoors, or modified early with an exhaust, tail tidy, or lever set, the first service becomes even more important because accessory installation can disturb harness routing, fastener torque, or cable free play.
What the first 1,000-mile service should include
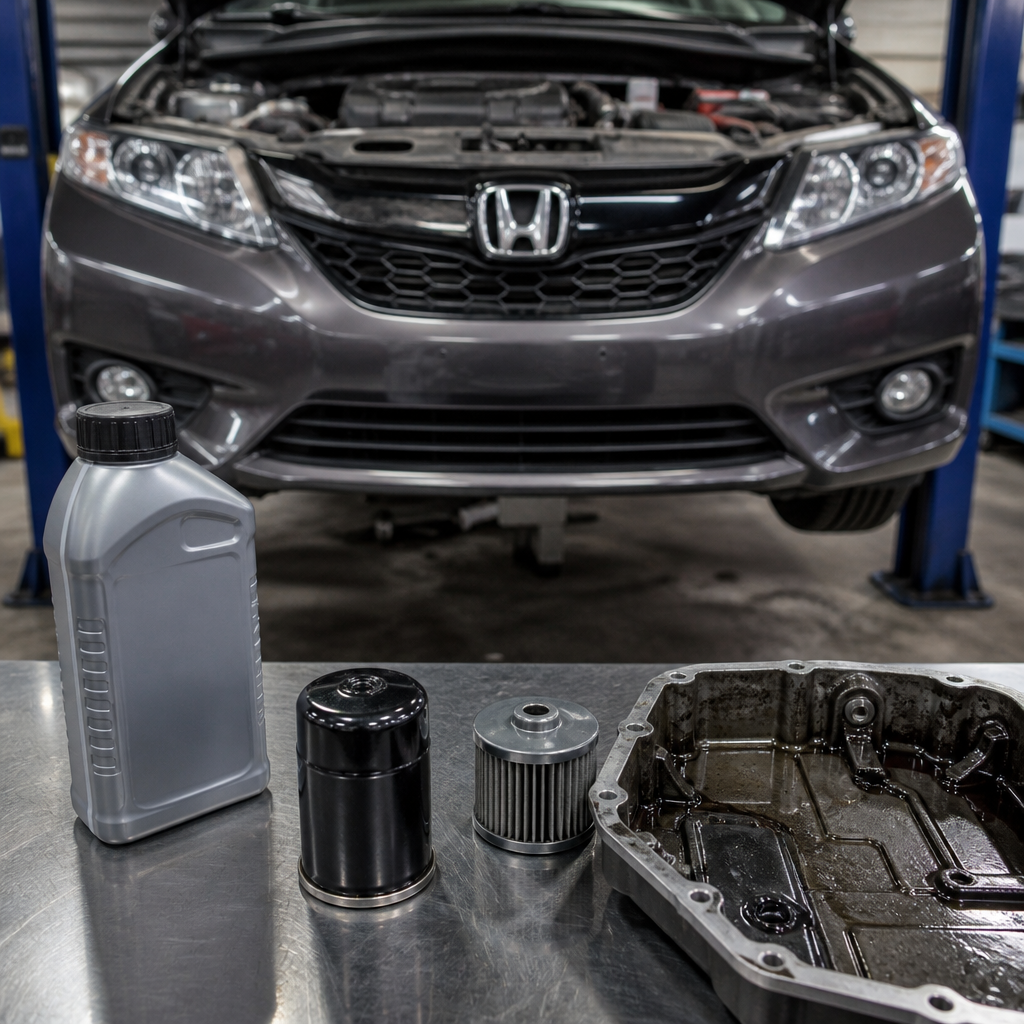
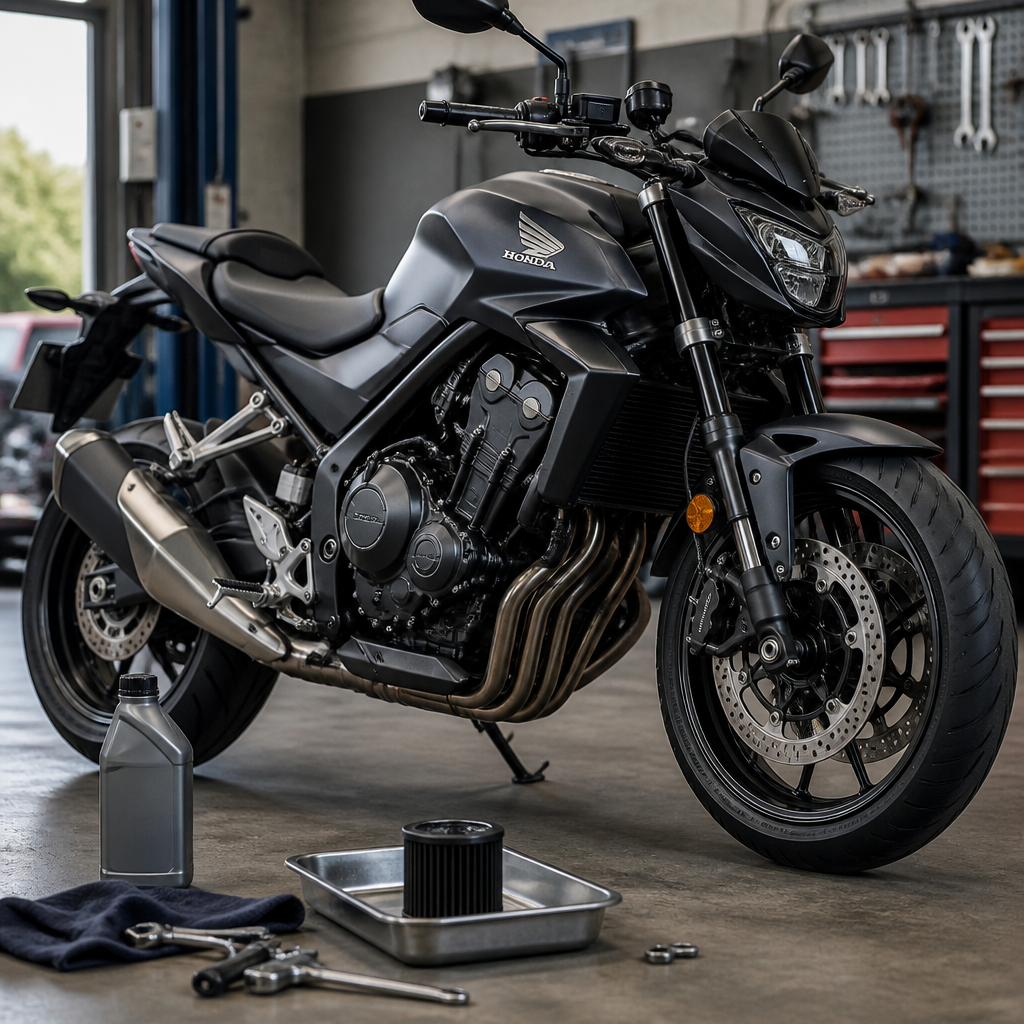
A complete Honda CB1000F Hornet first service begins with engine oil and filter replacement using the exact viscosity and specification listed by Honda, not a near match. On Honda four-cylinder road bikes, that generally means motorcycle-specific oil meeting the correct JASO classification for wet-clutch use. The oil filter should be a quality part with the right bypass characteristics and gasket dimensions; OEM Honda filters remain the safe benchmark. Replace the drain washer if specified, torque the drain bolt and filter correctly, and verify there are no leaks after running the engine to operating temperature.
From there, inspect the drive chain carefully. Measure slack at the location and method Honda specifies, because chain tension changes with swingarm angle and many riders adjust too tight. A chain that is over-tensioned can accelerate countershaft, chain, and rear sprocket wear. Clean, lubricate, and check alignment using the swingarm marks only as a reference; if precision matters, confirm alignment with a straightedge or alignment tool. Also inspect the rear axle torque and the condition of the adjuster hardware. On bikes ridden in rain, the first service is a good time to apply corrosion protection to exposed adjuster threads and axle surfaces.
Brake inspection is equally important. Check front and rear pad thickness, rotor condition, fluid level, and lever or pedal feel. Look for any weeping at banjo bolts, calipers, or master cylinders. On ABS-equipped Hondas, the system should also be scanned for stored codes if a capable diagnostic tool is available. Suspension and chassis checks should include steering-head smoothness, fork seal condition, rear shock linkage feel, wheel bearing play, tire pressures, tread condition, and any sign of uneven wear that could point to incorrect setup or transport damage.
| Service item | Why it matters at 1,000 miles | Common mistake | Best practice |
|---|---|---|---|
| Engine oil and filter | Removes break-in contaminants and resets the maintenance baseline | Using automotive oil without wet-clutch approval | Use Honda-specified viscosity and JASO-rated motorcycle oil |
| Chain slack and lubrication | New chains settle quickly during early use | Adjusting too tight | Measure exactly as Honda instructs and recheck after tightening |
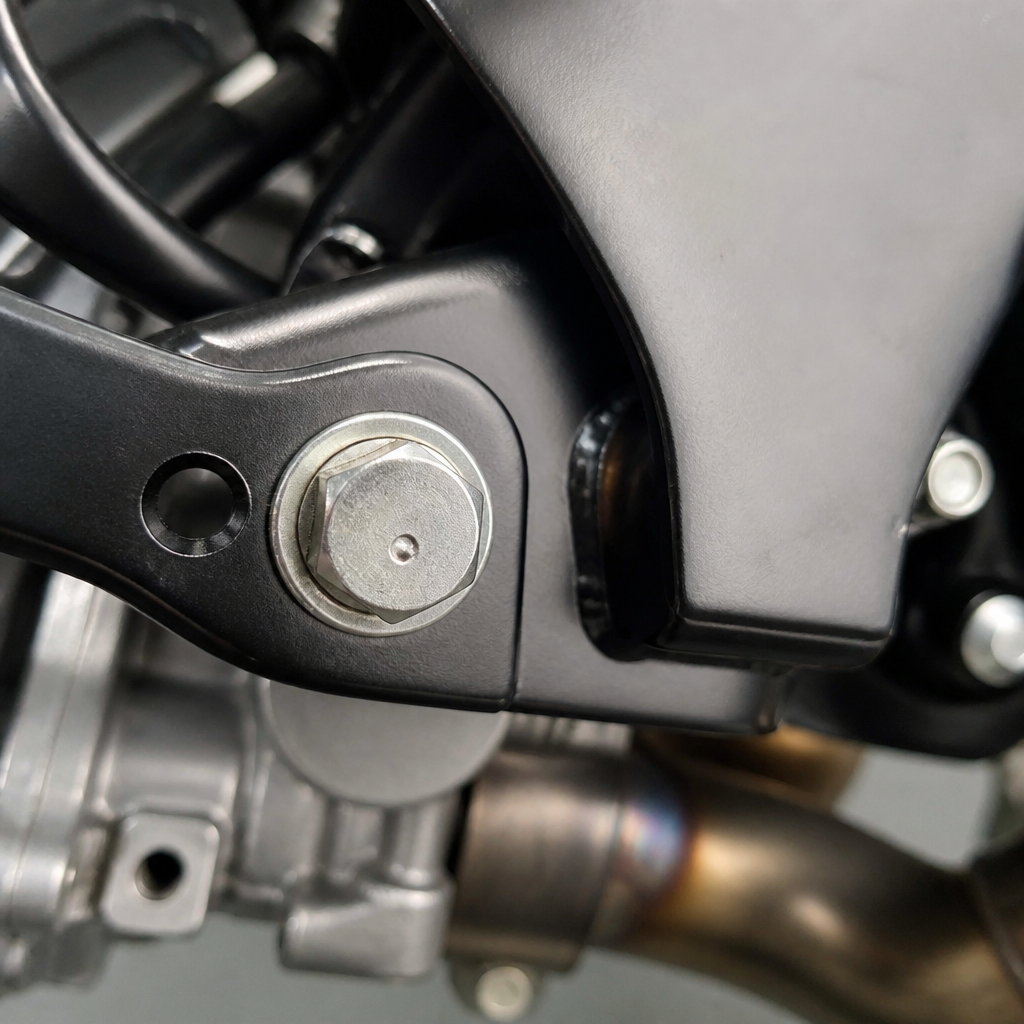
| Critical fasteners | Heat cycles can reveal under-torqued accessories or brackets | Guessing torque by feel | Use a calibrated metric torque wrench and service data |
| Brake and clutch controls | Confirms safe operation after break-in and any accessory changes | Ignoring free play and fluid condition | Inspect reservoir levels, feel, and adjustment points |
| Diagnostic review | Can reveal intermittent sensor or electronic faults early | Assuming no warning light means no stored codes | Scan when possible and verify all rider aids function normally |
Finally, perform the small checks that separate a rushed service from a professional one: inspect every light and switch, verify throttle return, review cable and harness routing, confirm coolant level in both radiator and reservoir where applicable, check horn function, and look for loose trim, heat shield hardware, and license bracket fasteners. Sport-oriented naked bikes experience a lot of vibration and wind load at the front end, so these details matter more than many owners expect.
Why the JIS standard matters on a Honda
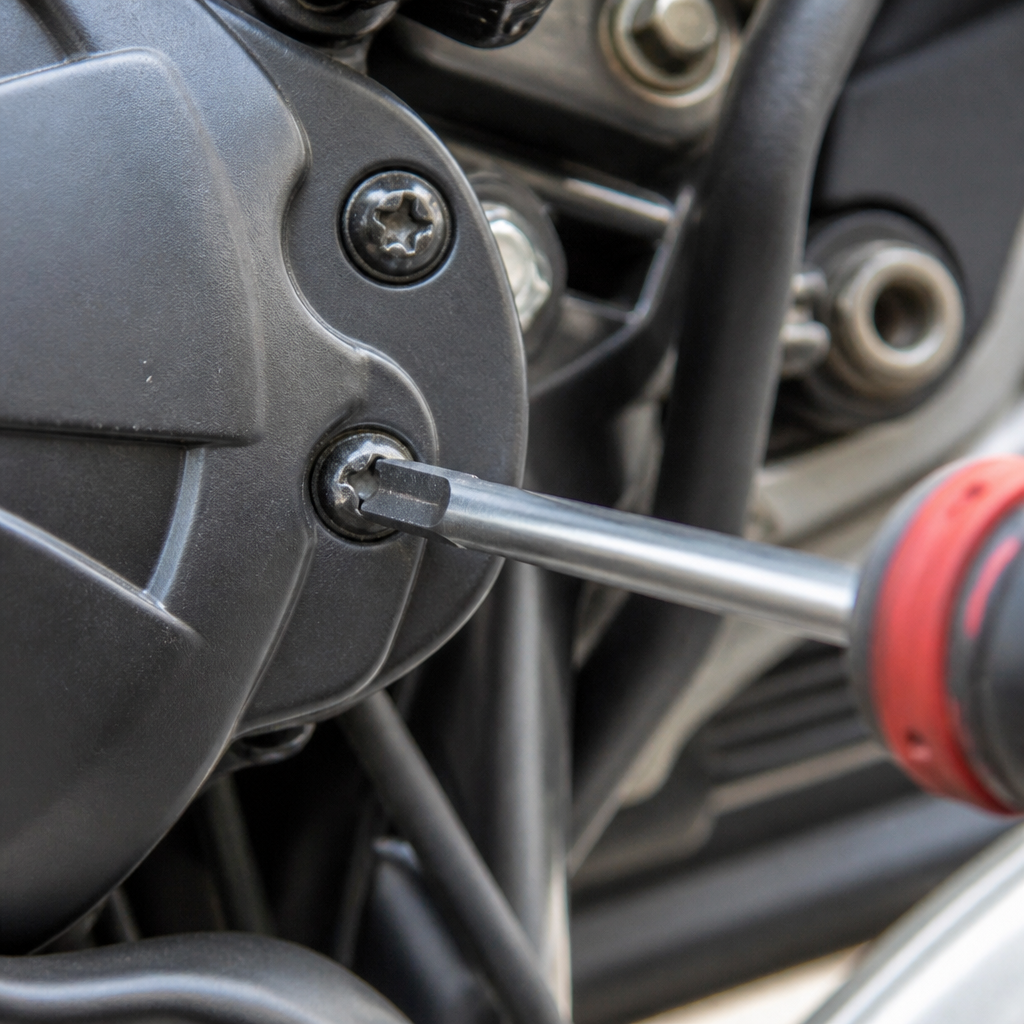
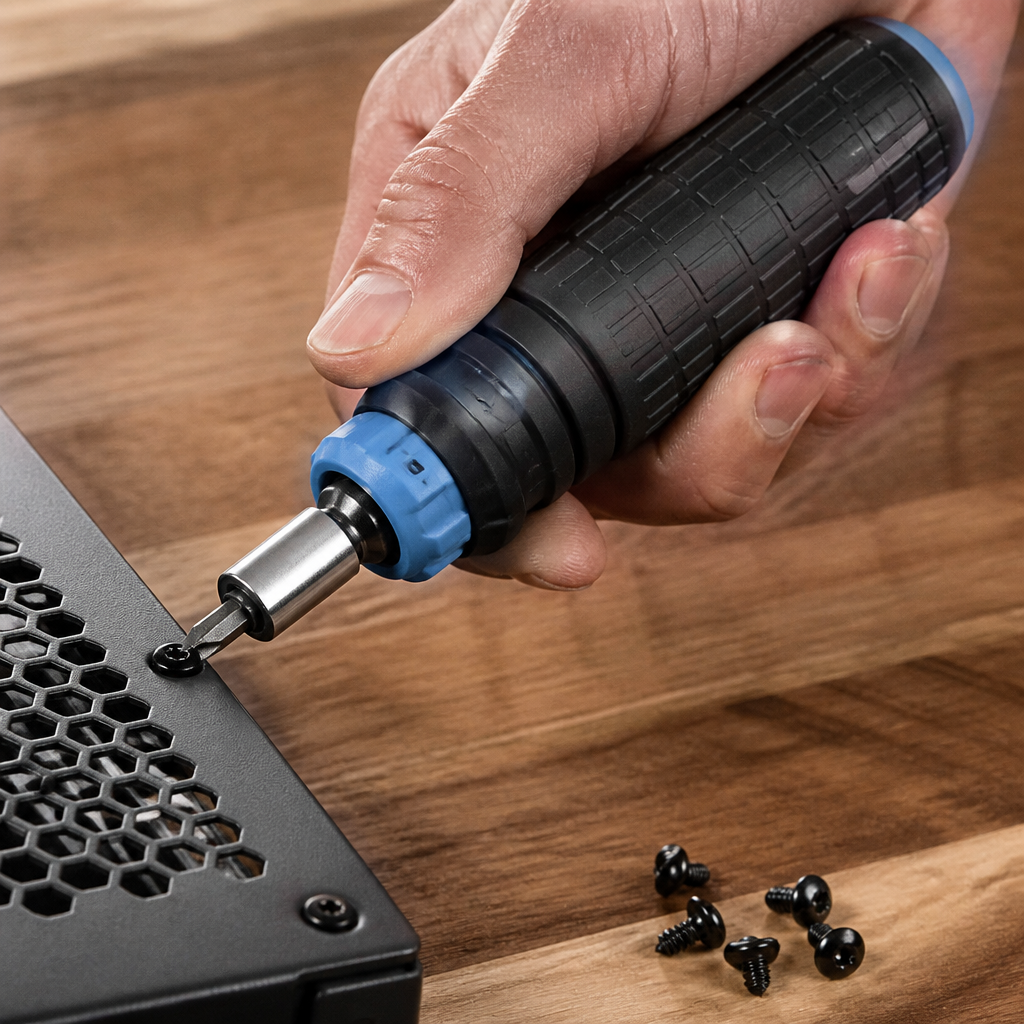
JIS stands for Japanese Industrial Standards, and on motorcycles it most often affects crosshead screw design. The practical point is this: a JIS screw is not the same as a Phillips screw, even if it looks similar at a glance. Phillips was designed to cam out under high torque as an assembly-line feature. JIS crosshead fasteners allow more positive engagement and less intentional cam-out. On Japanese motorcycles, using a true JIS driver from brands such as Vessel or Hozan dramatically reduces stripped screw heads on switchgear, carburetor tops, master cylinder covers, and bodywork fittings.
On a Honda CB1000F Hornet, you may encounter JIS-style screws in reservoirs, electrical covers, intake-related clamps or brackets, and smaller trim attachments depending on market specification. During first service work, these are exactly the fasteners owners damage when they rush. My standard approach is to clean the recess first, seat the correct bit fully, apply direct inward pressure, and break the screw loose with a hand impact driver if there is any sign of factory thread locking compound or corrosion. That method preserves original hardware and avoids drilling, extracting, or replacing cosmetic fasteners that should have remained untouched.
A useful rule is that if a Japanese motorcycle screw feels unusually tight for its size, stop before the head deforms. Check whether you are using a true JIS bit, whether the screw uses thread locker, and whether heat or penetrating oil is appropriate. Do not force a Phillips bit deeper and hope it works. That is how reservoir cap screws get chewed up. Once the head is damaged, the repair becomes slower and more expensive, and brake-system parts in particular should never be treated casually.
DCT maintenance principles every Honda owner should understand
Even if a specific CB1000F Hornet configuration uses a conventional gearbox, DCT maintenance belongs in this maintenance hub because Honda’s dual-clutch transmission has become a major part of the brand’s technical ecosystem. DCT is not a scooter-style CVT. It is a computer-controlled manual gearbox with two clutches, hydraulic actuation, shift forks, sensors, and software logic that preselects gears. One clutch typically handles odd gears and the other even gears, allowing extremely fast shifts with little interruption in drive. Because it is a mechanically sophisticated system, fluid quality, adaptation behavior, and diagnostic accuracy matter more than many riders assume.
The first principle is fluid specificity. Honda DCT units rely on the correct engine oil specification because that oil lubricates transmission components and supports clutch operation. The wrong friction characteristics can affect shift quality or clutch behavior. The second principle is temperature-aware diagnosis. Owners often describe roughness that is normal when cold, or they miss genuine abnormal hesitation because they test only after the bike is fully hot. The third principle is electronic context. Battery voltage, stored fault codes, switchgear condition, and software updates can influence DCT performance, so a symptom is not always a mechanical failure.
At an early service, a DCT-equipped Honda should have its oil service completed exactly to specification, its behavior reviewed in all drive modes, and any abnormal engagement, delayed shift response, or warning indication investigated promptly. If a rider reports creeping, banging shifts, or inconsistent launch feel, the shop should check for codes before making assumptions. Modern Honda systems are very good, but they reward disciplined maintenance and accurate diagnosis rather than guesswork.
Metric quirks that catch riders and general repair shops
Japanese motorcycles are metric machines down to their logic, but not every metric fastener or measurement behaves the same way. The first quirk is thread pitch. A 6 mm bolt may be 1.0 pitch, an 8 mm bolt often 1.25, and a 10 mm bolt may differ by application. Forcing the wrong pitch into an aluminum engine cover can ruin threads before resistance feels dramatic. The second quirk is torque scale. Small metric fasteners on covers, controls, and bodywork use much lower torque than many technicians expect. If your torque wrench does not read accurately in the lower range, use the correct tool rather than tightening by feel.
The third quirk is socket language. Riders say “a 10 mil bolt,” but on motorcycles that almost always means a 10 mm hex head, not a 10 mm thread diameter. Confusing head size with thread size leads to wrong replacement hardware. The fourth quirk is hose and tire pressure measurement. Some manuals quote kPa, some psi, and some both. Mixing units causes underinflation or overinflation more often than it should. The fifth quirk is Allen versus Torx substitution on aftermarket parts. Accessory kits sometimes use different standards from the OEM bike, creating mixed-tool service points that invite rounding if not documented.
For the Honda CB1000F Hornet, the best practice is to keep a dedicated metric kit: 1/4-inch and 3/8-inch torque wrenches calibrated for low and mid ranges, quality 6-point sockets, JIS bits, feeler gauges, vernier calipers, a chain alignment aid, and a service notebook. Record every torque value, fluid used, and adjustment made at the first 1,000-mile service. That written baseline will make future diagnostics easier, improve resale confidence, and help you spot trends such as repeated chain tightening, recurring coolant loss, or fasteners that repeatedly loosen after spirited riding.
Building this page into your maintenance reference system
As a hub article within a metric maintenance and technical encyclopedia, this page should anchor your whole service routine. Use it to connect your practical tasks: oil and filter procedures, chain adjustment guides, brake fluid specifications, JIS tool selection, DCT diagnostic workflows, torque charts, and metric fastener references. The value of a hub is not abstraction. It is organization. When every subtopic points back to a single maintenance framework, you spend less time searching and make fewer workshop mistakes.
The key takeaway is straightforward. Honda CB1000F Hornet maintenance at the first 1,000 miles is about precision, not just enthusiasm. Use the correct oil, inspect the full motorcycle, respect JIS fasteners, understand Honda’s DCT service logic, and treat metric hardware as a system with exact standards. Do that early, and the bike stays easier to maintain, safer to ride, and cheaper to own over the long term. Start with your owner’s manual, verify every specification before turning a wrench, and build your maintenance records from the very first service.
Frequently Asked Questions
What is included in the Honda CB1000F Hornet’s first 1,000-mile service?
The first 1,000-mile service on a Honda CB1000F Hornet is much more comprehensive than a simple oil change. At this stage, the goal is to remove early break-in contaminants, verify that key components have settled correctly, and confirm that the motorcycle is performing exactly as Honda intended. A proper service typically includes engine oil and oil filter replacement, a full inspection of fluid levels and condition, drive chain cleaning and adjustment, clutch and throttle free-play checks, tire pressure and tread inspection, brake system inspection, fastener and torque verification, and a review of the motorcycle’s electronic systems and warning indicators.
On a modern inline-four like the CB1000F Hornet, technicians also pay attention to signs of abnormal wear or assembly shift that can appear during the break-in period. That includes looking for coolant seepage, checking for oil leaks around covers and drain points, inspecting brake pad wear patterns, confirming charging system operation, and listening for any unusual engine, intake, or driveline noises. Suspension settings, steering feel, and general chassis behavior may also be reviewed to make sure nothing feels loose, notched, or out of specification. In short, this first service establishes a mechanical baseline. It gives both the owner and the technician a clear picture of the bike’s condition before the miles really start adding up.
Why is the first service so important if the bike still feels new and runs fine?
That is exactly why the first service matters: many early issues do not announce themselves with obvious symptoms. A new motorcycle can feel smooth, fast, and perfectly healthy while still carrying tiny metal particles from normal break-in wear in the oil, a slightly loosening chain as components bed in, or fasteners that need confirmation after heat cycles and vibration. The first 1,000 miles are when piston rings seat, mating surfaces polish, seals experience repeated temperature changes, and the entire machine transitions from factory assembly to real-world use. Servicing the bike at this point helps catch small concerns before they turn into expensive or inconvenient problems.
It is also important because the first service helps preserve long-term reliability. Fresh oil removes debris created during early engine wear-in, accurate chain adjustment protects the sprockets and transmission output area, and brake and tire inspections confirm that the motorcycle is wearing evenly and safely. On a high-performance naked bike such as the CB1000F Hornet, the engine, chassis, electronics, and drivetrain all work closely together, so a missed early adjustment can affect more than one system. Even if nothing appears wrong, this service is preventive by design. It is less about reacting to failure and more about validating the motorcycle’s health at the most critical point in its early life.
Does the first 1,000-mile service always require an oil and filter change?
Yes, in practical terms, the first 1,000-mile service should include an engine oil and filter change unless Honda specifies otherwise for a particular market or model-year schedule. During break-in, the engine naturally sheds very small amounts of material as internal parts wear into their optimal contact patterns. That is normal, but those particles need to be removed promptly. Replacing the oil and filter at the first scheduled interval helps clear out break-in contamination and ensures the lubrication system starts the next phase of the motorcycle’s life with clean oil circulating through the engine.
This matters even more on a Honda inline-four that may see a wide range of engine speeds, temperatures, and rider inputs early on. The oil is not only lubricating the engine; it is also helping manage heat and, depending on design, supporting the wet clutch and gearbox environment. A quality oil and filter change at the first service protects all of those functions. It is also a good opportunity to inspect the drained oil and filter for anything unusual. A small amount of fine metallic residue can be expected during break-in, but anything excessive or irregular deserves attention. In other words, the oil change is both maintenance and diagnostic insight, which is why it remains one of the most essential parts of the 1,000-mile visit.
What specific items do riders often overlook during the CB1000F Hornet’s first service?
Many riders focus only on the oil change and miss the equally important inspection items around the rest of the motorcycle. One of the most commonly overlooked areas is the drive chain. New chains often stretch and settle quickly during early use, and if slack is not checked and corrected, the result can be harsh driveline feel, accelerated sprocket wear, and added stress on the countershaft area. Another item riders often ignore is clutch and throttle free play. If either one drifts out of spec, the bike may become less smooth to ride, harder to modulate at low speed, or less predictable under acceleration.
Fastener verification is another major blind spot. Heat cycles and vibration can reveal areas that deserve a second look, especially around controls, levers, footpeg mounts, bar-end hardware, body panels, and accessory installations. Tires are also frequently overlooked beyond simple pressure checks; the first service is a smart time to inspect wear patterns, confirm valve condition, and make sure handling concerns are not actually setup-related. Brake components, coolant level, battery condition, software or dash warnings, cable routing, and the general condition of hoses and seals all deserve attention too. On a sophisticated modern motorcycle, small oversights add up. The first service is where a thorough inspection often prevents months of annoyance or a future roadside issue.
Can I do the first 1,000-mile service myself, or should it be done by a Honda dealer?
If you are experienced, properly equipped, and committed to following the Honda service schedule exactly, you may be able to perform much of the first 1,000-mile service yourself. Basic tasks such as changing the oil and filter, adjusting and lubricating the chain, checking fluid levels, inspecting brakes, verifying tire pressures, and reviewing visible fasteners are well within the reach of a careful owner. However, the quality of the first service depends less on enthusiasm and more on accuracy. You need the correct torque values, fluid specifications, chain slack standards, and inspection procedures for the CB1000F Hornet. You also need the discipline to document the work thoroughly.
That said, there are strong reasons many owners choose a Honda dealer or a highly qualified independent shop for the first service. A trained technician may be more likely to recognize early signs of warranty-related issues, software faults, abnormal wear, or model-specific concerns that a home mechanic could miss. A dealer service record can also be useful for warranty clarity, resale confidence, and establishing a clean maintenance history from the start. The best answer is practical: if you can perform every required task to factory standard and keep detailed records, doing it yourself can be perfectly reasonable. If you have any uncertainty about specifications, torque procedures, inspection depth, or electronic diagnostics, having the first service done professionally is a smart investment in the motorcycle’s long-term reliability.