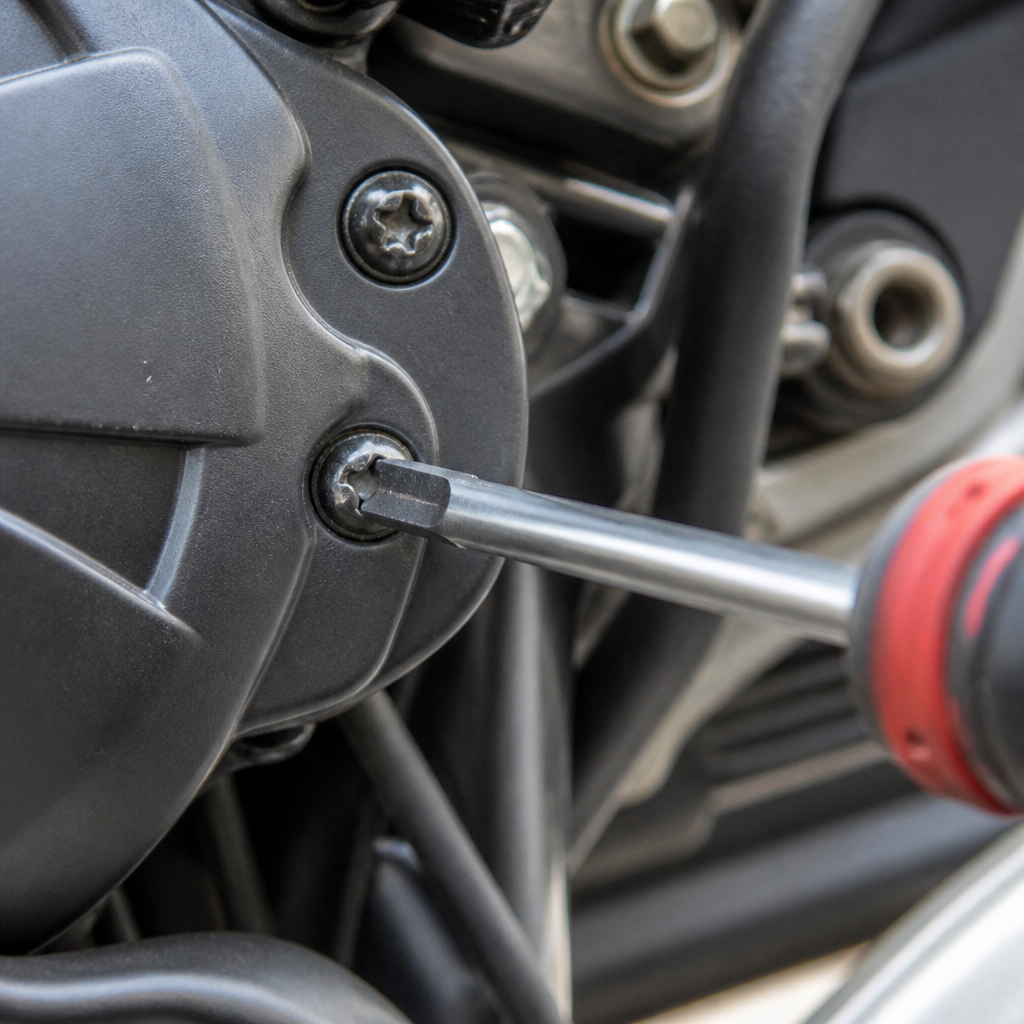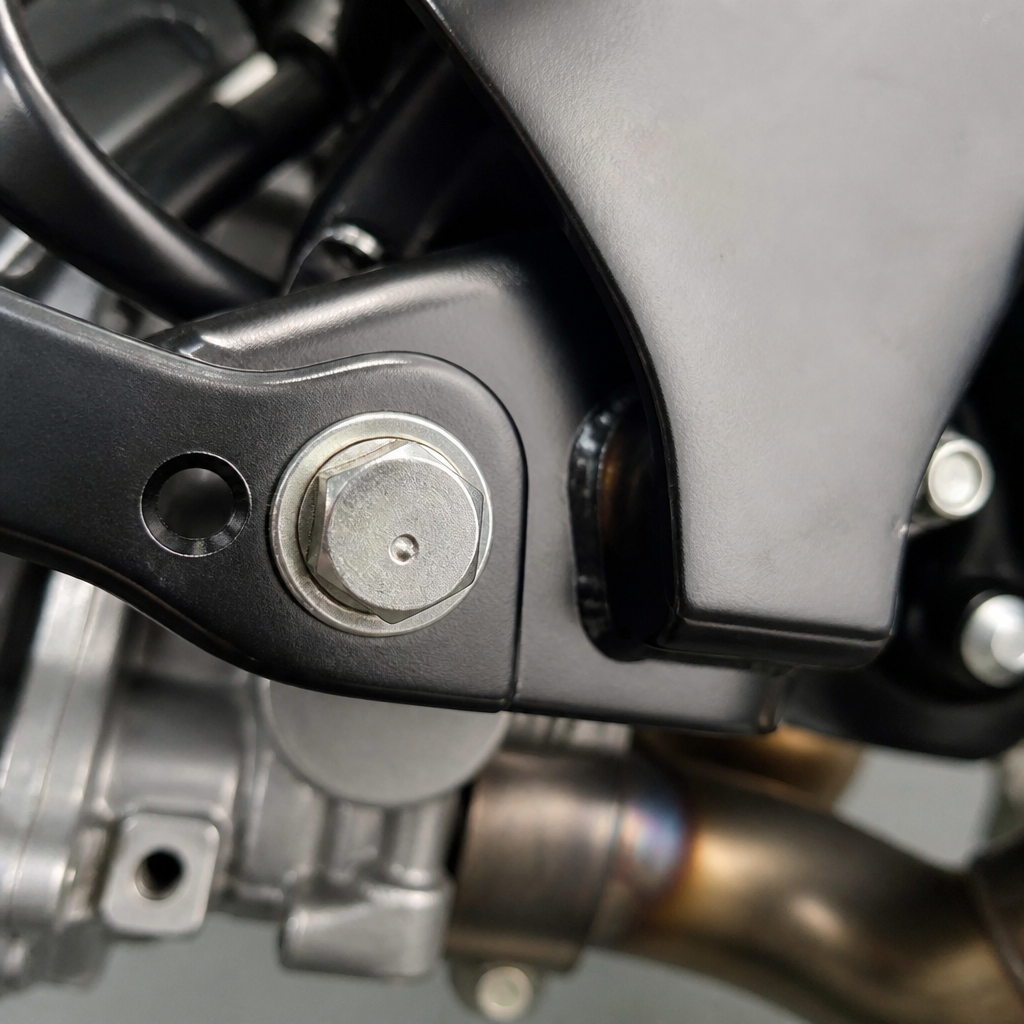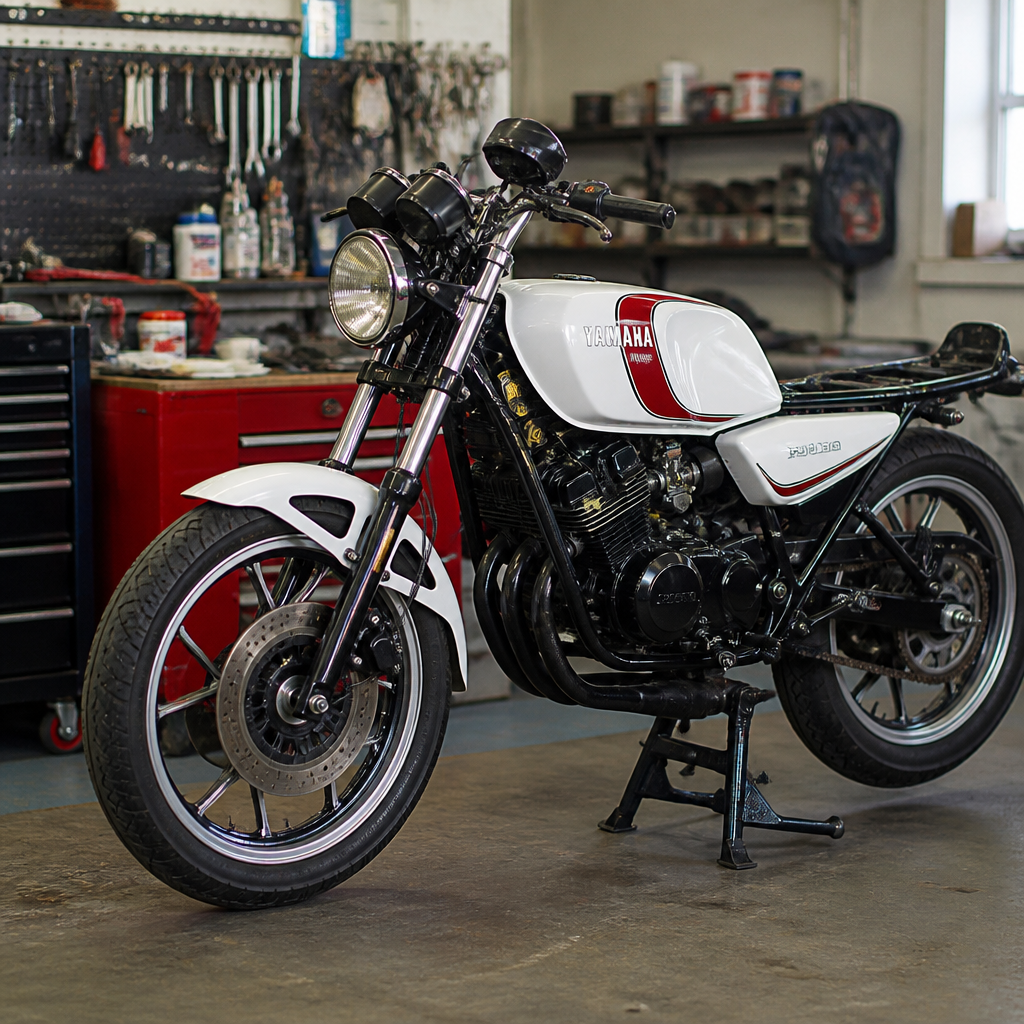
The Yamaha RD350 restoration journey starts with understanding why this motorcycle still matters: it is one of the most charismatic two-stroke street bikes ever sold, a machine whose light weight, sharp powerband, and direct mechanical feel turned ordinary riders into lifelong enthusiasts. Within the broader world of metric classic motorcycles built from 1970 to 1992, the RD350 sits at the center of restoration conversations because it combines historical importance, broad parts support, and genuine technical complexity. Restoring one well is not simply about paint and polish. It means returning a high-strung parallel twin, its chassis, electrics, oil-injection system, and period details to dependable condition without sanding away the character that made it famous.
For this hub article, “restoration” means a disciplined process of inspection, documentation, repair, refinishing, reassembly, and verification. “Metric classics” refers to Japanese motorcycles built in millimeter-based engineering traditions by brands such as Yamaha, Honda, Suzuki, and Kawasaki. “Hub article” means this page gives the framework that connects every specialist guide you may later consult, from crankshaft rebuilding and Autolube calibration to wheel truing, carburetor synchronization, and tank lining. I have restored several seventies Yamaha twins, and the RD350 always rewards methodical work more than cosmetic shortcuts. A clean bike with weak seals, clogged pilot circuits, or misaligned ignition timing will disappoint faster than a weathered original that is mechanically sound.
The RD350 matters because it occupies a pivotal point in motorcycle development. Earlier simple twins gave way to performance-oriented roadsters, while later emissions and insurance pressures pushed the market elsewhere. That means a correct restoration preserves not only a motorcycle but a specific engineering philosophy: compact dimensions, piston-port induction, expansion-chamber tuning, and an owner-serviceable layout. This article explains how to plan an RD350 restoration, what usually goes wrong on 1970–1992 metric classics, how to choose between preservation and full rebuild, and which systems deserve the most attention first if reliability and resale value both matter.
How to Scope a Yamaha RD350 Restoration
The first step is deciding what kind of restoration you are actually doing. On RD350s, owners often use the word restoration to describe three very different outcomes: conservation, rider rebuild, and concours-level return to factory specification. Conservation preserves original finishes, hardware plating, decals, and patina wherever possible. A rider rebuild prioritizes mechanical reliability, safety, and tidy cosmetics, usually with selective reproduction parts. A concours restoration aims for date-correct finishes, matching castings, proper fastener head markings, and factory routing of cables and harness sections. Your budget, skill level, and intended use determine the right path.
Before turning a wrench, document everything. Photograph the frame numbers, engine numbers, carburetor tags, cable routes, spacer orientation, washer stacks, and even the way the oil lines sit around the intake area. Build a parts spreadsheet with columns for reusable, repairable, missing, incorrect, and unsafe. I also recommend buying the factory service manual, factory parts book, and a market-specific wiring diagram before disassembly. Yamaha literature is usually clearer than aftermarket manuals on tolerances and assembly order, and the parts book helps identify year-to-year differences that can quietly undermine authenticity.
Budget realism is essential. A seemingly complete RD350 can hide expensive internal damage: corroded crank webs, failed seals, pitted fork tubes, stripped exhaust studs, rusted tanks, worn shift forks, and cracked airboxes. Chrome, seat trim, and paintwork can each consume four figures if you demand accuracy. The smartest approach is to evaluate frame integrity, engine completeness, and title status first. Cosmetics are easier to solve than a broken crankcase or missing legal paperwork.
Engine and Two-Stroke Rebuild Priorities
The heart of any Yamaha RD350 restoration is the engine, and no serious build should ignore the crankshaft assembly. On a fifty-year-old two-stroke twin, the crank seals and main bearings are not optional maintenance items; they are core reliability components. Air leaks on a two-stroke create lean running, and lean running destroys pistons quickly. If the bike has sat for years, assume the seals are suspect even if it turns freely. A proper rebuild usually includes crank inspection or rebuilding by a specialist, new bearings, seals, piston kits sized to measured bores, small-end bearings, and careful checking of rod side clearance and crank runout.
Measure, do not guess. Cylinder bores should be checked with a dial bore gauge for taper and out-of-round. Pistons should be matched to the actual bore size, not the nominal specification stamped in a catalog. Ring end gap, squish clearance, and port-edge condition all matter. I have seen engines freshly painted and beautifully assembled fail because someone reused marginal pistons in worn bores or ignored chipped port edges that snagged new rings. On the RD350, compression numbers provide a clue, but leak-down testing is the better indicator after assembly because it verifies crankcase sealing.
The oil-injection system deserves special mention. Yamaha’s Autolube system is reliable when rebuilt correctly, and deleting it in favor of premix usually reduces convenience and originality without adding safety. Replace hardened lines, inspect the pump, bleed the system correctly, and set the pump marks precisely according to the manual. Carburetors should be ultrasonically cleaned, fitted with genuine-spec jets where possible, and assembled with float heights verified by measurement rather than assumption. Ignition timing must be set accurately; on points models that means cam condition, point gap, and timing plate adjustment, while converted electronic systems require equally careful setup.
Chassis, Suspension, and Brakes on 1970–1992 Metric Classics
A restored RD350 should ride as confidently as it looks. Start with the frame and swingarm. Check for accident damage, poor weld repairs, centerstand mount wear, and corrosion inside boxed sections. Swingarm bushings on old Japanese motorcycles are frequently neglected, yet worn bushings make the rear end vague and unstable. Steering-head bearings should be cleaned and inspected; many restorers upgrade loose balls to tapered rollers, though purists may stay original if the races are excellent. Either choice is acceptable if assembly preload is correct.
Forks often need more than seals. Tubes may be pitted in the seal sweep area, damper rods can wear, and springs may have sagged beyond service limits. Rear shocks are commonly tired even if they still hold the bike up. If your goal is a period-correct rider, quality rebuildable shocks from recognized suppliers can improve control dramatically without looking out of place. Wheels should be checked for rim corrosion, spoke tension, and bearing smoothness. If the bike uses cast wheels, inspect carefully for damage around bead seats and disc mounts.
Brakes are a safety-critical system and should be treated as a complete hydraulic or mechanical assembly, not a set of isolated parts. Calipers need proper cleaning, seal replacement, and piston inspection. Master cylinders often have bore corrosion hidden under old fluid residue. Rubber brake hoses from the seventies are finished, even if they look acceptable. Use new hoses, quality pads or shoes, and verify disc thickness and runout. Drum-brake pivot points should be cleaned and lubricated sparingly where specified. Many classic motorcycles feel mediocre simply because the chassis and brakes were left half-restored.
| System | Common RD350 Fault | Best Restoration Action | Why It Matters |
|---|---|---|---|
| Crankshaft | Hardened seals, bearing wear | Rebuild and true by specialist | Prevents air leaks and seizure |
| Fuel System | Varnished carbs, rusty tank | Clean tank, rebuild carbs, verify jetting | Restores correct fueling and throttle response |
| Autolube | Brittle lines, poor adjustment | Replace lines and set pump marks | Protects engine while keeping originality |
| Forks | Pitted tubes, weak springs | Refinish or replace tubes, rebuild internals | Improves handling and seal life |
| Brakes | Corroded hydraulics, aged hoses | Rebuild fully and fit new hoses | Delivers safe stopping performance |
| Electrics | Bad grounds, brittle connectors | Repair harness and test charging output | Prevents intermittent faults |
Electrical System, Fuel Tank, and Controls
Electrical faults are among the most frustrating issues on 1970–1992 metric classics because they often appear after the bike is fully assembled. The RD350 harness is straightforward, but age attacks connectors, grounds, switchgear, and charging components. Start by unwrapping suspect harness sections and looking for green corrosion, overheated joints, and amateur repairs. Use the wiring diagram and a multimeter to verify continuity, resistance values, and charging output. Replace battery leads if they are stiff or heat-damaged. Clean every ground point to bare metal before reassembly. Most lighting and ignition complaints on old Yamahas come down to voltage loss through dirty connections.
The fuel tank deserves equally careful treatment. Internal rust can undo an engine rebuild in minutes by contaminating petcocks, filters, and carburetor passages. If rust is light, mechanical cleaning and controlled chemical treatment may be enough. Heavily perforated tanks require professional repair before lining, and not every liner is equal. Poor tank-sealer jobs flake and create bigger problems than rust alone. Externally, correct paint codes, stripe placement, and badge mounting affect both authenticity and value. If the tank is original and salvageable, save it.
Do not overlook controls and rider contact points. Throttle tubes wear, clutch perches crack, cables drag internally, and rubber parts harden with age. A restored motorcycle should have smooth throttle return, predictable clutch action, aligned levers, and foot controls free of slop. Reproduction parts can help, but compare them with original items because fit and finish vary widely. On an RD350, a stiff clutch or dragging throttle immediately makes the bike feel wrong, even if the engine is fresh.
Parts Sourcing, Originality, and Model-Year Accuracy
As the hub for restoration guides covering metric classics from 1970 to 1992, this page should make one principle clear: sourcing parts is as important as installing them. Start with new old stock when critical and available, but expect scarcity and premium pricing. Quality reproduction parts fill many gaps, especially for rubber items, cables, pistons, seat covers, and decals. Used original parts are often best for brackets, switchgear, oil tanks, and unique trim pieces because the factory fit is difficult to duplicate. The key is learning which category fits each component.
Model-year accuracy matters more than many first-time restorers expect. An RD350 may have accumulated later controls, aftermarket pipes, nonstandard fasteners, or mismatched bodywork over decades. Some changes improve usability, but undocumented mixing reduces collector value. Cross-check part numbers, finish types, and market-specific equipment. North American bikes, European variants, and region-specific emissions or lighting equipment can differ in ways that become obvious during judging or resale. If you choose tasteful upgrades, keep the original parts and document the changes.
Use reputable suppliers and specialist machinists. Crank rebuilding, cylinder boring, wheel truing, and paint replication are areas where cheap work becomes expensive. Good restorers ask for measurements, photographs, and references. They know torque values, JIS hardware standards, and the difference between zinc, cadmium-look, and phosphate finishes. That level of detail separates a motorcycle that merely runs from one that feels convincingly period-correct and dependable on the road.
Final Assembly, Break-In, and Long-Term Preservation
Final assembly is where patience pays off. Use a checklist for torque settings, thread preparation, lubrication points, cable routing, and fluid filling. On RD350s, pipe alignment, intake sealing, oil-line priming, and control adjustment all deserve a second inspection before first start. Heat-cycle the engine carefully, checking for leaks, abnormal noises, and charging performance. Then perform a controlled break-in with varied load, avoiding prolonged high rpm until rings seat and plug readings confirm correct mixture. Re-torque fasteners where the manual specifies, and read the spark plugs after real road use, not just idling in the workshop.
Long-term preservation begins the day the restoration ends. Use ethanol-conscious fuel practices where possible, drain carburetors during extended storage, keep the battery on a smart maintainer, and fog the cylinders if the bike will sit for months. Wash gently, protect plated surfaces, and inspect oil lines, tires, and brake fluid on a calendar basis rather than waiting for symptoms. A restored metric classic stays healthy through regular exercise; two-strokes especially dislike neglect. If this article is your starting point, use it as the roadmap for deeper guides on engines, paint, electrics, wheels, and model-specific authenticity. Restore the RD350 systematically, and the reward is not just a finished motorcycle but the return of one of motorcycling’s most vivid riding experiences.
Frequently Asked Questions
Why is the Yamaha RD350 such an important motorcycle to restore?
The Yamaha RD350 matters because it represents a perfect storm of performance, accessibility, and character. In the 1970s, it gave everyday riders a lightweight street bike with race-bred energy, quick steering, and a sharp two-stroke powerband that felt far more exciting than its displacement suggested. That combination made it memorable then, and it keeps the model highly desirable now. For restorers, the RD350 occupies a special place in the classic metric motorcycle world because it is not just collectible, but also deeply rideable. Restoring one is not only about preserving a machine for display; it is about bringing back an experience that modern motorcycles rarely replicate.
Its importance is also practical. Compared with many rare classics, the RD350 benefits from strong enthusiast support, good aftermarket availability, and a large knowledge base built by decades of owners, racers, and tuners. That makes it a realistic restoration candidate for both first-time vintage builders and experienced collectors. Add in its historical significance as one of the defining high-performance two-stroke street bikes, and the RD350 becomes more than another old motorcycle. It becomes a centerpiece of conversations about classic Japanese performance, making a proper restoration especially rewarding.
What should you inspect first before starting a Yamaha RD350 restoration?
The first step is evaluating whether the bike is complete, correct, and structurally sound. Start with the frame and engine numbers to confirm the motorcycle’s identity and determine how original it is. Then inspect the frame carefully for crash damage, rust, repairs, or modifications, especially around the steering head, swingarm pivot, and rear shock mounting points. On an RD350, originality can affect both restoration cost and collector value, so it is important to know early whether you are working with a mostly intact machine or a bike assembled from mixed parts over time.
From there, assess the engine, since the RD350’s twin-cylinder two-stroke motor is the heart of the project. Check compression, inspect for signs of crank seal failure, and look for evidence of piston damage, seized cylinders, or poorly executed performance work. Carburetors, oil injection components, exhausts, and ignition parts should all be examined closely because neglected fuel systems and compromised lubrication systems are common on long-stored two-strokes. Also inspect the fuel tank for internal rust, the wiring harness for brittle insulation or amateur repairs, and the chassis for worn fork tubes, tired shocks, wheel bearing play, and brake deterioration. A careful initial inspection helps you set a realistic budget, prioritize safety-critical work, and decide whether the goal should be a factory-correct restoration, a sympathetic rider rebuild, or a period-style performance revival.
What are the most common mechanical challenges when restoring an RD350?
The most common issues usually center on the engine, fuel system, and age-related wear. Because the RD350 is a two-stroke, crankshaft condition is a major concern. Even if the engine turns over, old seals and worn crank bearings can make a simple startup risky. Air leaks are especially dangerous on a two-stroke because they can create a lean condition and quickly damage pistons. That is why experienced restorers often treat the lower end, seals, and top end as priority areas rather than assuming a running engine is a healthy engine. Cylinder wear, stuck rings, scarred bores, and damaged reed-related intake components can also appear, depending on the model year and past tuning history.
The carburetors are another frequent trouble spot. Years of stale fuel can clog passages, corrode internals, and leave slides or floats sticking. Rebuilding them properly is essential because the RD350’s crisp response depends on accurate fueling. The Autolube oil injection system should also be inspected rather than removed automatically. When restored correctly, it is a reliable and historically correct feature that helps preserve street manners. Beyond the engine, expect to deal with tired suspension, old brake lines, seized calipers or drum components depending on specification, degraded wheel bearings, and electrical gremlins caused by corroded connectors or weak charging components. None of these issues are unusual in a vintage machine, but on the RD350 they must be addressed with care because the bike’s performance character depends on the whole package working together properly.
Is it better to keep an RD350 original or upgrade it during restoration?
That depends on your goals, but the smartest approach is usually to decide early and stay consistent. If your objective is collector value, historical accuracy, and a bike that reflects how Yamaha built it, originality matters. Factory paint schemes, stock airboxes, correct exhausts, original oil injection, and proper hardware all contribute to authenticity. A well-restored original-spec RD350 tends to appeal strongly to enthusiasts who understand the model’s significance and want the complete period experience. In that kind of restoration, even small details like gauges, switchgear, seat trim, and finish quality make a meaningful difference.
If your goal is to build a reliable rider, tasteful upgrades can make sense, especially when they improve safety or durability without erasing the bike’s identity. Many owners choose better tires, updated brake lines, improved fork internals, modern rear shocks, electronic ignition upgrades, or carefully selected expansion chambers. Those changes can sharpen the riding experience while respecting the spirit of the original motorcycle. The key is restraint. The RD350 already has a strong personality, and over-modifying it can reduce both rideability and long-term value. The best restorations understand whether they are preserving a museum-worthy example, creating a dependable road bike, or recreating a period hot rod, and they make every decision in service of that vision.
How much does a Yamaha RD350 restoration typically cost, and is it worth it?
Costs vary widely based on the starting condition of the motorcycle and the standard of the finished build. A mostly complete, running RD350 that needs cosmetic freshening and routine mechanical sorting will cost far less than a neglected barn find with a seized engine, missing bodywork, rust damage, and incorrect parts. The biggest expenses often include crankshaft rebuilding, top-end machine work, paint, chrome or plating, seat restoration, suspension refurbishment, wheel rebuilding, and sourcing hard-to-find original parts. Labor can also become a major factor if you are not doing the disassembly, engine work, wiring, and final assembly yourself.
As for whether it is worth it, that answer is often yes for the right owner, though not always purely in financial terms. A carefully restored RD350 has strong appeal because it is iconic, enjoyable, and supported by an active enthusiast community. It can hold value well, especially if restored correctly and documented thoroughly. More importantly, it delivers something many classic motorcycles do not: genuine excitement on the road. The sound, smell, throttle response, and light, urgent feel of a healthy RD350 create a riding experience that is difficult to duplicate. If you choose a solid starting bike, plan the project intelligently, and respect the machine’s engineering, restoring an RD350 can be one of the most satisfying vintage motorcycle projects you can take on.