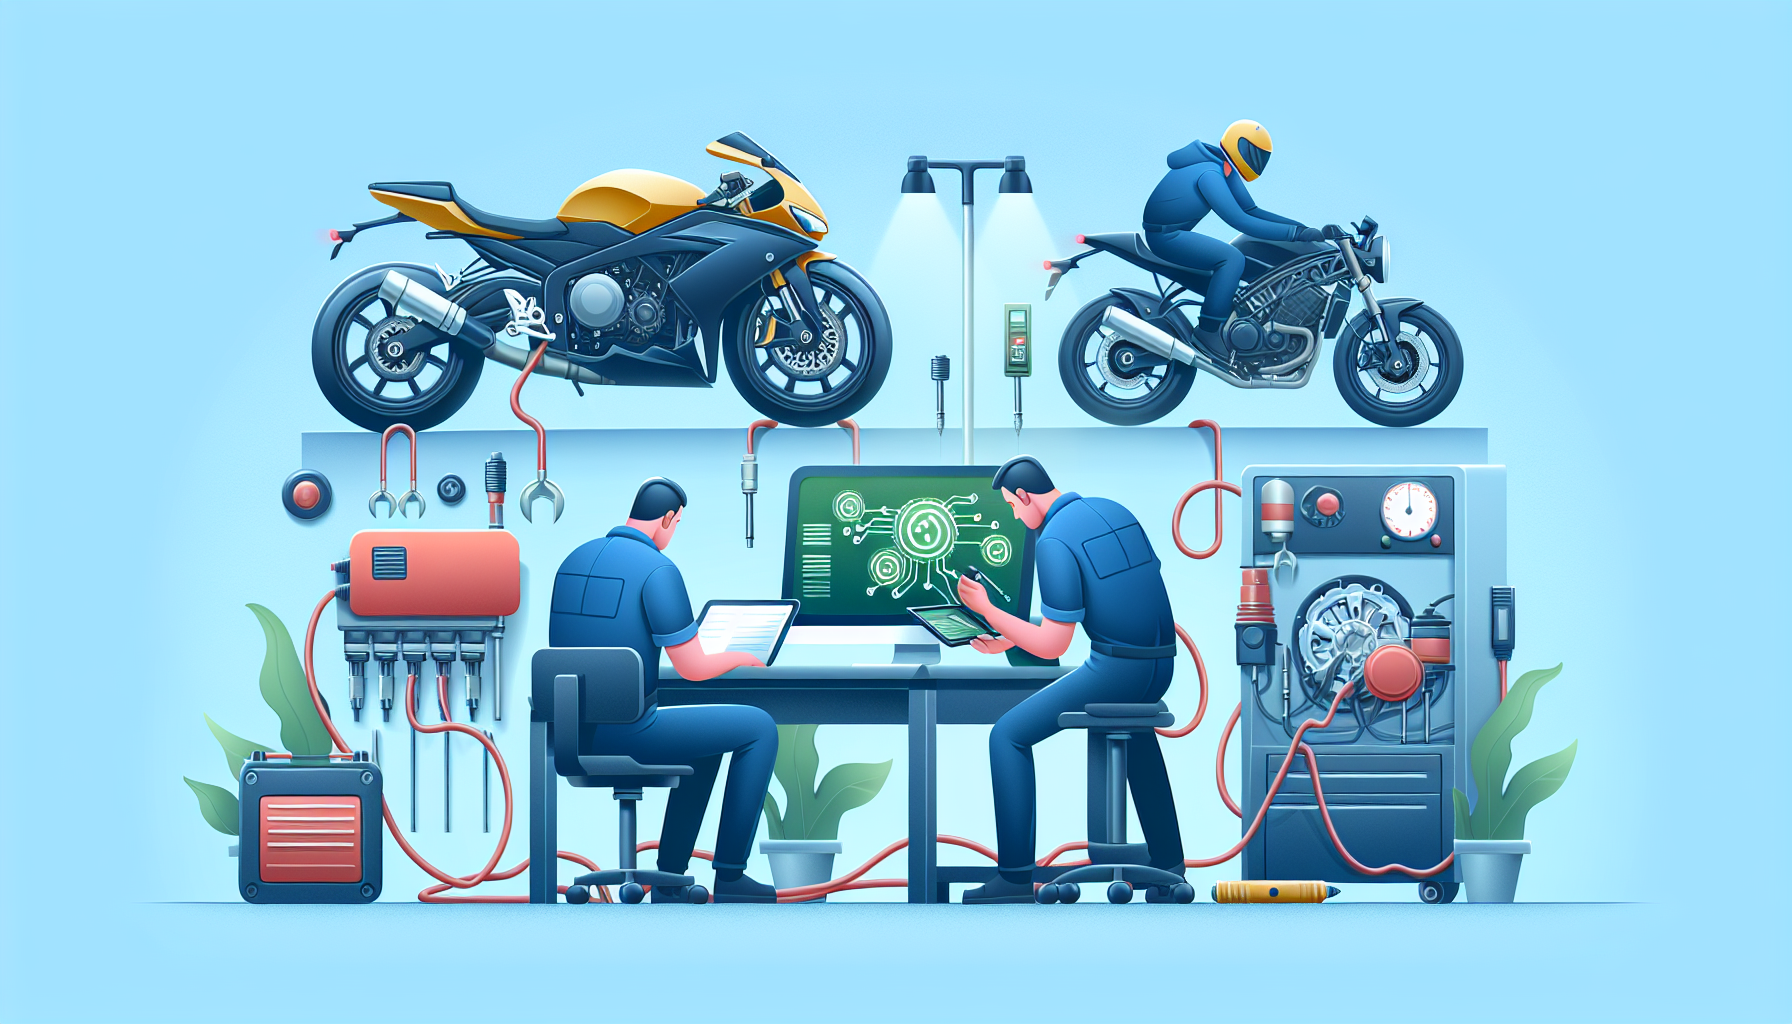
Electronic fuel injection has made modern motorcycles cleaner, more efficient, and easier to live with, but it has also changed how riders approach maintenance when something runs badly or refuses to start. Troubleshooting EFI issues starts with understanding the sensors and control logic that replace the old carburetor’s jets and screws. On today’s bikes, the engine control unit reads inputs from components such as the throttle position sensor, manifold pressure sensor, crank position sensor, oxygen sensor, intake air temperature sensor, coolant temperature sensor, and tip-over sensor, then adjusts fuel delivery and ignition timing in milliseconds. When one of those signals goes missing or drifts out of range, the symptoms can look random: hard starting, stalling at idle, poor throttle response, surging at cruise, rich exhaust smell, reduced power, or an illuminated warning light.
I have diagnosed these faults in home garages, dealership service bays, and track paddocks, and the pattern is consistent: riders often replace expensive parts too early because the failure mode is misunderstood. A weak battery can mimic a bad sensor. Corroded connectors can distort a perfectly good signal. Vacuum leaks can trick a pressure sensor into reporting conditions that send fueling off target. That is why EFI maintenance is not only about swapping parts; it is about testing inputs in a structured order and knowing what each sensor actually does. This hub article covers the common EFI sensors that fail on modern bikes, the symptoms they create, how to test them sensibly, and where these checks fit into a wider motorcycle maintenance routine.
How motorcycle EFI works and why sensor faults are often misdiagnosed
Motorcycle EFI is a closed or semi-closed control system built around the ECU. The ECU calculates injector pulse width and ignition timing from engine speed, engine load, throttle angle, temperature, and exhaust feedback. In practical terms, that means your bike is constantly deciding how much fuel to inject based on a handful of sensor signals and a base fuel map stored in memory. Some bikes rely heavily on speed-density logic, using manifold absolute pressure and temperature to estimate air mass. Others blend alpha-N logic, using throttle angle and rpm more aggressively, especially on high-revving sport bikes with unstable intake vacuum at certain engine speeds. Either way, one wrong input can skew the result across the entire rev range.
Misdiagnosis usually happens because symptoms overlap. A bike with a failing crank position sensor may cut out hot and restart after cooling down, which many riders blame on fuel quality or a clogged pump. A faulty coolant temperature sensor may command excessive enrichment, making the engine run rich and rough like a leaking injector. A tired charging system may pull voltage low enough to confuse the ECU, trigger error codes, and produce intermittent sensor readings even though the sensors themselves are healthy. Before chasing any sensor, verify battery state, charging voltage, ground integrity, fuse condition, and connector cleanliness. On most bikes, you want around 12.6 volts at rest for a fully charged battery and roughly 13.5 to 14.5 volts while running, depending on model and rpm. Skipping that baseline check wastes time.
The other reason sensor troubleshooting gets messy is that not all failures set a code immediately. Some ECUs detect only open circuits and short circuits, not plausibility errors. A sensor can remain electrically connected yet report values that are inaccurate enough to affect rideability without crossing the threshold for a fault light. This is common with aging throttle position sensors that develop dead spots, oxygen sensors that respond too slowly, and intake air temperature sensors that drift from spec. Reading live data with a factory scan tool, a compatible OBD adapter, or software such as TuneECU on supported models is often more useful than simply pulling blink codes. You are looking for signals that make sense compared with actual conditions, not just a stored number in memory.
The sensors that fail most often and the symptoms they create
The throttle position sensor is one of the most common EFI problem sources on modern bikes. It tells the ECU how far the throttle is open. When it wears internally, the signal can jump or drop out around small openings, which is exactly where many riders complain of jerky off-idle response, hesitation when rolling back on the throttle, or unstable idle. On some motorcycles, TPS alignment is also adjustable, so the part may be fine but incorrectly set after throttle body service. I have seen bikes cured by recalibrating the TPS voltage rather than replacing it. A digital multimeter can reveal smooth voltage sweep as the throttle opens, but live data is better because it exposes glitches under real movement.
The manifold absolute pressure sensor, sometimes paired with a barometric pressure sensor, is critical on bikes that calculate load from intake vacuum. A contaminated hose, split vacuum line, or sensor diaphragm fault can cause hard starting, rich running, and surging at steady throttle. If a bike idles poorly but improves at larger throttle openings, suspect MAP-related issues early. Always inspect the hose routing before condemning the sensor. I have found kinked lines after tank removal more than once.
The crankshaft position sensor is a high-priority item because without a reliable rpm signal the ECU cannot time spark or injector events correctly. Heat-related failure is classic. The bike may run for twenty minutes, die abruptly, then restart only after cooling. Resistance checks can help, but many failing sensors pass static tests. An oscilloscope is ideal because it shows signal quality during cranking and hot operation. If the tach drops to zero instantly when the engine cuts out, the crank sensor or its circuit moves up the suspect list quickly.
The oxygen sensor, usually a narrowband unit on road bikes built to meet emissions rules, mainly helps trim fueling in closed-loop conditions such as light cruise. When it ages, contamination from silicone sealants, leaded race fuel, or oil burning can slow response. That can create hunting at steady speeds, inconsistent fuel economy, or a persistent check-engine light. However, an oxygen sensor rarely causes every running problem riders report. Under heavy acceleration many ECUs ignore it and revert to mapped fueling, so poor full-throttle performance usually points elsewhere.
Temperature sensors are easy to underestimate. The engine coolant temperature sensor affects warm-up enrichment, idle behavior, and fan control on liquid-cooled bikes. If it reads colder than reality, the ECU adds too much fuel. If it reads hotter than reality, starting can become difficult and idle may stumble when cold. The intake air temperature sensor matters because air density changes with temperature. A bad IAT usually causes subtler errors than a failed coolant sensor, but on sensitive tunes it can contribute to lean surge or soggy response. Tip-over sensors also deserve mention. After a minor crash, rough transport, or incorrect mounting, they can interrupt fuel pump and ignition operation and create a no-start that looks catastrophic until you check orientation.
| Sensor | Main job | Common symptoms | Best first check |
|---|---|---|---|
| Throttle position sensor | Reports throttle angle | Jerky pickup, hesitation, unstable idle | Verify smooth voltage or live-data sweep |
| MAP sensor | Measures engine load via intake pressure | Hard starting, rich running, surge | Inspect vacuum hose and compare live pressure |
| Crank position sensor | Provides engine speed and position | Hot cut-out, no-start, tach drop | Check hot resistance and signal while cranking |
| Coolant temperature sensor | Controls warm-up enrichment | Rich smell, poor cold start, fan issues | Compare sensor reading to actual engine temperature |
| Oxygen sensor | Trims cruise fueling | Hunting cruise, poor mileage, warning light | Check response speed and heater circuit |
A practical maintenance workflow for diagnosing EFI sensor problems
Good EFI maintenance follows a repeatable sequence. Start with the basics: battery health, charging output, fresh fuel, air filter condition, and intake tract sealing. Then inspect every EFI connector you can access around the tank, throttle bodies, and ECU. Modern motorcycles live in heat, vibration, and weather. Connector pins loosen, dielectric seals harden, and green corrosion forms where riders least expect it. A visual inspection paired with contact cleaner and terminal checks solves more “sensor failures” than most people realize. Pay close attention after accessory installs such as quickshifters, fuel controllers, heated gear harnesses, or alarm systems, because wiring disturbances often introduce intermittent faults.
Next, retrieve any fault codes, but do not stop there. Codes point to a circuit, not always the failed part. If the ECU reports a TPS problem, you still need to check reference voltage, ground quality, connector fit, and signal return. Then compare live data with reality. A cold engine left overnight should not show coolant temperature twenty degrees above ambient. Key on, engine off, the MAP reading should roughly match local barometric pressure after accounting for units. Closed throttle should show a stable TPS percentage that rises smoothly with hand input. During cranking, rpm data should appear immediately. This comparison method catches implausible readings fast.
Use the service manual values whenever possible. Manufacturers publish resistance ranges, voltage specifications, pinouts, and test temperatures for a reason. Guessing by forum posts is risky because similar-looking sensors vary across model years. If a manual calls for back-probing a connector with ignition on and measuring 0.6 volts closed to 4.2 volts open, use that standard. If it specifies synchronization after throttle body removal, perform it. I have seen riders replace injectors when the real problem was mismatched throttle body balance causing erratic idle airflow that the ECU could not correct cleanly. EFI maintenance is system maintenance.
When a sensor tests borderline, think about failure context. Heat, vibration, moisture, and contamination each leave clues. Intermittent hot no-start points toward crank or cam position sensing, ignition coils, or solder fractures. Rich running after storage suggests stale fuel, stuck injectors, or temperature input errors. Hesitation right after washing the bike often means water intrusion in coil wells or connectors rather than instant sensor death. Write down the conditions when the fault occurs: engine temperature, fuel level, road speed, rpm, gear, and weather. That pattern recognition is how experienced technicians narrow faults efficiently.
Model-specific nuances, tools, and when replacement is the right move
No two motorcycle EFI systems are identical, and maintenance improves when you respect model-specific design choices. Ducati, KTM, Yamaha, Honda, BMW, Kawasaki, Suzuki, Triumph, and Harley-Davidson all use slightly different sensor strategies, connector layouts, and diagnostic access methods. Some bikes expose fault codes through the dash. Others require a scan tool or proprietary adapter. Ride-by-wire systems add throttle grip sensors and throttle body actuator feedback, creating more possible failure points than cable-operated setups. Adventure bikes routed for deep-weather exposure may suffer connector contamination more often, while tightly packaged sport bikes stress sensors with higher under-tank temperatures.
The right tools shorten diagnosis. A quality digital multimeter is essential. A scan tool that reads live data is worth the investment if you maintain your own bikes regularly. An oscilloscope becomes valuable for crank and cam signals, injector patterns, and intermittent dropouts that a meter averages away. A fuel pressure gauge is also important because low pressure can mimic sensor faults convincingly. On many systems, pressure regulators, pumps, or clogged filters create lean symptoms that riders blame on electronics. Likewise, a vacuum gauge set or synchronizing tool helps confirm throttle body balance. Electronic fueling still depends on sound mechanical setup.
Replacement should come after evidence, not frustration. If a sensor shows incorrect resistance at a known temperature, loses signal when heated, or displays impossible live data with verified wiring, replacement is justified. Use OEM parts or proven equivalents from reputable suppliers such as Denso, Bosch, NGK, or Hitachi when applicable. Cheap no-name sensors often create new problems through poor calibration. After replacement, clear codes, perform any required adaptation or idle learn procedure, and road test under the conditions that previously triggered the fault. If the issue disappears only temporarily, revisit wiring harness strain, grounds, and charging stability before blaming the new part.
As the maintenance hub for this Garage & Gear section, this article should guide the rest of your troubleshooting work. Build your routine around inspection, testing, and documentation, then branch into deeper topics such as battery diagnosis, charging-system checks, throttle body synchronization, fuel pump testing, injector cleaning, and wiring repair. The main lesson is simple: most EFI issues on modern bikes trace back to a small group of sensors, their circuits, or the conditions that distort their signals. Understand what each sensor tells the ECU, test that information against reality, and you can diagnose confidently instead of guessing. Start with one bike in your garage, pull the service manual, and create a baseline checklist you can reuse at every service.
Frequently Asked Questions
What EFI sensors fail most often on modern motorcycles?
On most modern bikes, the sensors that cause the highest number of EFI-related running problems are the throttle position sensor (TPS), manifold absolute pressure (MAP) sensor, crank position sensor (CKP), intake air temperature (IAT) sensor, engine coolant temperature (ECT) sensor, oxygen sensor, and sometimes the tip-over or bank angle sensor. Not all of these fail at the same rate on every brand, but they are the components technicians and experienced riders check first when a motorcycle starts idling poorly, hesitating on throttle, stalling unexpectedly, running excessively rich or lean, or refusing to start altogether.
The TPS is a common trouble spot because it directly tells the ECU how far the throttle is opened. If its signal becomes erratic, the bike may surge, stumble off idle, or feel inconsistent during steady cruising. The MAP sensor is equally important on speed-density EFI systems because it helps the ECU estimate engine load. A bad or contaminated MAP sensor can create fueling errors that mimic vacuum leaks or injector problems. The crank position sensor is especially critical because without a clean engine speed and position signal, the ECU may not trigger spark or injection correctly. When the CKP begins to fail, symptoms often include intermittent no-start conditions, random cut-outs when hot, or sudden engine shutdown.
Temperature sensors also matter more than many riders realize. The coolant temperature sensor influences cold-start enrichment and warm-up fueling, while the intake air temperature sensor helps the ECU adjust for air density. If either gives inaccurate data, the engine can become hard to start, smoky, sluggish, or rough during warm-up. Oxygen sensors usually do not cause total no-start situations, but they can contribute to poor fuel economy, check-engine lights, and unstable fueling once the engine enters closed-loop operation. In short, the sensors that fail most often are generally the ones exposed to heat, vibration, contamination, and repeated cycling, and each one can create symptoms that overlap with ignition, fuel delivery, or mechanical faults.
How can I tell whether a bad sensor is causing my bike’s EFI problem instead of something simpler?
The best way to separate sensor trouble from basic mechanical or electrical issues is to start with fundamentals before assuming the ECU is at fault. A weak battery, poor ground, blown fuse, damaged connector, clogged fuel filter, failing fuel pump, vacuum leak, fouled spark plug, or corroded side-stand or kill-switch circuit can create symptoms that look very much like sensor failure. EFI systems are logical, but they can only work correctly if voltage supply, fuel pressure, spark, compression, and wiring integrity are all present. That is why a disciplined troubleshooting process always beats guessing and replacing parts.
Sensor-related EFI problems often have recognizable patterns. If the motorcycle starts and runs, but responds badly only at certain throttle openings, the TPS becomes a strong suspect. If the bike is difficult to start hot, cuts out after warming up, or suddenly loses tachometer signal while cranking, the crank position sensor or its wiring deserves attention. If idle speed is unstable, fueling seems wrong across multiple conditions, and there are no obvious vacuum leaks, the MAP sensor may be feeding unrealistic load data to the ECU. If the engine runs far too rich when cold or never seems to come off warm-up enrichment, the coolant temperature sensor may be telling the ECU the engine is colder than it really is.
A scan tool, service-mode display, or manufacturer diagnostic procedure makes this much easier because stored fault codes and live sensor readings can reveal whether a signal is out of range or implausible. Even without advanced equipment, you can still inspect connectors for moisture, bent pins, looseness, or green corrosion; verify power, ground, and reference voltage with a multimeter; and compare resistance or voltage readings to factory specifications. The key point is that sensors should be tested in context. Replacing one simply because it is mentioned online is rarely the fastest or cheapest path to a reliable repair.
What symptoms does a failing throttle position sensor usually cause?
A failing throttle position sensor usually causes drivability problems that seem directly connected to throttle movement. Riders often notice hesitation when opening the throttle, abrupt or jerky power delivery, hanging idle, surging at steady speeds, poor off-idle response, or inconsistent engine braking behavior on ride-by-wire or heavily ECU-managed systems. In some cases, the bike may start and idle reasonably well but stumble badly only when the throttle is cracked open. In others, the ECU may interpret the signal as implausible and trigger a fault code, reduced-power mode, or erratic fueling across the rev range.
The reason the TPS creates such noticeable symptoms is that it is one of the ECU’s primary indicators of rider demand. On many systems, the TPS helps determine acceleration enrichment, transient fueling, ignition timing strategy, and idle transition behavior. If the sensor has a dead spot, worn track, poor internal connection, or unstable voltage output, the ECU receives a throttle signal that jumps instead of changing smoothly. That can make the bike feel like it has an intermittent ignition miss, a carburetor flat spot, or even a clutch problem, when the real issue is incorrect throttle angle data.
Testing a TPS generally involves checking for a smooth change in voltage as the throttle moves from closed to open, along with confirming correct baseline adjustment where applicable. The exact values vary by manufacturer, so the service manual matters. A TPS that is simply out of adjustment may be recoverable through proper calibration, while one with internal wear usually needs replacement. Because TPS faults can mimic injector, ignition, and air leak issues, it is smart to inspect the throttle body, cable free play, wiring harness, and connector condition at the same time. On many motorcycles, the problem is not just the sensor itself but vibration-related wiring damage near the throttle body.
Why is the crank position sensor so important, and what happens when it starts to fail?
The crank position sensor is one of the most critical inputs in the entire EFI system because it tells the ECU where the crankshaft is and how fast it is spinning. Without that information, the ECU cannot reliably determine when to fire the spark plugs or pulse the injectors. On many bikes, a failed CKP sensor can cause a complete no-start because the ECU essentially does not know the engine is turning in a usable way. That makes the crank sensor very different from sensors like the oxygen sensor or intake air temperature sensor, which usually affect fueling quality more than basic engine operation.
When a crank sensor begins to fail, the symptoms are often intermittent at first. The bike may crank normally but not start until it cools down. It may stall suddenly after warming up, then restart later as if nothing happened. You might also see random cut-outs while riding, loss of tachometer signal during cranking, or an engine that fires briefly and then dies. Heat-related failure is common because the sensor and its wiring live in a harsh environment. Internal breakdown, widened air gap, metal debris on magnetic pickup types, or insulation damage in the harness can all weaken the signal enough to confuse the ECU.
Diagnosis usually requires more than a quick visual check. Resistance tests can help on some sensor types, but they do not always catch a CKP that fails only when hot. Measuring output during cranking, checking waveform quality with an oscilloscope, inspecting trigger wheel condition, and verifying sensor air gap are often necessary for a confident diagnosis. It is also important to inspect the connector and harness routing, especially where the wiring passes near the engine or frame. Because a failing crank sensor can imitate fuel pump failure, ignition coil faults, or ECU trouble, it is one of the most important sensors to test carefully before replacing other expensive parts.
Can I troubleshoot EFI sensor problems myself, or should I take the bike to a shop?
Many EFI sensor problems can be investigated at home if you are methodical, have the correct service information, and are comfortable using basic electrical test tools. A rider with a digital multimeter, wiring diagram, factory specifications, and access to diagnostic mode or a compatible scan tool can often narrow the fault down significantly before deciding whether parts need to be replaced. Simple checks such as battery voltage, charging performance, fuse condition, connector inspection, harness continuity, and sensor resistance or reference voltage are within reach for many home mechanics. In fact, those basic steps solve a surprising number of “sensor” complaints that turn out to be low voltage, corroded grounds, or damaged connectors.
That said, there is a difference between basic diagnosis and complete diagnosis. Some faults require dynamic testing, live data interpretation, oscilloscope use, smoke testing for intake leaks, or brand-specific software functions for calibration and relearn procedures. Ride-by-wire systems, integrated ABS/traction-control platforms, and tightly packaged motorcycles can add complexity quickly. If the bike has an intermittent no-start, repeated sensor codes that return after wiring checks, or symptoms that appear only when hot or under load, a qualified shop can often diagnose the issue faster and more accurately than repeated trial-and-error part swapping.
The smartest approach is to do the safe, logical checks first and know when to escalate. Verify the battery and charging system, inspect the wiring and connectors, read any stored codes, compare sensor readings to factory specs, and confirm that fuel, spark, and compression are present. If the evidence points clearly to a failed sensor, replacement may be straightforward. But if the problem remains ambiguous, getting