Changing your own engine oil is one of the most practical maintenance skills a home mechanic can learn, and it starts with having the right tools, not just the right intentions. A DIY oil change saves money, gives you direct control over oil quality and filter choice, and helps you spot early warning signs such as metal particles, coolant contamination, torn boots, or fresh leaks before they become expensive repairs. In the context of garage and gear maintenance, this job is the gateway task: simple enough for a beginner, technical enough to build confidence, and important enough to affect engine life, fuel economy, emissions performance, and warranty compliance.
An oil change means draining used engine oil, replacing the oil filter, installing the correct amount and grade of fresh oil, and verifying that the engine is leak-free and properly filled. That sounds straightforward, but execution matters. Modern engines have sensitive lubrication systems, tight oil capacity tolerances, and manufacturer-specific viscosity requirements such as 0W-20, 5W-30, or dexos, ACEA, or API-rated formulas. Overfilling can aerate oil and damage catalytic converters. Underfilling can reduce oil pressure and accelerate wear. Using the wrong tool on a plastic filter cap or aluminum drain plug can turn a routine maintenance job into a stripped-thread repair.
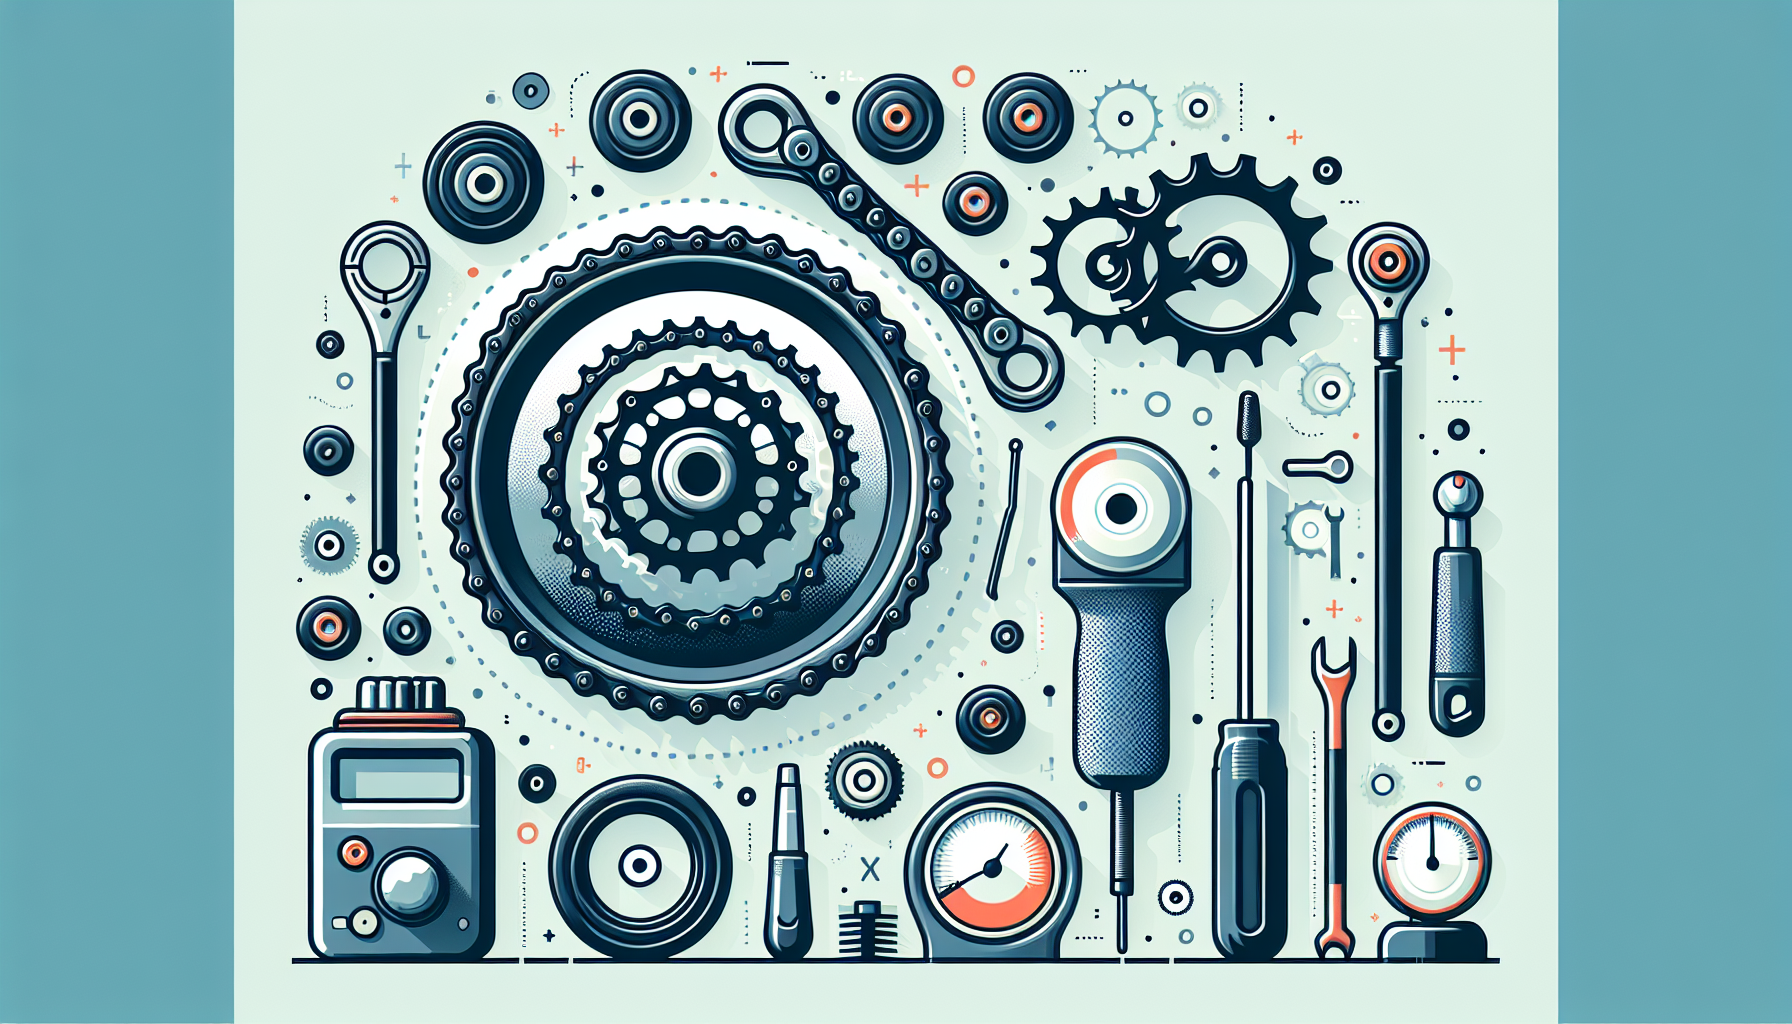
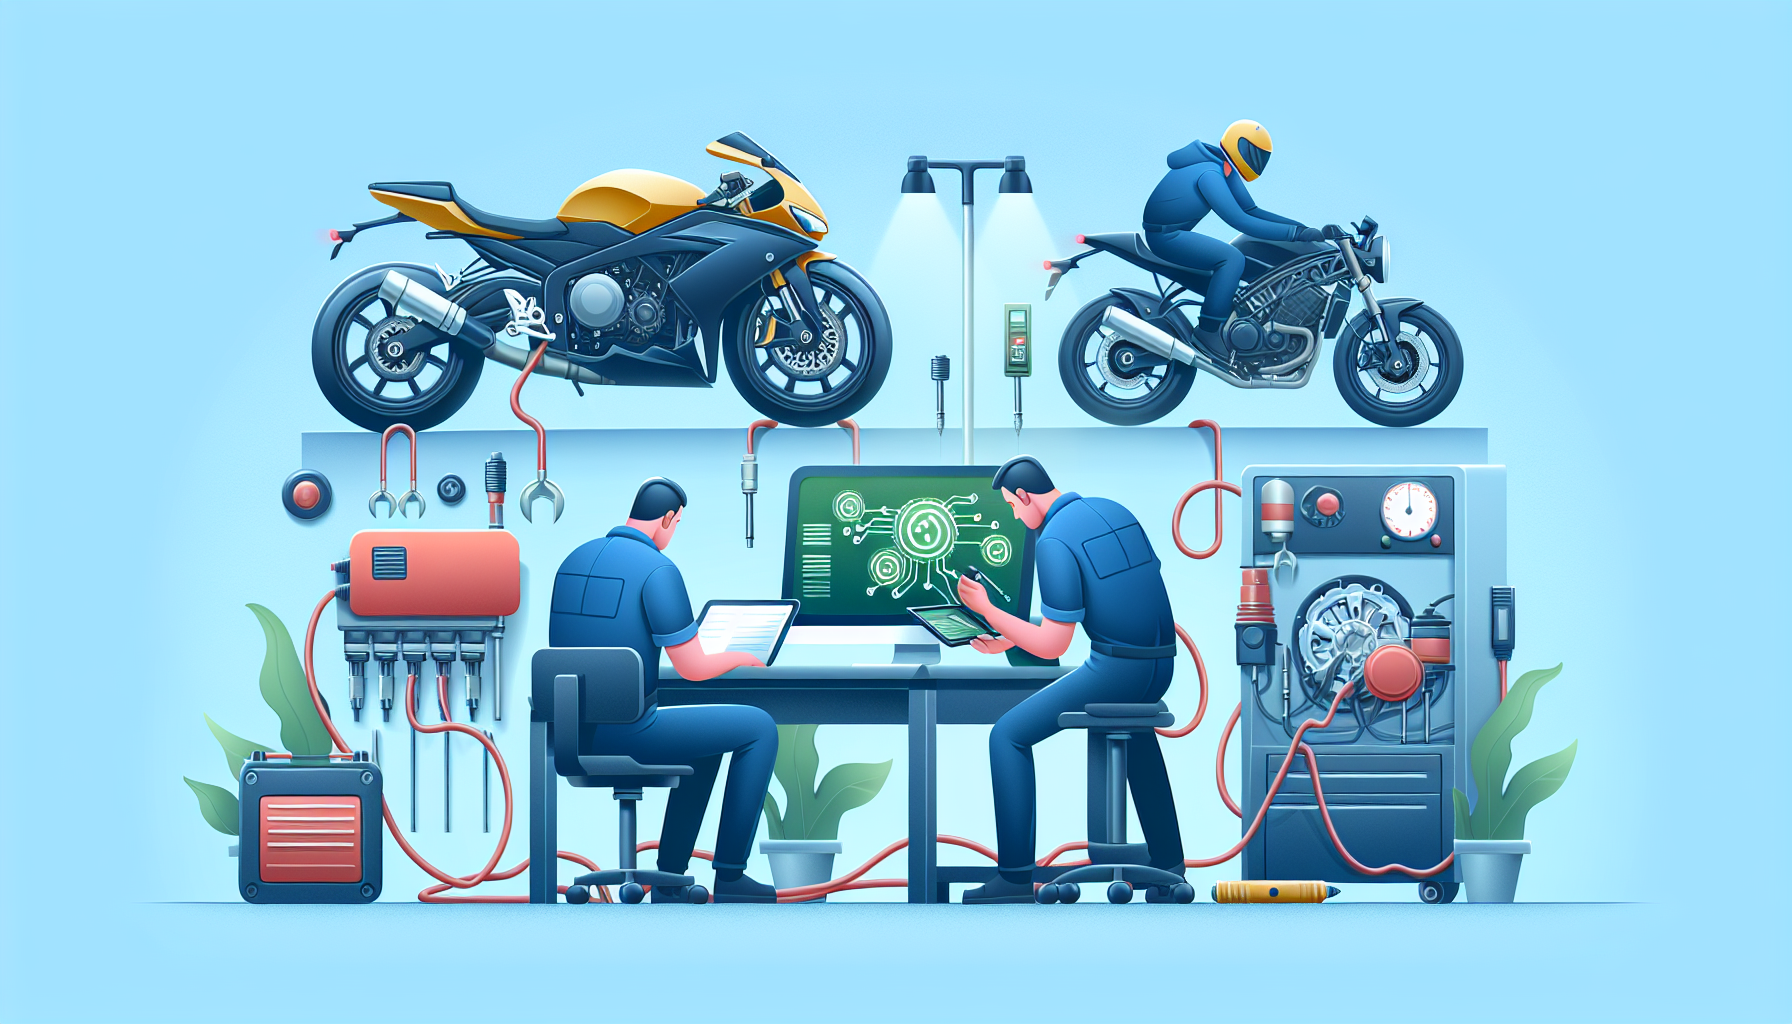
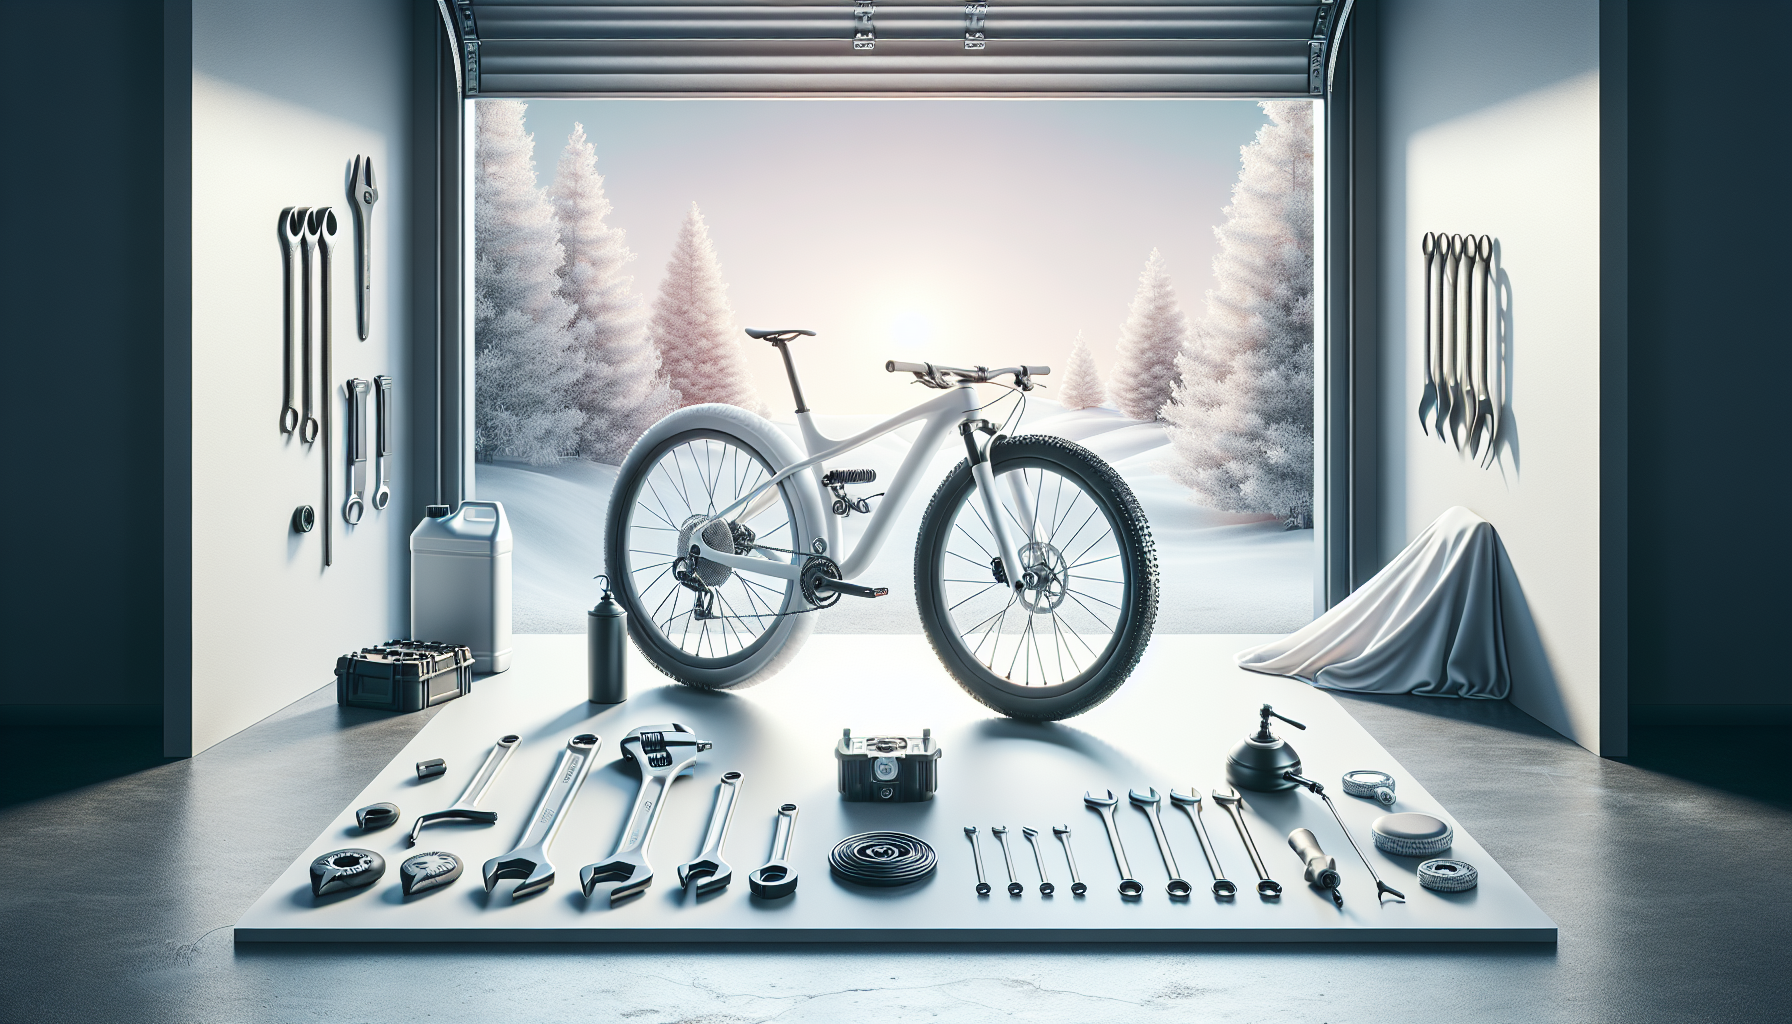
I have done oil changes on compact sedans, turbocharged crossovers, body-on-frame trucks, and motorcycles, and the pattern is consistent: good preparation prevents almost every mistake. The essential tools are not glamorous, but each one solves a specific problem. A properly rated floor jack and jack stands create safe access. A drain pan controls waste oil. A torque wrench protects threads and gaskets. Correct sockets, filter tools, funnels, gloves, and shop towels keep the work clean and repeatable. For many owners, this article also serves as the maintenance hub because oil service connects directly to related garage tasks including filter inspections, tire rotation timing, underbody checks, fluid level monitoring, service record keeping, and waste fluid disposal.
Why does this matter so much? Engine oil does more than lubricate. It cools internal parts, suspends contaminants, protects against corrosion, supports hydraulic timing components, and cushions bearings under high load. Over time, heat cycles, fuel dilution, soot, moisture, and oxidation degrade the oil and deplete additive packages. That is why maintenance schedules exist, whether they are fixed intervals like 5,000 miles or oil-life-monitor algorithms based on temperature, trip length, load, and idle time. If you drive short trips, tow, sit in traffic, or operate in dusty or very cold conditions, your oil service routine matters even more. The right tools make that routine accurate, safe, and fast.
Core oil change tools every home mechanic needs
The essential tool kit for a DIY oil change starts with safe lifting equipment. If your vehicle has enough ground clearance, you may only need wheel chocks and ramps. For lower vehicles, a hydraulic floor jack paired with appropriately rated jack stands is the standard setup. Never rely on a jack alone. The jack lifts; the stands support. Look for stands with a wide base, clear load rating, and locking mechanism in good condition. Consult the owner’s manual for approved lift points, because pinching a rocker seam or misplacing a jack saddle can damage the underbody or create an unstable setup.
Next is a drain pan large enough for the engine’s full oil capacity, including the oil trapped in the filter. A compact four-cylinder may hold 4.5 quarts, while a truck can exceed 8 quarts. Choose a pan with extra margin to prevent splashing. The best designs have a wide catch area and a sealed container feature for transport to a recycling center. Add nitrile gloves, absorbent shop towels, cardboard or an oil mat for the floor, and safety glasses. Used oil is messy, and on a warm engine it can burn skin quickly. Clean work habits also matter for environmental reasons; even small spills travel farther than most people expect.
Hand tools are where many beginners either overspend or improvise poorly. For most vehicles, you need a ratchet, the correct socket for the drain plug, and often an extension. Common drain plug sizes include 13mm, 14mm, 17mm, and 19mm, but always confirm before starting. Use a six-point socket when possible because it grips flats better than a twelve-point design and reduces the risk of rounding a stubborn plug. For oil filters, the required tool varies by filter style. Spin-on filters may come off with a strap wrench, cap wrench, or pliers-style filter wrench. Cartridge filters usually require a correctly sized cap socket that matches the plastic or metal housing.
A torque wrench is not optional if you want consistent, damage-free maintenance. Drain plugs and cartridge filter caps have specified torque values, and many are lower than people assume. A common drain plug spec may be in the 20 to 30 lb-ft range, while some filter caps are even lighter. Overtightening crush washers, distorts sealing surfaces, cracks filter housings, and strips aluminum pans. I have repaired too many “simple” oil change errors caused by someone leaning on a breaker bar. Finish the job with a funnel, the correct oil, a new filter, and where required a replacement crush washer or O-ring lightly coated with fresh oil before installation.
Choosing tools by vehicle design and service layout
Not all oil changes are configured the same way, and your tool list should reflect the engine layout underneath the vehicle. Older and simpler designs often use a metal spin-on filter mounted low on the block, where access is straightforward but removal can be messy. Many newer vehicles use top-mounted cartridge filters inside a housing, which reduces spills and can make service easier if the engine cover and intake plumbing are not in the way. Some European engines require specialty filter cap sockets in exact sizes such as 24mm, 27mm, 32mm, or 36mm. Using an adjustable wrench on these housings is a mistake; it rounds the cap and turns a ten-minute step into a parts counter visit.
Skid plates and splash shields also change the process. Trucks, performance cars, and many crossovers have undertrays secured with clips, Torx fasteners, or 10mm bolts. That means your oil change kit may need trim tools, Torx bits, and a magnetic tray for hardware. Quick-lube shops often rush this step, which is why loose undertrays and missing fasteners are common after service. At home, you can remove and reinstall these panels carefully, inspect for seepage, and torque hardware correctly. If your vehicle uses a service access door in the undertray, confirm that the flap allows enough room for both drain and filter access before you commit to a no-removal approach.
Ground clearance is another factor. A low sedan may need low-profile ramps or a low-entry floor jack, while a lifted truck may not need lifting equipment at all. Hybrid and electric-adjacent platforms with gasoline engines can have extensive aero panels, and some turbocharged engines place the filter near hot components, making cool-down time more important. If the oil filter sits vertically on top of the engine, a suction extractor may work for some applications, especially on certain European models designed for topside service. However, I still prefer checking the drain plug and washer directly because it gives a chance to inspect the pan, subframe, and boots underneath.
The smartest approach is to build a vehicle-specific checklist before buying tools. Look up oil capacity, viscosity, filter type, drain plug size, washer specification, torque values, lift points, and undertray fasteners. Factory service information is ideal; owner forums can help, but they also spread bad torque advice and shortcut habits. Once you know your layout, you can avoid duplicate tools and buy the correct filter wrench, socket depth, and drain pan size the first time. That makes future maintenance faster and protects the vehicle from preventable damage.
Best practices for a clean, safe, and accurate oil change
A clean oil change starts before the drain plug is touched. Warm the engine for a few minutes so the oil flows more easily, but do not work on an engine that is fully hot from a long drive. Park on level ground, set the parking brake, and chock the wheels that remain on the ground. If you lift the vehicle, raise it from approved points and settle it securely onto jack stands before sliding underneath. Keep the drain pan positioned slightly behind the plug at first, because oil often exits in an arc before falling straight down. Loosen the fill cap and pull the dipstick to help the crankcase vent as the oil drains.
Accuracy depends on method. Once the drain plug is removed, inspect the threads and sealing surface. Replace a crush washer whenever the manufacturer specifies one, which is common on aluminum pans and many import vehicles. If the plug uses a reusable rubber or bonded seal, check for cuts, flattening, or hardening. With the filter, verify that the old gasket came off with the removed filter. A double-gasketed spin-on filter is a classic cause of sudden oil loss after startup. Pre-fill a spin-on filter only when orientation allows it without spilling and the manufacturer does not discourage it. Lightly oil the new gasket so it seats smoothly.
After reinstalling the plug and filter to specification, add about 90 percent of the stated capacity, then wait a minute and check the dipstick. Start the engine, confirm that the oil pressure light goes out promptly, and inspect underneath for leaks. Shut the engine off, let the oil settle, and top up gradually to the full mark. This step matters because filter size, drain time, and temperature can change the immediate reading. Reset the oil-life monitor if your vehicle has one, and record the date, mileage, oil brand, viscosity, filter part number, and any observations like glitter in the drain pan or seepage near the timing cover.
| Tool or supply | Why it matters | Common mistake it prevents |
|---|---|---|
| Floor jack and jack stands or ramps | Provides safe, stable access under the vehicle | Working under an unsupported or unstable car |
| Six-point socket and ratchet | Fits the drain plug securely | Rounding the drain plug head |
| Torque wrench | Applies manufacturer-specified tightening force | Stripped threads, cracked filter caps, leaks |
| Correct filter wrench or cap socket | Removes the filter without damage | Crushing the filter or rounding a cartridge cap |
| Drain pan and funnel | Controls used oil and clean refilling | Spills on the floor or engine bay |
| New washer or O-ring | Restores the drain or housing seal | Slow leaks after service |
Maintenance habits that turn an oil change into a full inspection
The most valuable part of DIY maintenance is not the oil itself; it is the inspection time you gain. With the vehicle in the air or on ramps, you can scan for wetness around the oil pan, transmission case, axle seals, shock bodies, and power steering components if equipped. Look at CV boots for grease sling, exhaust hangers for tearing, brake hoses for cracks, and tire tread for uneven wear that points to alignment issues. A flashlight and a few extra minutes often catch problems early. I have found loose splash shields, seeping valve covers, and worn sway bar links during routine oil service long before they created noise or left puddles.
This is also the right moment to build a broader maintenance system. Check air filter condition, coolant level in the overflow tank, brake fluid level and color, washer fluid, and battery terminal cleanliness. Measure tire pressures cold and compare inside-edge wear across the axle. If your vehicle’s schedule aligns, pair oil changes with tire rotation every 5,000 to 7,500 miles. That creates a repeatable maintenance rhythm and simplifies record keeping. Keep receipts for oil and filters, especially if the vehicle is under warranty, and use a notebook or app to log mileage and observations. A documented history supports resale value and helps diagnose consumption trends.
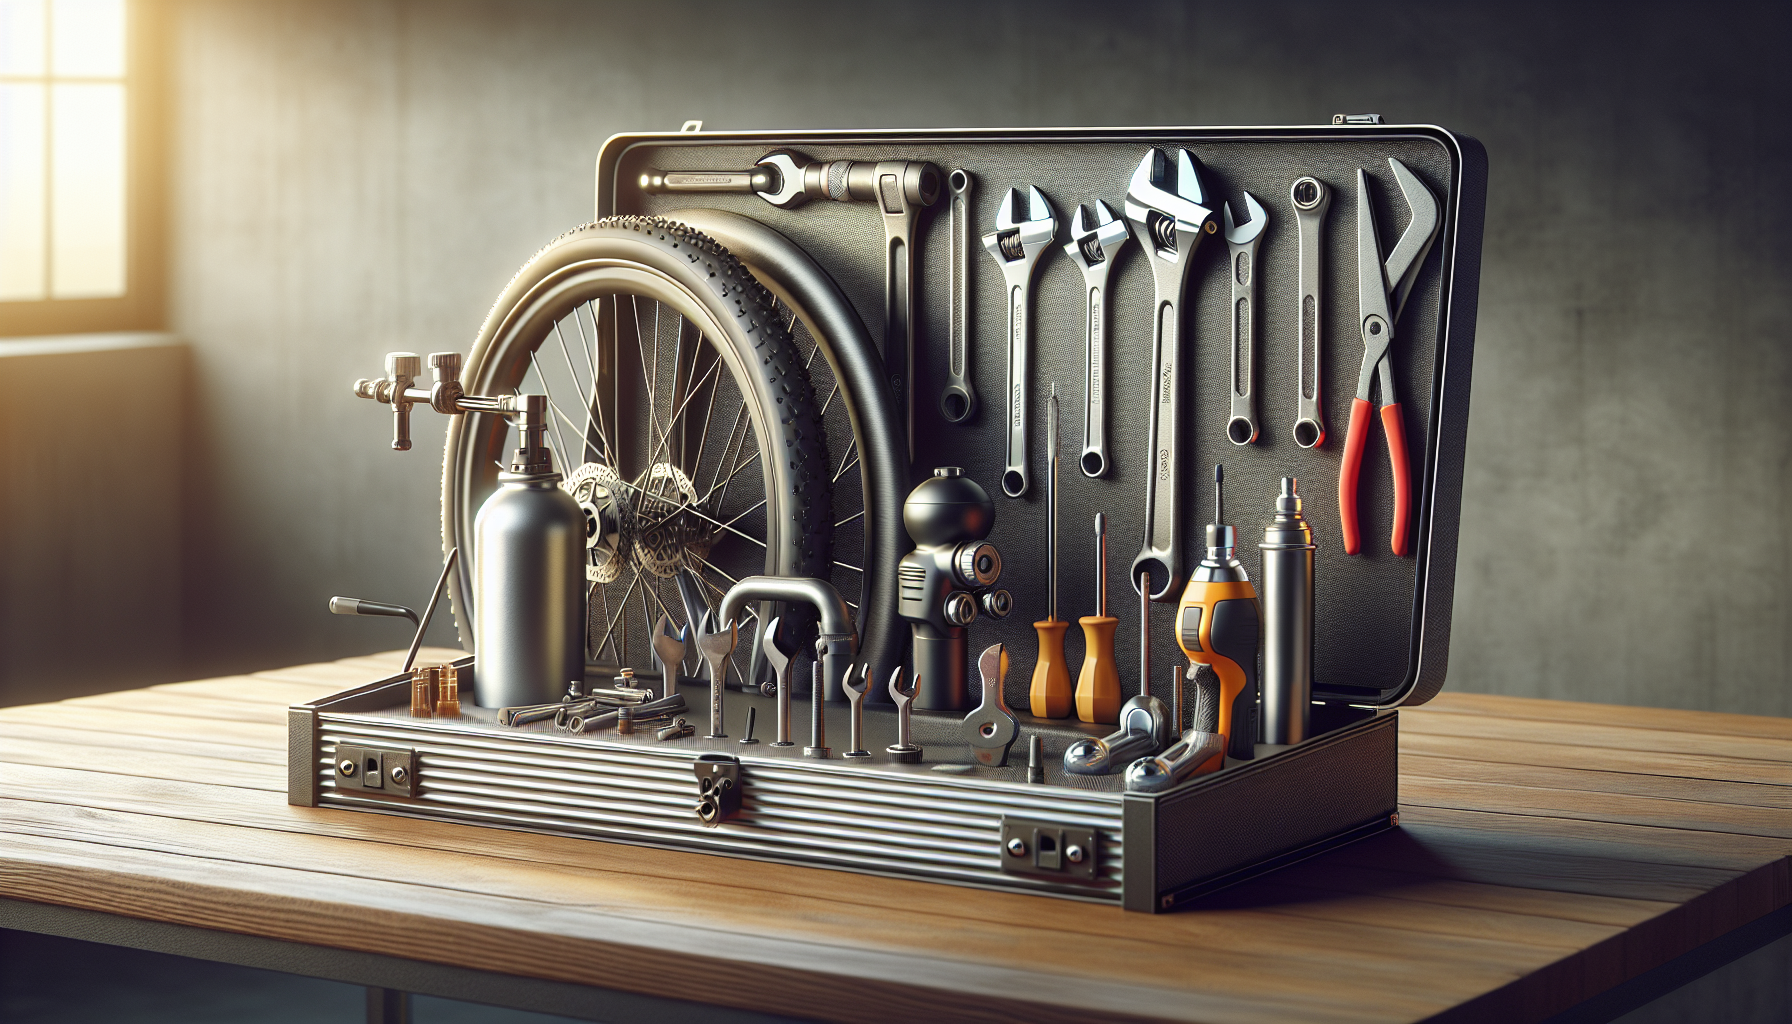
Tool organization matters more over time than people expect. Store oil-specific tools together: filter wrench, torque wrench, drain plug sockets, funnels, gloves, spare washers, and measuring jugs. Label fluids clearly and never mix new oil containers with used oil storage. If you maintain multiple vehicles, create a reference sheet with each model’s oil grade, capacity, filter part number, and torque specs. This reduces errors when switching between, for example, a naturally aspirated sedan using 0W-20 and a turbo pickup requiring 5W-30 with a larger filter. Good maintenance is repeatable maintenance, and repeatability depends on organized tools, verified specifications, and a consistent process.
Disposal, cost savings, and when not to do it yourself
Used motor oil must be handled responsibly. In most areas, auto parts stores, municipal recycling centers, and many service facilities accept used oil and often used filters for recycling. Transfer the oil from the drain pan into a sealed container, keep it free from brake cleaner or coolant contamination, and transport it upright. Never dump oil on the ground, in household trash, or down a drain. One careless disposal can contaminate a large volume of water and may violate local regulations. Drain used filters for the recommended time if your recycler requires it, and wipe spills immediately with absorbent material rather than washing them into the street.
The financial case for a DIY oil change is real, though it depends on your vehicle and oil choice. A basic conventional or synthetic-blend service on an older vehicle may save a modest amount versus a shop, while a full-synthetic service on a truck with a large capacity often saves significantly more. The bigger advantage is control. You choose the exact oil specification, the filter brand, the torque method, and the inspection quality. That said, there are times not to do it yourself. If you cannot lift the vehicle safely, lack a level work area, have a seized drain plug, or the car is under a maintenance plan that already covers service, a reputable shop may be the better choice.
The essential lesson for home mechanics is simple: the right oil change tools are not a luxury, they are the foundation of reliable maintenance. Start with safety equipment, accurate hand tools, the correct filter tool, a drain pan, and the exact oil and sealing parts your engine requires. Then treat each oil service as both a lubrication task and an inspection opportunity. Done properly, a DIY oil change protects the engine, builds mechanical confidence, and creates a maintenance baseline for everything else in your garage and gear routine. Build your kit carefully, follow the specifications, and make your next oil change the first step toward a smarter home maintenance program.
Frequently Asked Questions
What tools do I absolutely need for a DIY oil change at home?
At minimum, a successful DIY oil change requires the correct replacement oil, a new oil filter, an oil drain pan, the proper socket or wrench for the drain plug, and a safe way to access the underside of the vehicle if clearance is limited. For many home mechanics, that also means a sturdy floor jack and a pair of correctly rated jack stands, or a set of ramps if the vehicle design allows it. You will also want a funnel for clean refilling, nitrile gloves to keep used oil off your skin, shop rags or paper towels for cleanup, and a torque wrench if you want to reinstall the drain plug and filter housing to spec rather than guessing.
Beyond the bare essentials, several tools make the job cleaner, faster, and more professional. An oil filter wrench is often necessary, especially when a filter was overtightened during the last service. A creeper or kneeling pad can improve comfort, and a work light makes it easier to inspect for leaks, damaged boots, wet spots around seals, or unusual residue under the engine. If your vehicle uses a cartridge-style filter, you may need a specific filter cap socket. It is also smart to keep a drain plug washer or crush washer on hand, since many manufacturers recommend replacing it every time. Having the right tools from the start prevents stripped bolts, messy spills, and rushed decisions, which is why oil changes are often considered the gateway job for learning broader garage maintenance skills.
How do I know which engine oil and filter are right for my vehicle?
The correct oil and filter are determined first by the vehicle manufacturer, not by habit or convenience. Start with the owner’s manual and verify the recommended oil viscosity, such as 0W-20, 5W-30, or another grade, along with the required performance standards. Modern engines can be sensitive to using the wrong viscosity or an oil that does not meet the specified certification. Turbocharged engines, direct-injection engines, and newer vehicles with emissions equipment often have stricter oil requirements than older designs. Capacity matters too, so confirm how many quarts or liters your engine takes with and without a filter change. Guessing here can lead to underfilling, overfilling, poor lubrication, or unnecessary oil consumption concerns.
Filter choice matters just as much. A quality filter helps trap contaminants while maintaining proper oil flow and pressure. Not all filters are built equally, and the cheapest option is not always the best value if its filtration media, bypass valve calibration, or anti-drainback valve quality are poor. Cross-check the part number using the manual, a trusted manufacturer catalog, or a reputable parts supplier. If your vehicle uses a cartridge filter, make sure the kit includes the correct O-rings and seals. Choosing the correct oil and filter gives you direct control over the quality of the service, which is one of the major advantages of doing the job yourself instead of relying on whichever bulk oil and generic filter a shop happens to use.
Why is safety equipment so important for something as simple as an oil change?
An oil change may be basic maintenance, but it still puts you under or near a vehicle, around hot engine components, and in contact with used oil that can be messy and hazardous. That is why safety equipment is not optional. If the vehicle needs to be lifted, always use a flat, solid surface and support it with jack stands placed at the manufacturer’s recommended lift points. Never trust a hydraulic jack alone. Wheel chocks add another layer of security by preventing movement, and safety glasses help protect your eyes from splashes, grit, or debris falling from the underbody when removing panels or reaching for the drain plug.
Protective gloves are equally important because used engine oil contains contaminants you do not want on your skin for extended periods. A drain pan with a secure, wide opening reduces the chance of spills, especially when the oil stream initially shoots out farther than expected. If the engine was recently running, be aware that oil and surrounding components can be hot enough to burn you. Taking a few extra minutes to set up safely is far easier than dealing with a vehicle slip, a stripped drain plug caused by awkward positioning, or a pan knocked over onto the garage floor. In practical terms, good safety habits during oil changes build the discipline needed for every other maintenance task you will eventually tackle at home.
What should I inspect while changing my oil to catch problems early?
One of the biggest hidden benefits of a DIY oil change is the chance to inspect the vehicle while you already have it raised and are looking underneath. Start with the old oil itself. If it contains visible metal flakes, has a milky appearance, or smells strongly of fuel, those can be warning signs worth investigating. Milky oil can suggest coolant contamination, while excessive metallic particles may indicate internal wear. As you remove the drain plug and filter, look for damaged threads, abnormal sludge buildup, or signs that the previous service was done carelessly. These details matter because they can reveal developing issues long before a dashboard warning light appears.
Under the vehicle, check for wet spots around the oil pan, drain plug, filter housing, valve cover area, and nearby seals. Inspect CV axle boots for tears, look at coolant hoses for swelling or seepage, and scan suspension components for damaged bushings or torn ball joint boots. Pay attention to the condition of splash shields and undertrays as well, since missing fasteners can lead to rattles or reduced protection. A flashlight can help you spot fresh leaks, rust, or areas where grime has recently been washed clean by escaping fluid. This inspection mindset is what turns an oil change from a simple fluid service into a smart maintenance checkpoint, helping you catch small problems while they are still inexpensive and manageable.
What are the most common DIY oil change mistakes, and how can I avoid them?
The most common mistakes are usually preventable and often come down to rushing, using the wrong parts, or skipping basic checks. One of the biggest errors is draining the oil but forgetting to refill it before starting the engine. Another is installing the wrong filter, using the wrong oil viscosity, or overfilling the crankcase. Over-tightening the drain plug is also a classic mistake, especially on aluminum oil pans, where stripped threads can turn a routine service into a repair job. The same goes for oil filters, which many people tighten far more than necessary. In most cases, following the manufacturer’s instructions and using a torque wrench where applicable eliminates much of this risk.
Other avoidable problems include leaving the old filter gasket stuck to the engine during a filter change, which can cause a severe leak when the new filter is installed on top of it. Spilling oil on belts, exhaust components, or the driveway creates unnecessary cleanup and confusion when you later try to determine whether a leak is new. To avoid mistakes, organize your tools first, verify oil quantity and specifications before opening anything, and compare the new filter to the old one. After refilling, start the engine briefly, check for leaks, shut it down, wait a few minutes, and verify the oil level on the dipstick. Finally, dispose of used oil and the old filter properly at a recycling center or auto parts store that accepts them. A careful, methodical process is what separates a messy first attempt from a confident home-maintenance routine.