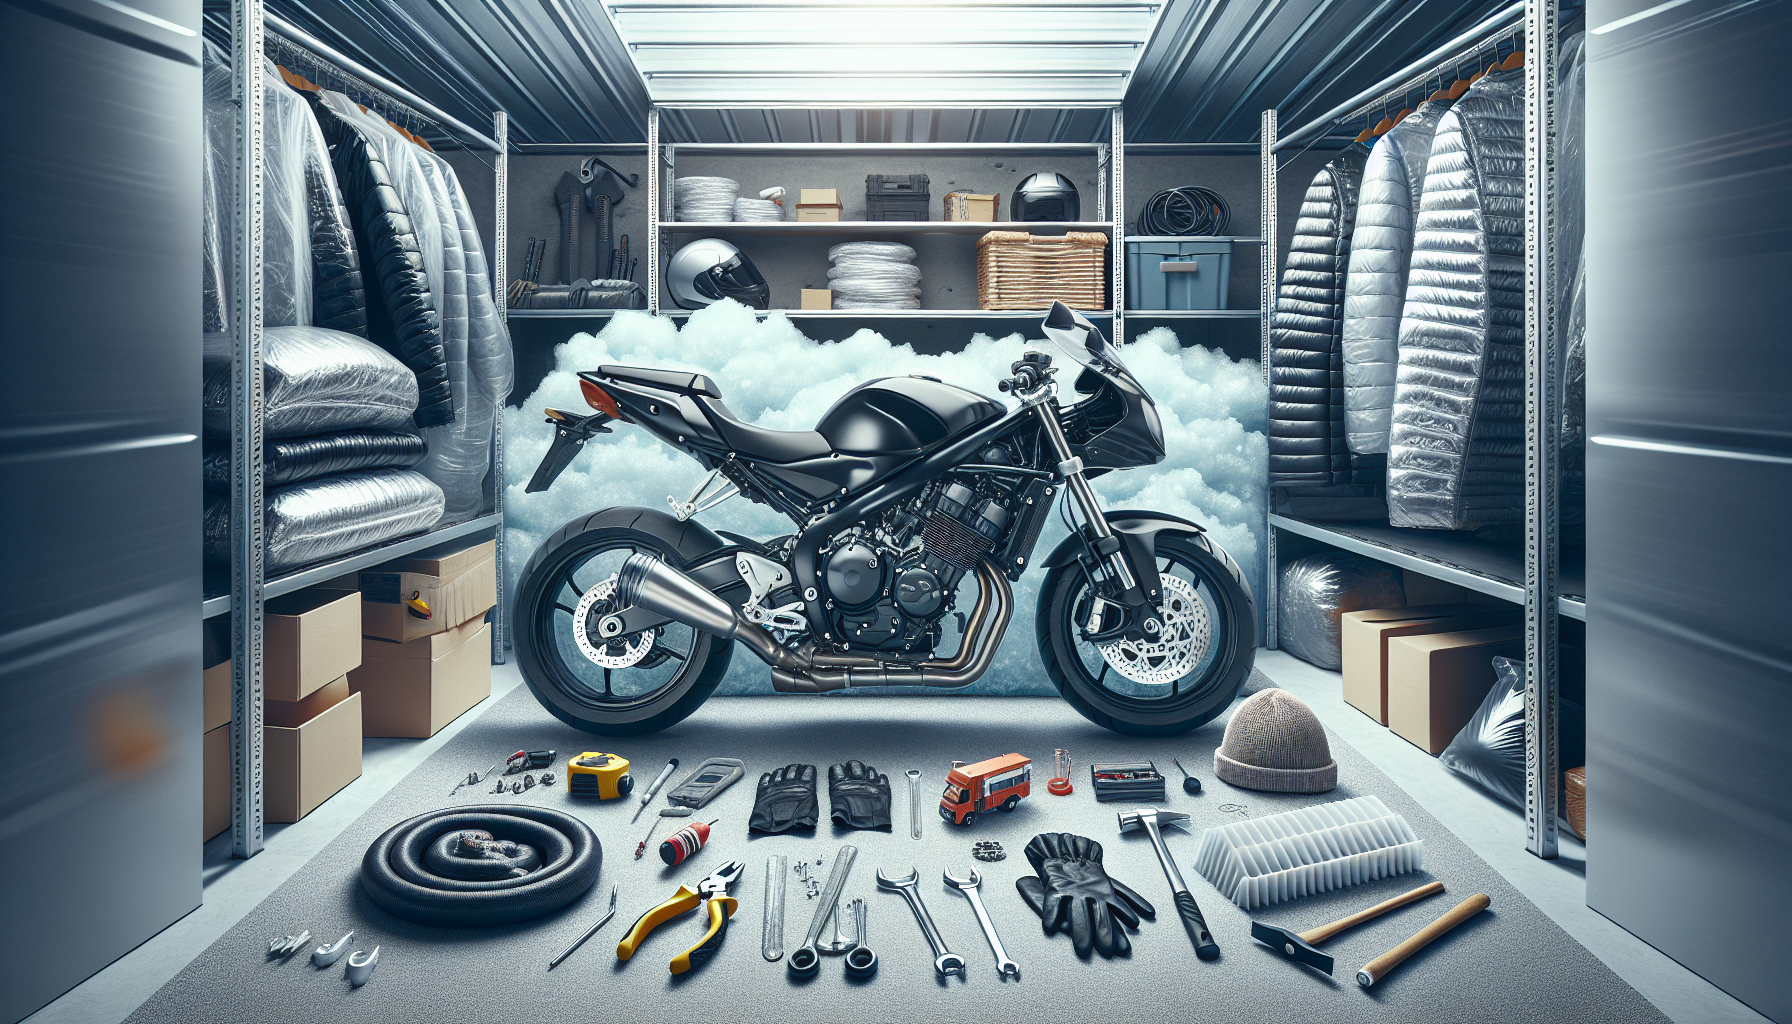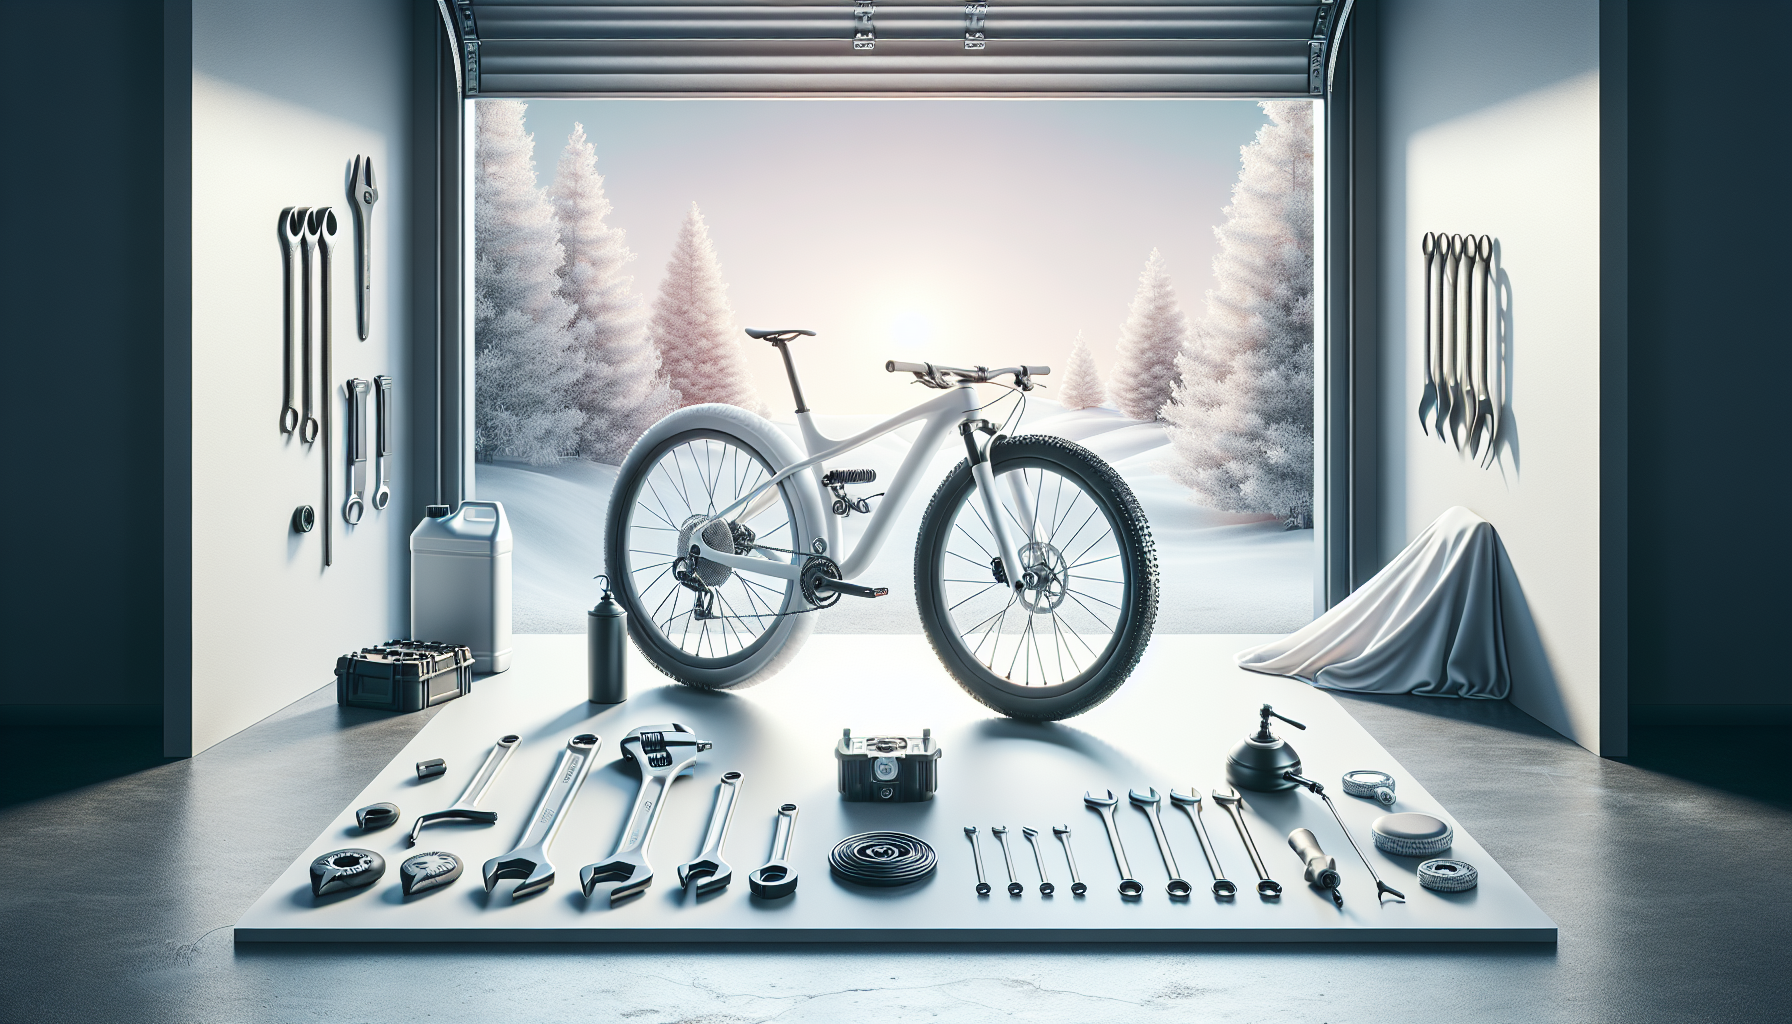
Winter bike storage determines whether spring begins with a smooth first ride or an expensive repair list. A proper DIY 2026 winterization checklist protects bearings, tires, brake systems, drivetrains, electronics, and frame finishes during months of cold, moisture, and inactivity. In practical terms, winterizing a bike means cleaning it thoroughly, correcting wear before storage, stabilizing components that degrade while sitting, and choosing a storage method that limits corrosion, pressure loss, and accidental damage. I have helped riders store commuter bikes, carbon road bikes, full-suspension mountain bikes, e-bikes, and kids’ bikes in garages, sheds, and apartments, and the pattern is always the same: the bikes that are cleaned, dried, lubricated, and stored with intention come out ready to ride; neglected bikes emerge with rusty chains, stuck pistons, dead batteries, cracked tires, and mystery creaks.
This matters because off-season neglect compounds quietly. A thin film of road salt can etch metal fasteners. Condensation in an unheated garage can attack cable ends and chain rollers. Tubeless sealant can dry into clumps. Hydraulic brake pads can absorb contamination. Lithium-ion batteries stored fully charged or fully depleted lose capacity faster. Even simple issues, like hanging a bike by a damaged wheel hook or parking it with soft tires on cold concrete, can create preventable problems. As the maintenance hub within Garage & Gear, this guide gives you the full winter storage workflow and points naturally toward deeper tasks such as drivetrain care, brake service, suspension setup, and battery management. If you want one page to organize your seasonal bike maintenance, this is it.
Start With Inspection, Cleaning, and Drying
The best winterization checklist begins before any lubricant touches the bike. Inspect the frame, fork, wheels, tires, cockpit, drivetrain, and brakes under bright light. Look for chipped paint exposing metal, hairline cracks around welds or carbon junctions, sidewall cuts, loose spokes, rotor scoring, bent derailleur hangers, cable fray, and seal leaks at suspension stanchions. If you find structural damage, do not simply store the bike and hope it disappears; tag it for repair now. Spring shops get backed up, and parts availability can still be uneven in 2026 for some drivetrains, rotors, and e-bike accessories.
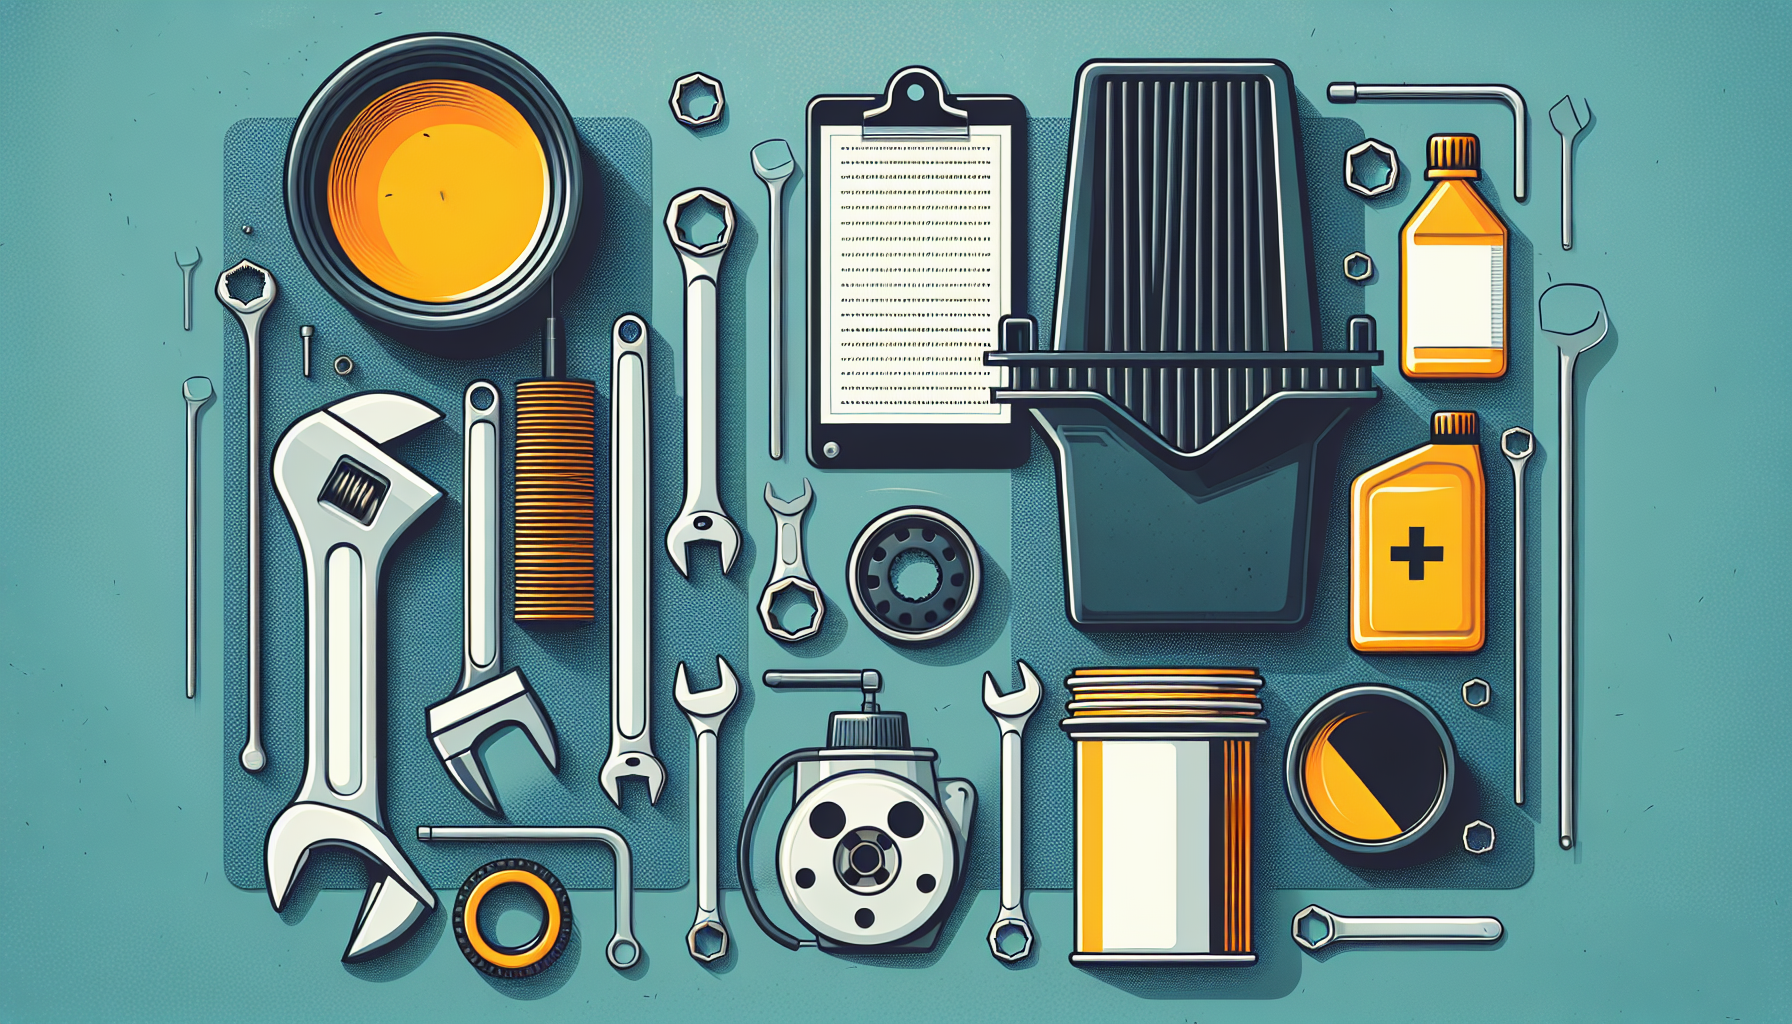
Clean the bike completely using bike-specific soap, soft brushes, and low-pressure water. Avoid pressure washers because they can drive water past seals into hubs, bottom brackets, headsets, and suspension pivots. Degrease the chain, cassette, chainrings, and derailleur pulleys separately. If you use a chain-cleaning device, empty it and refill it once the solvent turns dark; otherwise you are redistributing grime. For disc brake bikes, keep degreaser away from rotors and pads. Use isopropyl alcohol on rotors and a lint-free cloth. Dry everything fully with microfiber towels and compressed air on a gentle setting around bolts, cable stops, and recessed frame areas. A bike put away damp is already halfway to corrosion.
Service Wear Items Before Storage, Not After
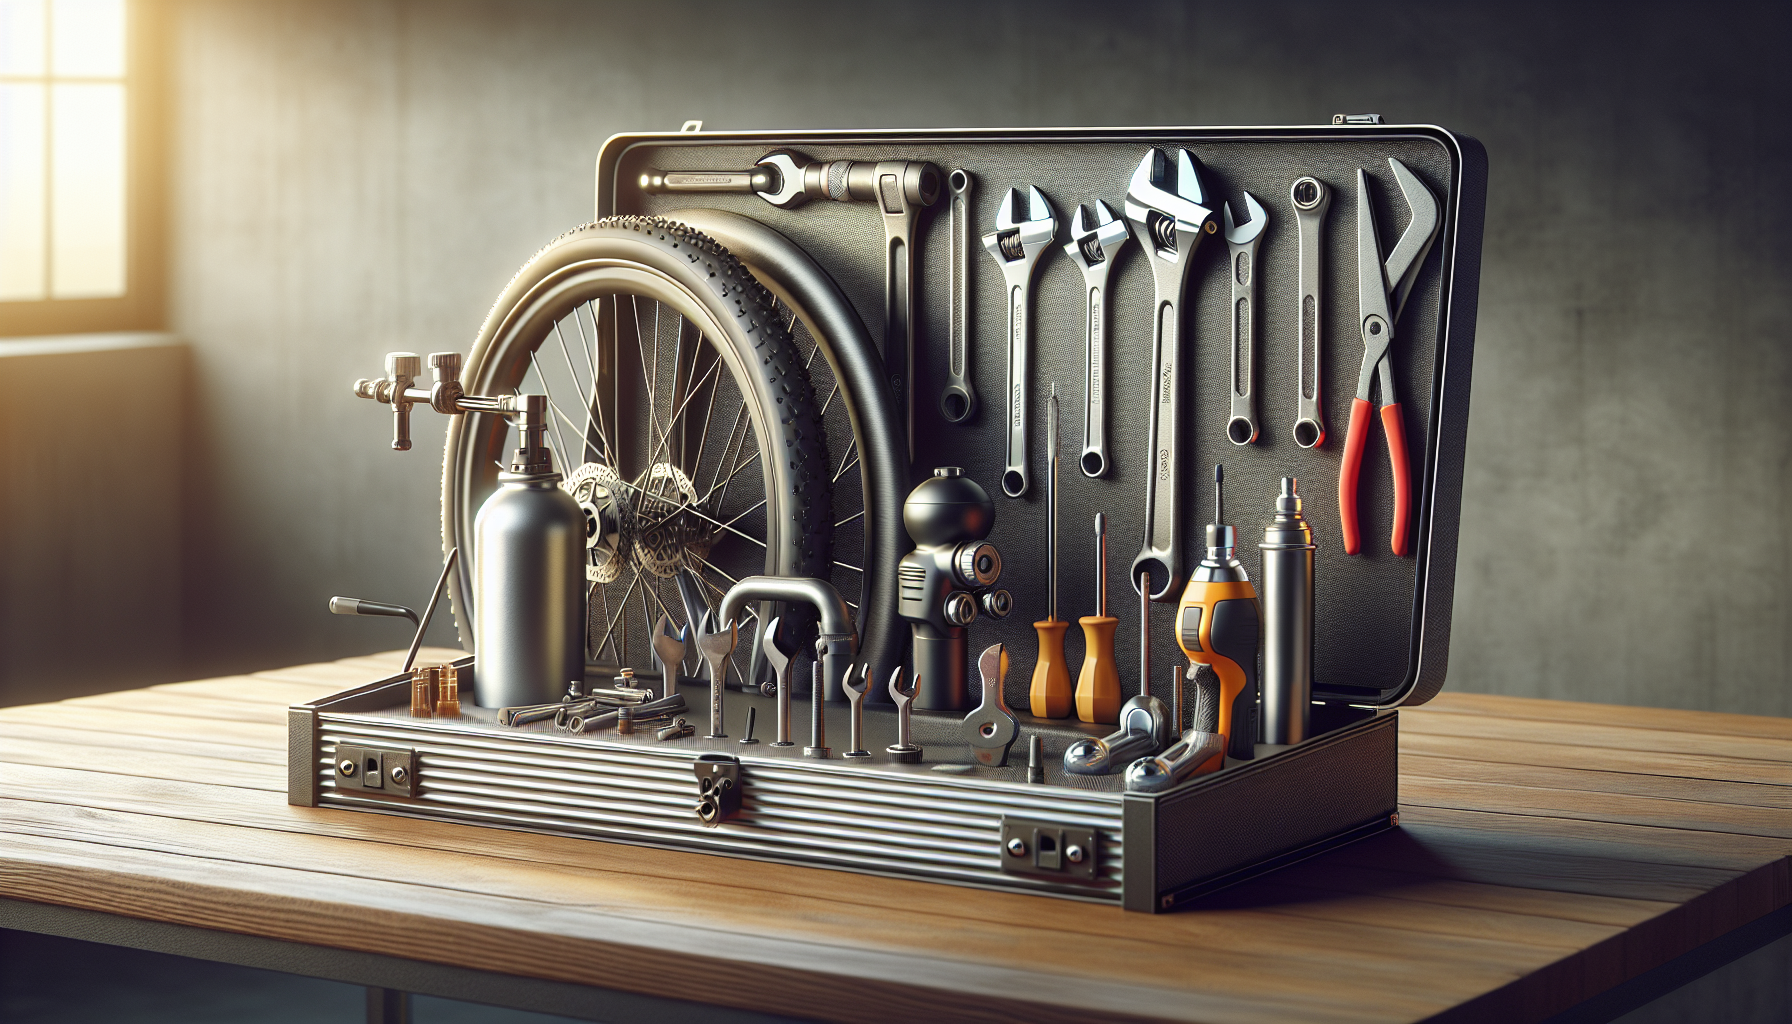
Winter storage is the right time to replace consumables because the bike is already off the road and you can start the next season ready. Measure chain wear with a proper checker such as Park Tool CC-4 or Pedro’s Chain Checker Plus II. For most 11- and 12-speed drivetrains, replacing the chain before it passes the recommended wear limit prevents premature cassette and chainring wear. Check brake pad thickness; many manufacturers recommend replacement when friction material approaches 1 millimeter. Inspect cables and housing for rust or drag, and verify that tubeless valves are not clogged with dried sealant. On suspension bikes, clean stanchions and shock shafts, then note service intervals from Fox, RockShox, or your specific brand. Lower-leg and air-can service often falls due around seasonal transitions.
I prefer to separate maintenance into “must do before storage” and “can wait until spring.” Must-do items include chain replacement if worn, brake pad replacement if near minimum, sidewall-compromised tires, contaminated rotors, loose headset or hub bearings, and anything involving corrosion. Spring can handle preference-based upgrades such as a new saddle, bar tape color change, or gearing experiment. This distinction saves money and avoids the common mistake of storing a bike with known problems that worsen. If your bottom bracket already clicks or your rear wheel has rough bearings, inactivity will not heal them; trapped moisture and old grease usually make them worse.
Protect the Drivetrain, Brakes, and Contact Points
After cleaning and replacing worn parts, apply the right protectants in the right places. Lubricate the chain with a formula that suits how the bike will be used next season, then wipe off all visible excess. More lube is not better during storage; it attracts dust and can creep onto braking surfaces. For bare metal hardware, pedal springs, and exposed cable sections, a light corrosion inhibitor can help, but use it sparingly. Products like Boeshield T-9 are popular because they leave a thin protective film. Keep all protectants away from disc rotors, rim brake tracks, and pads. For leather saddles, use the manufacturer’s conditioner; for rubber hoods and grips, simple cleaning is usually enough.
Brake care deserves special attention. On hydraulic systems, do not store the bike upside down for long periods unless you are prepared to address a temporary spongy feel caused by migrated air. If braking already feels inconsistent, bleed the system before storage using the correct fluid type: mineral oil and DOT fluid are not interchangeable. For mechanical disc brakes and rim brakes, back off excessive cable tension only if recommended by the maker and only after confirming you can restore adjustment easily in spring. If the bike will be near fertilizers, pool chemicals, or solvents in a garage, cover it with a breathable fabric cover rather than plastic sheeting. Plastic traps condensation and often does more harm than good.
Tires, Wheels, and Suspension Setup for Long Storage
Tires and suspension suffer from neglect in storage because pressure changes gradually and riders forget about them. Inflate tires to a moderate pressure, not maximum sidewall pressure and not half-flat. For most adult bikes in storage, roughly 50 to 70 percent of normal riding pressure works well, enough to support the casing shape without stressing the tire unnecessarily. If the bike will stand on its wheels for months, rotate each wheel every few weeks or use a stand that unloads one or both tires. This is especially helpful for heavier e-bikes and cargo bikes. Inspect tubeless setups closely. Sealant typically dries out within a few months depending on climate and formula, so either refresh it before storage if you may ride on warm winter days, or plan a full cleanout and refill before spring.
Suspension bikes should be stored clean, with stanchions wiped and air pressures checked. Do not leave fork or shock pressures drastically altered unless the manufacturer explicitly advises it. What matters more is storing the bike away from UV exposure, ozone sources, and temperature extremes that age seals and rubber parts. Wheel trueness should also be checked now. A wheel hung for months while already out of true can place uneven stress on spokes. If you use carbon wheels, inspect the bead seat and brake track or rotor interface carefully and follow brand-specific storage notes. Carbon is durable, but impact damage hidden under grime should never be ignored.
| Bike Type | Key Winterization Priority | Common Storage Risk | Best DIY Prevention |
|---|---|---|---|
| Road bike | Chain, tires, bar tape, brake inspection | Corrosion from sweat or road salt residue | Deep clean, dry cockpit, light chain protection, moderate tire pressure |
| Mountain bike | Suspension service, pivot check, tubeless refresh | Dried sealant and dirty suspension seals | Clean stanchions, inspect pivots, rotate wheels, schedule lower-leg service |
| Commuter bike | Fender hardware, chaincase, lights, rust prevention | Salt corrosion and seized bolts | Wash thoroughly, treat exposed hardware, remove batteries from accessories |
| E-bike | Battery charge level and storage climate | Battery capacity loss from improper charge state | Store battery indoors around partial charge and check monthly |
Battery, Electronics, and Smart Accessory Storage
E-bike winterization is maintenance plus energy management. Most major battery makers using lithium-ion cells recommend storing packs in a cool, dry place at partial charge, commonly around 30 to 60 percent, though you should follow your bike brand’s manual first. Storing a battery fully charged for months can accelerate capacity loss; storing it empty risks deep discharge. I tell owners to record the exact charge level, storage date, charger location, and next check date on a tag attached to the bike. Check the battery monthly and top it back to the recommended range if needed. Do not leave an e-bike battery in a freezing shed if the manual advises indoor storage. Low temperatures are especially hard on aging packs.
Remove or inspect smaller electronics too: GPS head units, radar taillights, power meter chargers, removable lights, electronic shifting batteries, and tire pressure sensors. USB ports should be dry and capped. Coin-cell devices should be checked for leakage risk if they will sit a long time. For Di2, AXS, and similar systems, verify battery charge and install firmware updates before storage only if the bike is functioning normally; troubleshooting a failed update on the first warm day is avoidable frustration. If your garage has unreliable power, unplug chargers when not in use. Smart accessories are part of maintenance now, and ignoring them turns spring setup into a scavenger hunt.
Choose the Right Storage Space and Position
The ideal bike storage environment is clean, dry, secure, and stable in temperature. A finished basement or interior closet beats an uninsulated shed. If a garage is your only option, keep the bike away from direct door drafts, floor drains, water heaters, salt bags, lawn chemicals, and vehicle splash zones. Moisture and airborne chemicals are silent bike killers. Wall hooks and ceiling hoists save space, but they must fit the tire or wheel shape correctly and support the bike’s weight. Heavy e-bikes should use floor stands or rated wall systems anchored properly into studs or masonry. I have seen cheap hooks deform rims and peel drywall when owners guessed instead of checking load ratings.
Position matters too. Storing a bike upright on both wheels is simplest and safest for most riders. Vertical storage by one wheel is generally fine for standard bikes if the wheel and mount are appropriate, though some riders prefer a short post-storage brake check on hydraulic systems. Avoid stacking bikes where pedals, bars, or axles can rub another frame. Use frame-safe contact points and a clean cover if dust is severe. Security is part of maintenance because theft prevention preserves the investment you are maintaining. In shared garages or apartment storage rooms, lock the frame and wheels to an immovable anchor, record serial numbers, and keep photos of the bike and components.
Create a Spring-Ready Maintenance Record
The most effective DIY winterization checklist ends with documentation. Write down tire pressures, suspension pressures, battery charge level, last chain measurement, pad thickness, sealant date, torque checks performed, and any repairs deferred. A simple note in your phone works, but a spreadsheet or maintenance app such as ProBikeGarage gives better history over time. Include part numbers for consumables you may need in spring, like chain model, brake pad shape, rotor size, tubeless valve length, and derailleur hanger code. This record turns maintenance from memory into process.
Documentation also supports internal planning across your Garage & Gear maintenance workflow. If the inspection revealed worn cleats, cracked helmet padding, or a trainer tire nearing replacement, note those alongside bike issues so one spring order covers everything. I also recommend a small tag on the handlebar listing “ready to ride” or “service before ride,” especially in households with multiple bikes. That prevents someone from grabbing a bike with removed pedals, low sealant, or an uninstalled battery. Good storage is not just preservation; it is controlled restart.
A complete DIY 2026 winterization checklist is straightforward: inspect closely, clean gently, dry fully, replace worn parts, protect the drivetrain and exposed metal, stabilize tire and suspension pressures, store batteries correctly, choose a dry and secure location, and document the bike’s condition. Those steps prevent the most common off-season failures, from rusted chains and seized bolts to dead electronics and cracked sidewalls. They also save money because preventive maintenance is cheaper than springtime catch-up service.
The biggest benefit is confidence. When the weather breaks, a properly stored bike is ready for air, a safety check, and a ride instead of a week in the repair stand. Use this hub as your baseline for seasonal bike maintenance, then build your own routine around the type of bike you own and the space you have available. Set aside an hour this week, gather your cleaning and lubrication supplies, and winterize your bike before cold, moisture, and neglect do the job for you.
Frequently Asked Questions
What should be included in a DIY bike winterization checklist before storing a bike for the season?
A complete DIY winterization checklist starts with a full wash and dry, because dirt, road salt, old chain lubricant, and moisture are what quietly damage bikes during long storage. Clean the frame, wheels, drivetrain, brakes, and hard-to-reach areas around the bottom bracket, headset, and derailleur pulleys. Once the bike is dry, inspect it closely for worn brake pads, frayed cables, stretched chains, cracked tires, loose bolts, and any rust beginning on fasteners or exposed steel parts. It is much better to fix small issues before storage than discover them all at once in spring.
After cleaning and inspection, lubricate the chain properly, add light protection to metal contact points, and make sure bearings and moving parts are not left contaminated or dry. Inflate the tires to a moderate storage pressure based on tire type, and avoid leaving them nearly flat for months. If the bike has suspension, follow the manufacturer’s recommendations, but in general you want the bike clean, dry, and not stored under unusual stress. For electronic shifting systems, lights, GPS units, or e-bike batteries, remove or charge components according to brand guidance and store them in a cool, dry indoor environment. Finally, cover the bike loosely if needed, store it away from direct moisture and temperature extremes, and make a simple spring-start checklist so the bike is ready for a safe first ride.
Is it better to hang a bike, keep it on the floor, or use a stand during winter storage?
The best storage method is the one that keeps the bike dry, stable, clean, and protected from temperature swings and accidental damage. Hanging a bike can be a very good option if it is done with proper wall mounts or ceiling hooks designed to support its weight. It keeps the bike off damp concrete, reduces the chance of tire pressure loss causing flat spots over time, and often saves space. If you hang it vertically or horizontally, make sure the mounting points are secure and that the bike is not swinging into walls, tools, or other equipment.
Floor storage also works well, especially if the bike is indoors and sitting on a mat, cardboard, wood platform, or dedicated rack rather than directly on cold concrete. Concrete itself is less of a problem than the damp conditions often associated with garages and sheds, but adding a barrier is still a smart precaution. A repair stand or storage stand is often ideal because it supports the bike evenly and makes periodic checks easier. No matter which method you choose, the bigger concern is the environment: avoid places with condensation, active leaks, freeze-thaw cycles, and salty runoff from cars. A climate-stable basement, insulated garage, or indoor utility room is usually far better than an outdoor shed or uncovered porch.
How should I protect the chain, drivetrain, and brakes so they do not rust or degrade over winter?
The drivetrain should be cleaned thoroughly before storage, not simply coated with more lubricant over old grime. Degrease the chain, cassette, chainrings, and derailleur pulleys, then dry everything completely. Once clean, apply a fresh layer of suitable chain lube and wipe off the excess. The goal is protection, not a sticky buildup that attracts dust. On exposed steel bolts or untreated metal surfaces, a very light corrosion inhibitor can help, but avoid getting overspray on brake rotors, pads, or rim braking surfaces.
For brakes, the main rule is to keep braking surfaces clean and contamination-free. If the bike has disc brakes, do not apply lubricants anywhere near the rotors or pads. Clean rotors with an appropriate brake-safe cleaner if necessary, and check pad wear before putting the bike away. If the bike uses rim brakes, inspect the pads and wipe the rims clean so moisture and residue are not left sitting for months. It is also wise to shift the drivetrain into a gear position that leaves cable systems and derailleurs under less tension, while still keeping the bike stable for storage. If the bike has hydraulic brakes, inspect for leaks or sponginess before storage so you are not surprised by service needs in spring. Proper cleaning, drying, and targeted lubrication are what prevent rust and preserve performance.
What is the right way to care for tires, wheels, and suspension during long winter bike storage?
Tires should not be left completely deflated through the off-season. Inflate them to a moderate pressure that supports their shape without pushing them to maximum pressure for months at a time. Check them periodically, since some pressure loss over time is normal. Inspect the sidewalls and tread before storage for cracking, embedded debris, or dry rot, especially if the bike will be stored in a place with cold air and low humidity. If the bike is resting on its wheels, rotating them occasionally or using a stand can help reduce prolonged stress in one spot.
Wheels should also be checked for obvious trueness issues, spoke damage, and corrosion around nipples or hubs. Winter is a good time to address hub bearing roughness or rim wear before it becomes a spring problem. For suspension forks and rear shocks, clean stanchions carefully and remove dirt from seals, then follow manufacturer recommendations for storage and service intervals. In most cases, you do not need to perform anything extreme, but you do want suspension components clean and protected from grime and moisture. If the bike has dropper posts, pivots, or other moving parts, inspect them now rather than after months of inactivity. Good winter storage is really about preventing the slow damage that happens when rubber dries out, bearings sit contaminated, and seals are left dirty.
How do I winterize an e-bike or a bike with electronic components for seasonal storage?
E-bikes and bikes with electronic shifting or accessories need the same mechanical winterization as any other bike, but battery care becomes a major priority. For an e-bike, remove the battery if the manufacturer allows it and store it indoors in a dry space with moderate temperatures, not in a freezing garage or a hot utility closet. Most brands recommend storing lithium-ion batteries partially charged rather than fully empty or fully topped off for long periods. You should follow the exact charge-range guidance from the battery manufacturer, then check it periodically during the winter to keep it from falling into a deeply discharged state.
Also inspect charging ports, wiring connections, control buttons, display mounts, and seals for grime or moisture before storage. Wipe everything clean and make sure the bike is completely dry before putting it away. If the bike uses removable displays, lights, or cycling computers, take them off and store them indoors. For electronic shifting systems, charge the battery according to the maker’s long-term storage recommendation and check for firmware or diagnostic issues before parking the bike for the season. The key point is that electronics dislike moisture, corrosion, and temperature extremes just as much as mechanical parts do. A well-stored e-bike should come out in spring with healthy battery performance, clean contacts, and no unpleasant surprises from neglected connectors or condensation exposure.