The Kawasaki KR-1S is remembered for its razor-sharp chassis and explosive two-stroke character, but among owners and restorers it is equally known for generator failures that can strand an otherwise healthy machine without warning. In this context, the generator usually means the alternator system as a whole: rotor, stator, pickup components, regulator-rectifier, wiring, battery, and the fasteners and connectors that tie the charging circuit together. On the KR-1S, that system sits at the crossroads of several maintenance subjects that confuse even experienced mechanics, including Japanese Industrial Standard screw hardware, direct-current testing and maintenance routines, and the metric-specific fitment details that shape every repair decision.
I have worked on enough late-1980s and early-1990s Japanese motorcycles to know that charging faults are rarely caused by a single dramatic part failure. More often, the fault develops from heat, vibration, oil contamination, corroded terminals, damaged insulation, over-tightened fasteners, and incorrect service methods. The KR-1S amplifies those risks because its compact engine packaging, high rev ceiling, and aging electrical components leave little margin for neglect. A bike can show weak starting, dim lights, erratic tachometer behavior, or repeated battery discharge long before the rider identifies the stator as the culprit. Troubleshooting generator failures correctly matters because replacing expensive parts without diagnosis wastes money and can leave the root cause untouched.
This article serves as the hub page for the broader maintenance and technical encyclopedia covering metric motorcycles. The goal is to connect three practical themes that repeatedly surface on the KR-1S: how JIS fasteners differ from Phillips and why that matters when opening alternator covers; how to approach DCT maintenance in plain electrical terms by testing, measuring, and preserving the direct-current side of the charging system; and which metric quirks affect thread repair, torque, connector sizing, and tool choice. If you understand those three layers, you can diagnose a KR-1S charging problem systematically instead of guessing, and you can perform the repair without damaging scarce original parts.
Why KR-1S Generator Systems Fail So Often
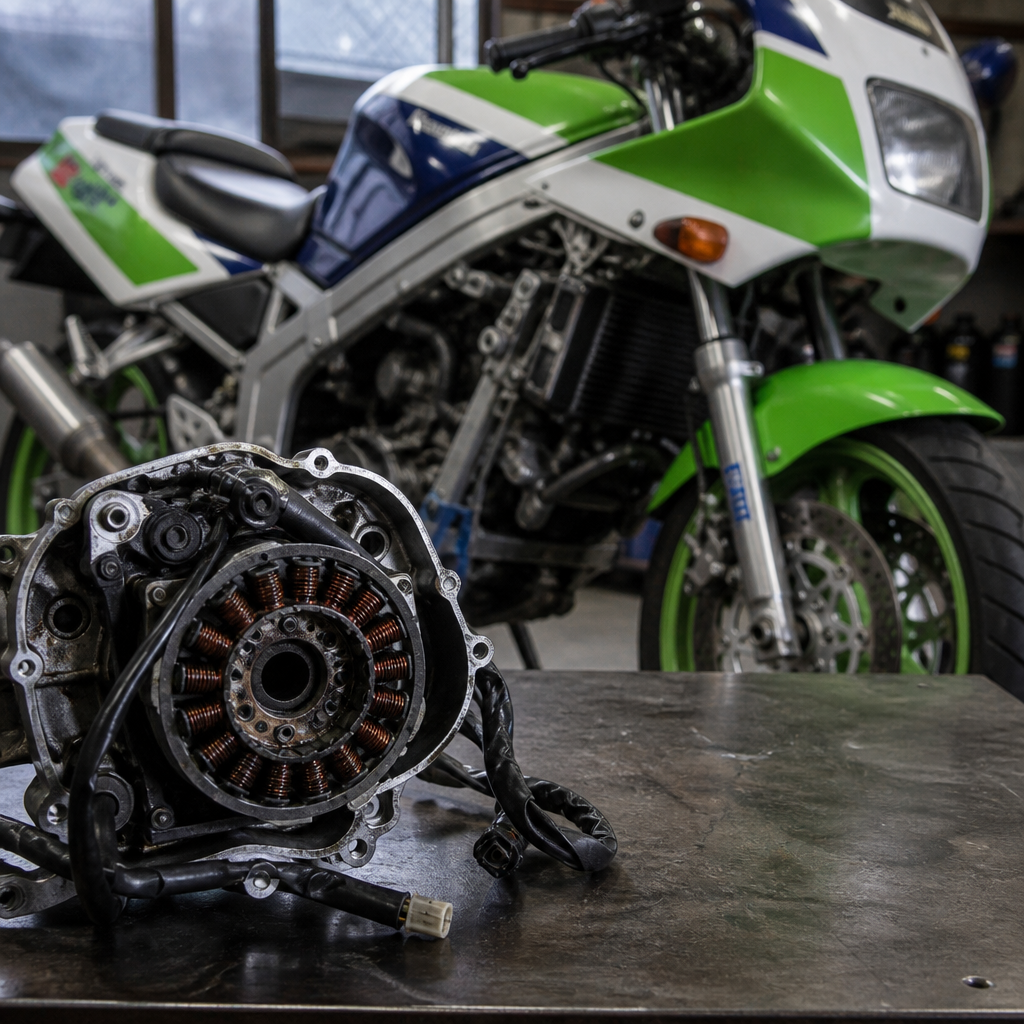
The KR-1S charging system fails more often than many riders expect because it combines high thermal load with older insulation technology and a small reserve capacity. The stator lives in a hostile environment of engine heat and oil splash. Over decades, varnish on the windings hardens and cracks, which lowers dielectric strength and allows turns to short together. Once winding resistance changes, output drops and heat rises further, creating a self-accelerating failure. I commonly see darkened epoxy, brittle lead wires, and cooked grommets on original assemblies that still look serviceable from outside the engine cover.
Another common factor is regulator-rectifier stress. The alternator produces alternating current, but the battery and lighting circuit depend on stable direct current. If the regulator-rectifier weakens, charging voltage can sag below roughly 13.5 volts at riding rpm or spike well above 15 volts, either of which harms the battery and masks the actual source of the problem. A failing battery then places additional load on the system, especially when riders repeatedly crank a cold two-stroke with poor state of charge. On the KR-1S, weak grounds and tired connectors intensify heat buildup at the terminals, and that heat can discolor plastic housings or melt the stator plug.
Mechanical age also matters. Rotor magnets can weaken, woodruff keys can wear if the rotor has been disturbed, and side cover removal done with the wrong drivers can distort sealing surfaces or damage wire exits. Generator failure is therefore not just an electrical story. It is a serviceability story shaped by correct tools, correct fastener standards, correct metric replacement parts, and careful inspection habits.
The JIS Standard: Why the Right Screwdriver Prevents Expensive Damage
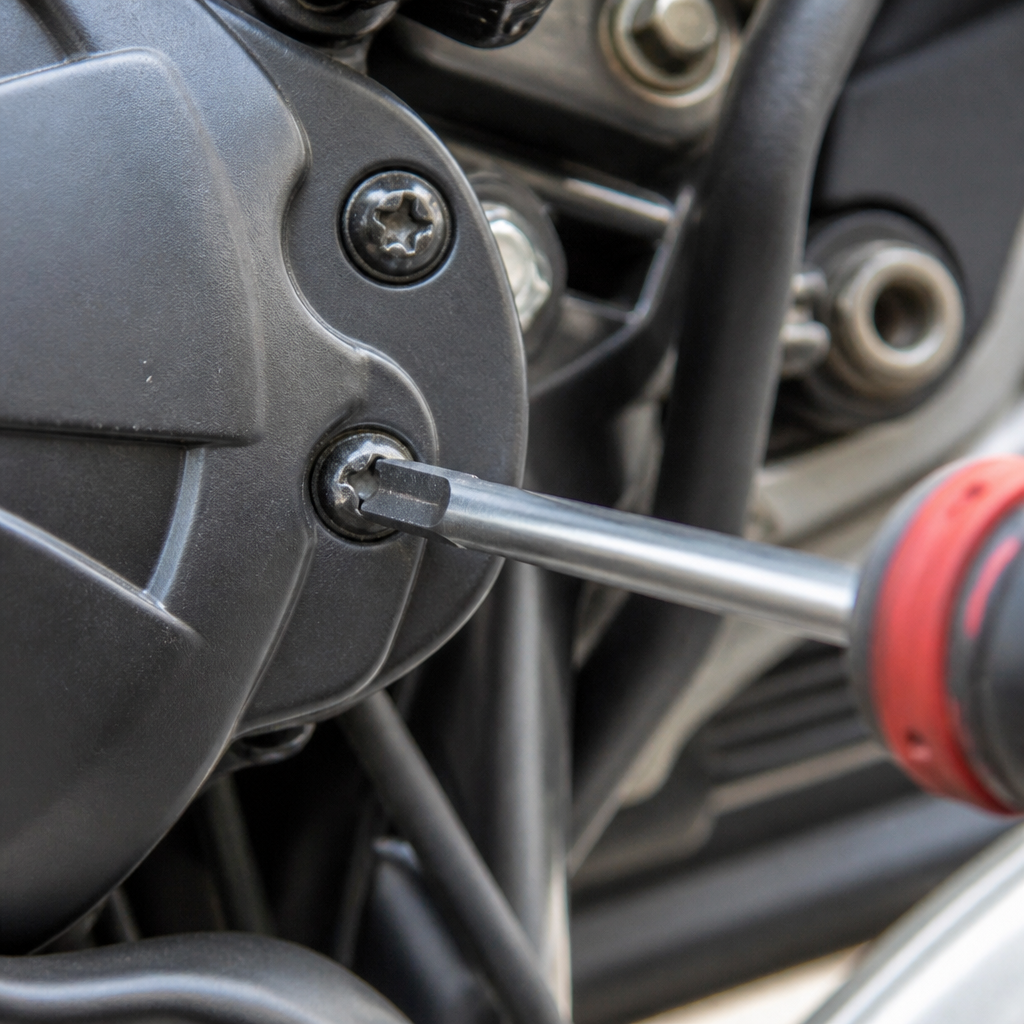
One of the fastest ways to turn a routine KR-1S charging inspection into a parts hunt is to attack JIS screws with a Phillips driver. Many Japanese motorcycles of this era use JIS cross-head screws on engine covers, switchgear, carburetors, and electrical brackets. They look similar to Phillips, but the geometry differs. A Phillips driver is designed to cam out under high torque, while a proper JIS driver seats deeper and transfers torque more positively. On alternator cover screws that have been heat-cycled for decades, using the wrong bit rounds the recess quickly and forces the mechanic toward extraction methods that risk cracking the cover.
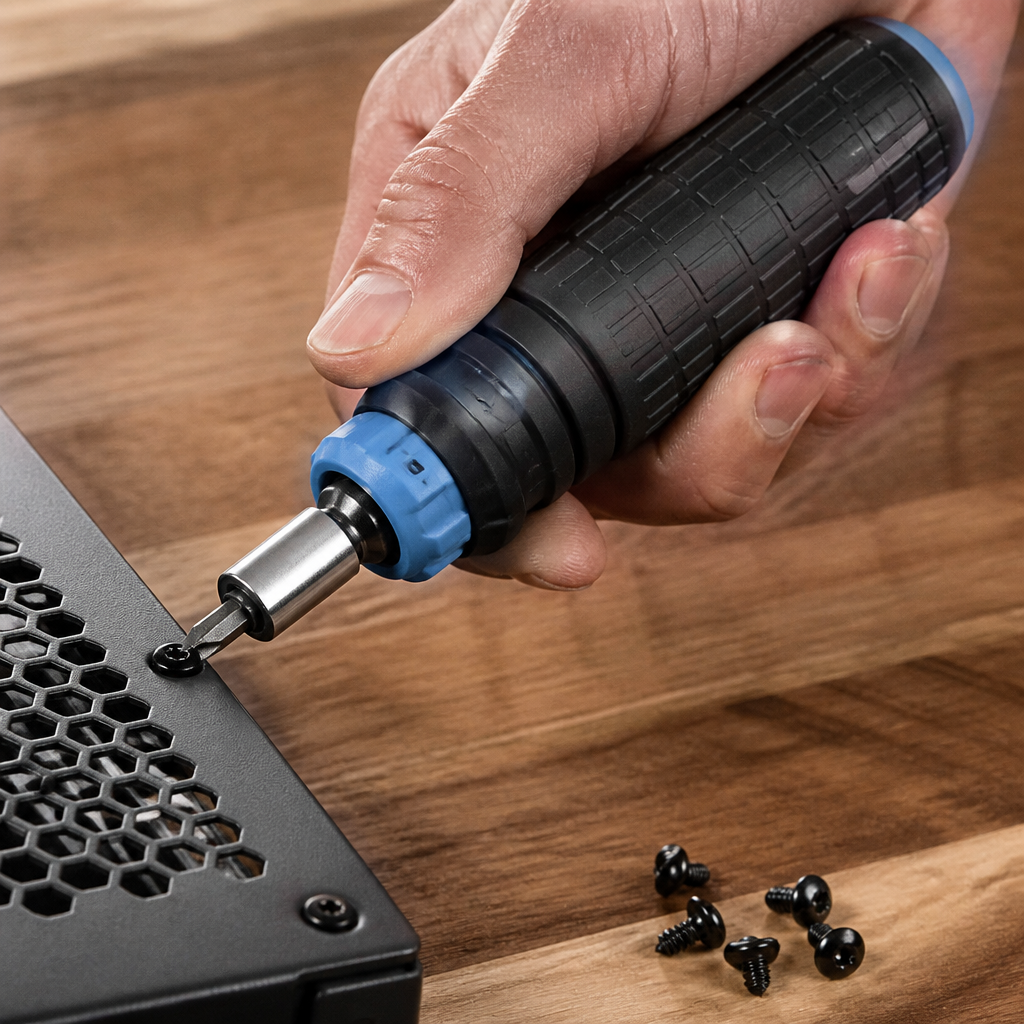
In the workshop, I treat JIS identification as the first step of generator service. Vessel and Hozan drivers are proven choices, and impact drivers fitted with the correct JIS bit can save original hardware that would otherwise be destroyed. If a cover screw resists, a brief application of penetrating oil, a sharp hand impact, and controlled heat around the case boss usually works better than brute force. Replacing damaged screws with quality metric flange bolts is sensible for serviceability, but only after confirming shank length, thread pitch, and head clearance around the cover profile.
This issue goes beyond convenience. Once a screw head is damaged, owners often use locking pliers, chisels, or improvised bits that leave swarf near the stator cavity and mar gasket surfaces. That contamination can compromise sealing and eventually affect the generator wiring grommet. Understanding JIS hardware is therefore foundational to reliable electrical work on the KR-1S, and any broader maintenance program for Japanese metric motorcycles should start there.
DCT Maintenance: Testing the Direct-Current Side Before Replacing Parts
When riders talk about charging faults, they often jump straight to the stator, but the direct-current side deserves equal attention. By DCT maintenance here, think in practical workshop terms: battery condition, charging voltage, current path integrity, connector health, grounding quality, and regulator-rectifier function. The KR-1S can only charge correctly if the AC generated at the stator is converted and controlled before reaching the battery. A poor DC path can mimic a failed generator even when the stator still produces adequate output.
The correct sequence starts with the battery. Load-test it, check resting voltage after charge recovery, and inspect for sulfation or bulging. A healthy 12-volt battery should typically show around 12.6 to 12.8 volts at rest after settling. Then measure charging voltage at the terminals: at idle you may see modest output, but by the midrange the system should stabilize in a safe charging window rather than climbing uncontrollably. If voltage remains low, isolate the stator and test phase-to-phase resistance, phase-to-ground continuity, and AC output at known rpm. If voltage is too high, suspect regulation failure, poor battery absorption, or bad sense wiring.
Connectors are the next priority. On older Kawasakis, oxidized bullet connectors and overheated plastic multi-pins are common. Resistance in these joints creates voltage drop, and voltage drop is enough to make lighting dim, flatten batteries, and overheat the regulator. Clean terminals mechanically, treat only lightly where appropriate, and depin or replace any connector that has lost spring tension. I also inspect the main ground path from engine to frame and battery negative to chassis because a weak ground can distort every charging measurement you take.
| Check | What to look for | Likely implication |
|---|---|---|
| Battery resting voltage | Below normal after full charge and recovery | Aged or sulfated battery, unreliable baseline for diagnosis |
| Charging voltage at midrange rpm | Low or unstable reading | Weak stator output, connector loss, bad ground, or regulator fault |
| Stator resistance and insulation | Uneven phases or continuity to ground | Shorted or grounded winding, stator replacement needed |
| Connector temperature after running | Hot plug, browned plastic, brittle insulation | High resistance joint causing voltage drop and heat |
| Ground path continuity | Variable readings or visible corrosion | False charging symptoms and unstable system behavior |
The practical lesson is simple: maintain the DC side aggressively, because every weak battery, dirty terminal, and poor ground increases stress on the generator system. This is why a charging diagnosis should always include both output generation and output delivery. On the KR-1S, neglecting the direct-current path is one reason owners replace stators unnecessarily.
Metric Quirks That Shape Every KR-1S Electrical Repair
The KR-1S belongs to a world where metric assumptions are not optional. Thread pitch, bolt flange diameter, Japanese connector sizing, oil seal dimensions, and bearing references all follow metric logic, yet many repair errors begin when someone substitutes near-fit imperial tools or hardware. A 10 mm head bolt is not unusual, but the underlying thread may be M6 x 1.0, and replacing it with the wrong length can bottom out in a blind hole or interfere with the rotor cavity. Likewise, a slightly loose hex key or socket rounds hardware that may no longer be easy to source.
Metric quirkiness also appears in measurement habits. Service limits are often specified in millimeters, ohms, or volts at a stated rpm, and those conditions matter. If you compare your meter reading to a forum post taken on a different model, using a different meter range, with an uncharged battery, you can misdiagnose a healthy part. I rely on a calibrated digital multimeter, thin back-probe leads, and a workshop tach reference when validating charging data. Precision matters more on older two-strokes because the electrical system is comparatively simple; each bad measurement sends you in the wrong direction quickly.
Fastener torque is another area where metric discipline protects expensive cases. Small engine cover screws and stator retaining hardware require modest torque, usually far less than riders expect. Over-tightening strips aluminum threads, distorts covers, and crushes grommets. If threads are damaged, the proper fix is usually a metric thread insert installed squarely and cleaned thoroughly, not a longer bolt or thread-forming improvisation. The same logic applies to terminals: use the proper Japanese-size open-barrel crimps where possible, not oversized insulated hardware-store connectors that invite resistance and vibration failure.
A Proven Troubleshooting Workflow for the KR-1S
When a KR-1S arrives with suspected generator trouble, I use a repeatable workflow. First, verify the complaint: hard starting, discharged battery after a ride, blown bulbs, or misbehavior at high rpm. Second, inspect visually before touching tools. Burnt connectors, oil-soaked wiring, nonstandard splices, loose engine grounds, and scarred cover screws tell you a lot about the bike’s history. Third, establish a battery baseline with a charger and load test. Fourth, measure charging voltage at idle and through the rev range. Fifth, isolate and test the stator cold, then again after the bike reaches operating temperature if possible, because some windings fail only when hot.
If stator output is weak, remove the cover carefully using JIS tools, inspect for winding discoloration, check lead strain relief, and examine the rotor and keyway. If output is good but battery charging remains poor, focus on the regulator-rectifier, connector losses, and ground integrity. I also inspect any accessory wiring because old alarms, aftermarket lighting, or poor repairs can alter the charging balance significantly. A rider may think the generator failed when the real issue is parasitic draw or a bad crimp hidden under tape.
The final step is validation under real conditions. After repair, run the bike to temperature, repeat charging tests, and recheck connector temperature after a short ride. A proper fix should restore stable charging, predictable starting, and consistent lighting. It should also leave the machine easier to service next time, with correct metric fasteners, cleaned grounds, and documented readings for future reference. That discipline turns a notorious weak point into a manageable maintenance routine.
Building a Durable Repair Instead of a Temporary Fix
A durable KR-1S generator repair uses quality parts and careful assembly. If the stator is rewound, choose a specialist familiar with motorcycle charging systems, high-temperature insulation, and proper lead sealing. If the regulator-rectifier is replaced, match the unit to the alternator output characteristics and mounting conditions; modern MOSFET-based units can improve reliability when installed correctly, but poor grounding or weak connectors will still undermine them. Replace hardened grommets, renew suspect terminals, route wires exactly to avoid chafe, and use the correct gasket or sealant strategy for the cover.
Just as important, document what you did. Record resistance readings, charging voltage before and after repair, connector condition, and the torque values used. For a rare machine like the KR-1S, that record becomes part of the bike’s technical history and saves time for the next service. It also helps owners connect this job to the broader subtopic hub: JIS standards prevent hardware damage, disciplined DC maintenance prevents misdiagnosis, and metric awareness ensures the repaired system remains serviceable and reliable over time.
The Kawasaki KR-1S rewards precision, and generator troubleshooting is the clearest example of why careful metric motorcycle maintenance matters. Charging failures on these bikes are usually the product of heat, age, connector resistance, weak grounding, and incorrect service methods rather than mystery faults. If you approach the job in order, use proper JIS tools, test the direct-current side thoroughly, and respect metric fasteners and specifications, the diagnosis becomes straightforward and the repair lasts.
For owners using this page as the hub for the wider maintenance encyclopedia, the message is practical. Learn the fastener standard before opening covers. Confirm battery, regulator, and wiring health before condemning the stator. Measure in metric units, torque in metric values, and replace parts with correctly sized components instead of near matches. Those habits protect scarce KR-1S parts, reduce repeat failures, and make every later repair easier.
If your KR-1S shows weak charging, start with a full baseline inspection today. Gather the right JIS drivers, a reliable multimeter, the correct service data, and work through the system step by step. That methodical approach is the fastest path to a dependable charging system and a motorcycle that can be ridden confidently instead of merely admired in the garage.
Frequently Asked Questions
What usually causes generator failures on a Kawasaki KR-1S?
On the KR-1S, “generator failure” is rarely caused by a single part in isolation. More often, it is the result of stress building across the entire charging system until one component becomes the visible point of failure. The alternator rotor and stator live in a harsh environment of heat, vibration, oil mist, and repeated high-rpm use, and that alone can degrade insulation, weaken soldered joints, and harden old wiring. Add in a regulator-rectifier that is no longer controlling voltage correctly, corroded connectors increasing resistance, tired grounds, loose fasteners, or a weak battery that constantly drags the charging system down, and the KR-1S can begin to chew through charging components.
A very common pattern on older two-stroke Kawasakis is heat-related stator damage. The stator windings can overheat, the varnish insulation breaks down, and charging output falls away as resistance changes. Rotor problems can also appear if magnets weaken, shift, or if the rotor develops mechanical issues. The regulator-rectifier is another major suspect because if it stops regulating voltage correctly, it can either undercharge the battery or overwork the alternator. Overcharging can cook the battery and electronics, while undercharging leaves the bike seemingly fine at first, only to die once the battery voltage drops low enough to affect ignition and lighting.
It is also important not to overlook mechanical and assembly-related causes. Loose mounting hardware, damaged woodruff keys where applicable, oil contamination where it should not be, pinched wires from previous repairs, and aftermarket modifications can all create charging faults that mimic a “bad generator.” On many KR-1S machines, age is the real enemy. Even if one component has clearly failed, experienced restorers treat the entire charging circuit as a system and inspect it from stator to battery terminals rather than simply replacing one part and hoping the problem is solved.
What are the warning signs that the KR-1S charging system is starting to fail?
The first warning signs are often subtle, especially on a bike that still starts and runs well when the battery is freshly charged. You may notice dim or inconsistent lighting, a battery that seems to lose charge even after a decent ride, or a bike that becomes harder to start after sitting for a short period. On the road, misfiring at low voltage, erratic tachometer behavior, weak horn output, and indicators that slow down or behave strangely can all point to charging trouble. Because the KR-1S is a highly strung two-stroke, a charging fault can sometimes be misread as a fueling or ignition issue when in fact the electrical system is simply no longer maintaining stable voltage.
Another classic symptom is a motorcycle that runs normally for a while, then suddenly deteriorates as the battery discharges. The engine may become rough, lose crisp throttle response, or cut out entirely once battery voltage falls below what the ignition system needs. In some cases, owners report that the bike restarts after cooling down or after receiving a fresh battery charge, which creates the false impression of an intermittent carburetion problem. Heat-sensitive failures in the stator or regulator-rectifier can behave exactly this way, only showing themselves once the engine reaches operating temperature.
Physical clues are just as useful as riding symptoms. Burnt connectors, darkened plastic plugs, brittle insulation, melted sections in the charging loom, a swollen battery, or a sulfur smell from overcharging are all serious signs. If the battery regularly boils over, if fuses blow without an obvious reason, or if charging voltage is either far too low or too high when checked with a multimeter, the KR-1S is telling you the system needs immediate attention. Catching those signs early can prevent a stranded ride and can also save otherwise reusable parts from being damaged by a fault elsewhere in the charging circuit.
How do you properly diagnose a KR-1S generator problem without replacing parts at random?
The right way to diagnose the KR-1S charging system is methodical, with the battery and wiring checked before condemning the stator or rotor. Start with a fully charged, known-good battery. If the battery itself is weak, sulfated, or unable to hold charge, every other test becomes less reliable. Once battery health is confirmed, measure resting voltage, then start the bike and check charging voltage at idle and again at raised rpm according to workshop-spec expectations. If voltage never climbs enough, climbs too slowly, or rises excessively, you already know the charging system is not regulating correctly.
Next, isolate the stator from the rest of the system and test it directly. Measure resistance between phases if it is a multi-phase stator, check for continuity to ground where there should be none, and compare the readings to service manual specifications. Then perform an AC output test with the stator disconnected from the regulator-rectifier, again comparing readings phase-to-phase and at different rpm levels. A stator that tests fine cold but fails hot is not unusual, so if symptoms are temperature-related, repeat testing after the bike has fully warmed up. Pickup and trigger components should also be checked if the model configuration requires it, especially if charging complaints overlap with ignition irregularities.
After that, inspect the regulator-rectifier, all charging connectors, the main ground path, fusebox condition, and battery leads. On a bike of the KR-1S’s age, voltage drop testing across connectors and grounds can reveal hidden resistance that a simple visual inspection misses. Also inspect the rotor physically if access allows: look for damage, looseness, rubbing marks, or any sign that magnets or mounting integrity are compromised. The key to avoiding wasted money is to test the whole path from generation to regulation to storage. Many owners replace a stator only to burn the replacement because the real cause was a failing regulator-rectifier or a poor connection creating excess heat and load in the system.
Should you replace only the failed component, or overhaul the entire charging system on a KR-1S?
In most cases, a partial repair is the minimum, but a system-level overhaul is the smarter long-term solution. The KR-1S is old enough that if one charging component has failed, the surrounding parts have usually endured the same heat cycles, vibration, and neglect. Replacing only the visibly burnt stator while leaving a tired regulator-rectifier, oxidized connectors, weak grounds, and an aging battery in place is a gamble. The bike may appear fixed for a short time, but the underlying conditions that caused the first failure can quickly damage the new part.
A proper overhaul typically includes inspecting or replacing the stator, evaluating the rotor carefully, testing or upgrading the regulator-rectifier, cleaning or renewing connectors, repairing hardened or heat-damaged wiring, checking engine and frame grounds, and fitting a healthy battery. Fasteners deserve attention too. Loose charging-system hardware can contribute to poor grounding, vibration damage, and even mechanical interference. Because the alternator system on the KR-1S sits at a critical point between ignition reliability and battery condition, one weak link can affect the performance of everything else.
That does not mean every bike automatically needs every charging part replaced. If testing proves the rotor is sound, the wiring is clean, and the regulator-rectifier is functioning exactly as it should, there is no reason to discard good components. But for a restoration or a machine intended for dependable road use, preventive work makes sense. Owners who want reliability rather than repeated roadside diagnosis usually treat charging system renewal as part of recommissioning, much like crank seals, cooling checks, and brake service. On a KR-1S, that approach is typically cheaper and less frustrating than repeated piecemeal repairs.
What are the best ways to prevent future generator failures on a Kawasaki KR-1S?
Prevention starts with reducing heat, resistance, and electrical stress throughout the charging system. Keep all connectors clean, tight, and protected from corrosion. Any plug showing signs of browning, melting, looseness, or green corrosion should be repaired properly, not merely sprayed and ignored. Grounds should be bright, secure, and mechanically solid. Battery terminals must be tight and the battery itself should be in good condition, because a weak battery forces the charging system to work harder and can magnify voltage instability. If the regulator-rectifier is suspect or known to be marginal, replacing it with a quality unit is often one of the best reliability upgrades you can make.
Routine voltage checks are extremely valuable on the KR-1S because they catch problems before the bike strands you. Periodically measure battery resting voltage and charging voltage at different rpm, especially after any electrical work or if the bike has been in long-term storage. During maintenance, inspect the alternator-side wiring for chafing, oil saturation, brittle insulation, and signs of previous repair. Pay attention to routing and strain relief so wires are not stretched, pinched, or vibrating against sharp edges. Also make sure all related fasteners are torqued correctly, because mechanical looseness can become electrical trouble surprisingly quickly on a rev-happy two-stroke.
Finally, use the motorcycle regularly but intelligently. Long periods of storage without battery maintenance are hard on both the battery and the charging system. If the bike sits, keep the battery maintained correctly and do not assume a charger can compensate for a failing