Cleaning the sludge trap is the single most important internal service on many 1970s parallel twins, and skipping it can destroy an otherwise healthy classic engine. In restoration work, I treat the sludge trap as non-negotiable because it sits at the center of lubrication reliability, crankshaft survival, and the long-term value of a finished machine. For owners rebuilding metric classics from 1970 to 2005, this topic also serves as a hub because the same decision process applies across engines with oil galleries, centrifugal filters, plain-bearing cranks, and neglected service histories.
A sludge trap is a cavity, drilling, or removable plug arrangement inside the crankshaft or rotor designed to collect dense contaminants carried by engine oil. Those contaminants include carbon, oxidized oil residue, clutch material, microscopic metal particles, and combustion byproducts. The design intent is sensible: heavy debris is trapped before it reaches highly loaded bearings. The problem comes decades later. Once the cavity fills, oil flow can be reduced or redirected, and the debris that was once being contained becomes the reason a crankpin or rod bearing fails. On old twins, especially machines with uncertain maintenance records, there is no safe shortcut around inspection and cleaning.
This matters most on 1970s twins because they often combine modest filtration, shared engine and gearbox oil, long storage periods, and owners who assume that fresh oil alone cures old neglect. It does not. A spotless tank, rebuilt carbs, and a perfect paint job mean little if compacted sludge is starving the bottom end. During restorations, I have opened engines that ran quietly on the bench yet contained galleries packed hard enough to require picks, solvent soaks, and rifle brushes. The lesson is consistent: external tidiness tells you almost nothing about internal oil cleanliness.
As a hub for restoration guides covering metric classics from 1970 to 2005, this article lays out what the sludge trap does, which engines deserve immediate attention, how to inspect related oiling components, and where this task fits within a broader rebuild plan. If you are evaluating a Yamaha XS650, Honda CB350 twin, Suzuki T500, Kawasaki W-series derivative, or later twins with centrifugal oil cleaning systems, start here before ordering cosmetic parts. The smartest restoration sequence begins with lubrication, then clearances, then top-end sealing, then chassis and finish work.
What the Sludge Trap Does and Why It Becomes Dangerous
The sludge trap is best understood as a sacrificial storage area for contamination. Oil leaving the pump carries suspended particles. As it passes through a crankshaft drilling or centrifugal chamber, heavier material loses velocity and deposits in the trap while cleaner oil continues onward to bearings. In a new or regularly serviced engine, that process protects wear surfaces. In a fifty-year-old engine, the same system can become a blockage point. Thickened deposits reduce the effective volume of the trap and can partially obstruct the feed path to rod journals or mains.
Danger rises when modern owners rely on superficial indicators. Good compression does not confirm clean oil galleries. Quiet idle does not guarantee sufficient flow at sustained load. A magnetic drain plug only captures ferrous material, not the varnish-like carbon paste that often fills these cavities. Even engines with replaceable oil filters may still retain internal deposits because filters cannot clean what is already packed inside the crank. The result is a hidden risk profile: the bike may start, ride, and even feel strong right up to the moment the bearing overheats.
Heat cycling makes the situation worse. Old sludge hardens, then fractures. Small fragments can migrate and score journals, while larger pieces can block feed holes. On a plain-bearing design, oil wedge stability depends on uninterrupted flow. Once pressure or volume drops, the bearing surface wipes quickly. On roller-bearing cranks, contamination still damages cages, races, and side clearances. Either way, debris and restricted oiling accelerate wear far beyond what most riders expect from “just old oil.”
Which Metric Classics Need Priority Attention
Not every engine uses the same architecture, so the first restoration question is simple: where does this model actually trap contamination? On many Japanese twins from the 1970s, the answer is a centrifugal filter rotor, a drilled crank cavity with plugs, or a combination of screens and internal galleries. Service manuals from Honda, Yamaha, Suzuki, and Kawasaki describe these systems, but restorers often overlook them because they are less visible than paper filters found on later engines.
Honda twins deserve close study because several models used centrifugal oil cleaning arrangements that collect debris in a rotor or slinger. A CB or CL-series twin may not have a conventional spin-on filter, yet it still depends on periodic cleaning of that internal collector. Yamaha twins vary by model, but any engine with long drain intervals, wet clutch contamination, or uncertain storage history should be assumed dirty until proven otherwise. Suzuki two-stroke twins add another layer because crank sealing, injector reliability, and carbon migration can complicate diagnosis, even though their contamination pathways differ from four-stroke sludge systems.
For the broader 1970 to 2005 metric-classic range, priority goes to machines with one or more of the following conditions: no documented engine rebuild, evidence of infrequent oil changes, sludge visible in rocker areas, metallic debris in drained oil, low oil pressure warnings, rod knock, or heat-discolored crank components. Later twins from the 1980s and 1990s often improved external filtration, but age still matters. A low-mileage bike stored for twenty years can be riskier than a regularly serviced higher-mileage example because dormant oil oxidizes, absorbs moisture, and leaves stubborn deposits in galleries.
How to Inspect Before Full Disassembly
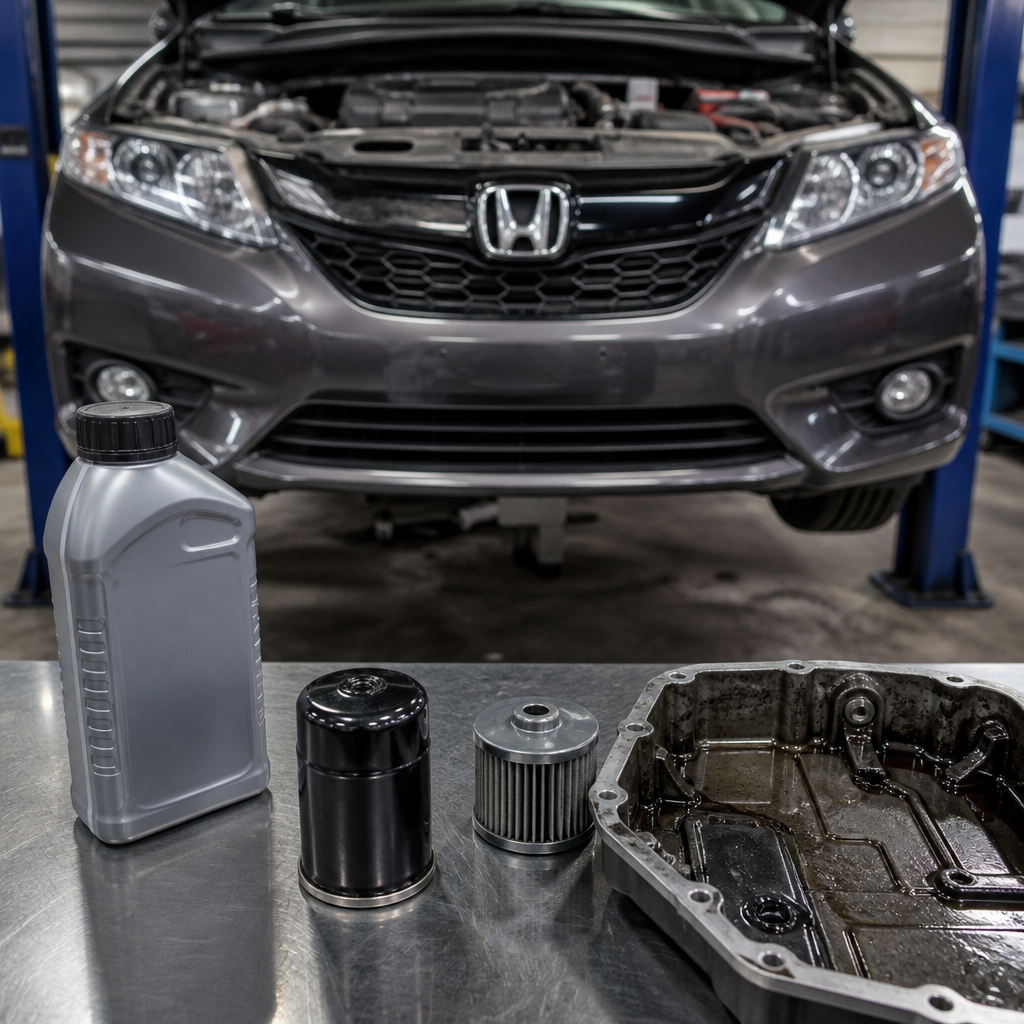
Before splitting cases, gather evidence methodically. Start with the factory service manual and parts fiche so you know whether the engine uses a removable centrifugal cleaner, pressed-in gallery plugs, external screens, or plain shell bearings requiring measured clearances. Then drain the oil through a fine paint strainer and inspect what remains in the pan. Grit that feels like valve-lapping compound, bronze sparkles, aluminum flakes, or black tarry paste all point toward deeper internal cleaning. Cut open any cartridge filter if fitted. On bikes with only screens, remove and inspect each one.
Next, remove side covers and accessible oil-cleaning components. I look for compacted deposits behind centrifugal filter covers, blocked rotor passages, and evidence that a previous owner gouged sealing faces during past service. If the top end is already off, inspect cam journals, rocker shafts, and spray bars. A clean cam area with a filthy rotor still means the lower end must be addressed; contamination does not distribute evenly. Measure oil pump rotors against manual limits because a clean trap cannot compensate for a worn pump.
| Inspection Point | What to Check | Why It Matters |
|---|---|---|
| Drained oil | Metal, carbon paste, water contamination, fuel smell | Shows wear type and neglect pattern |
| Centrifugal filter or rotor | Deposit thickness, blocked ports, damaged cover screws | Confirms whether oil-cleaning system is overdue |
| Oil screens | Tears, silicone fragments, clutch fiber, sealant debris | Indicates contamination sources and prior repair quality |
| Oil pump | Rotor clearance, housing scoring, relief valve condition | Determines whether adequate flow can be restored |
| Crank and rods | Journal finish, side play, discoloration, blocked drillings | Reveals whether sludge already caused damage |
The Correct Cleaning Process During Restoration
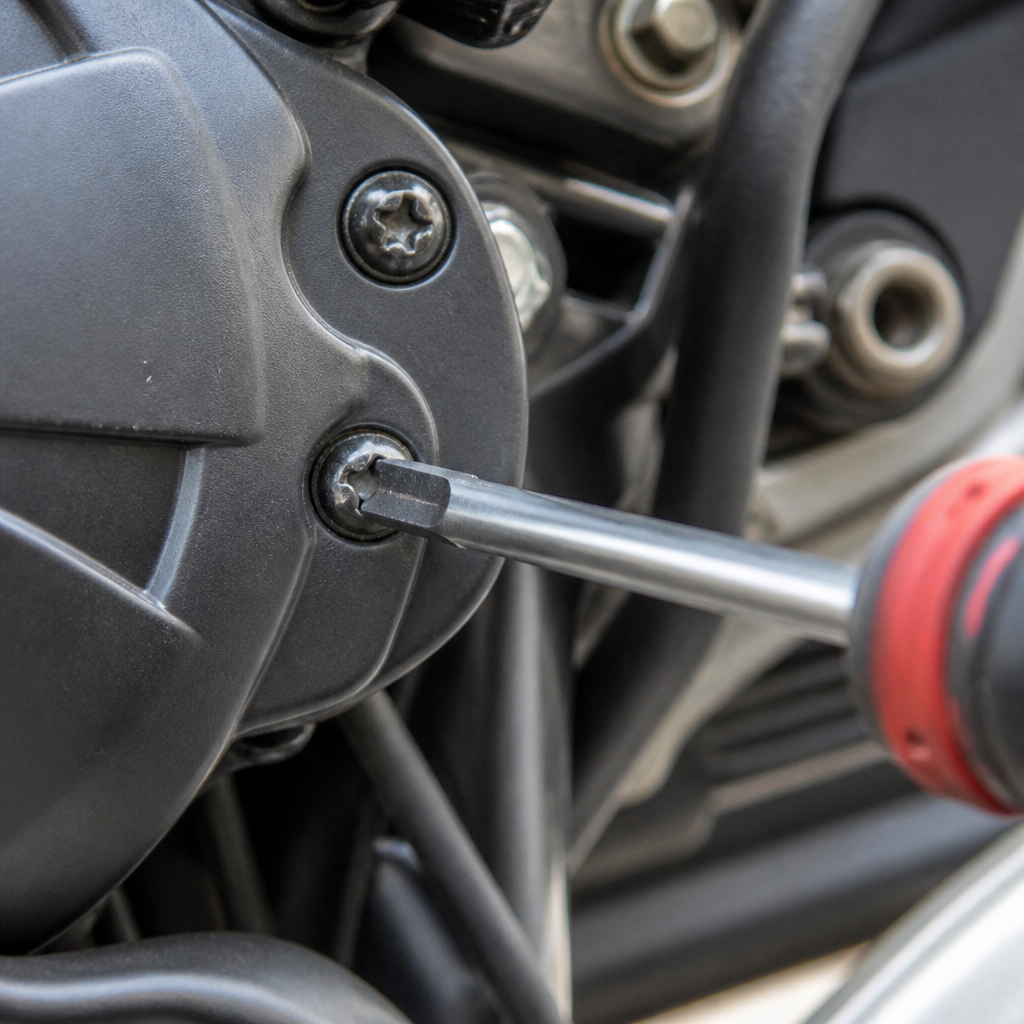
Once evidence points to sludge accumulation, proper cleaning means complete access, not a solvent flush and hopeful thinking. On engines with a removable centrifugal collector, disassemble the unit, scrape deposits carefully, wash with a petroleum-safe solvent, and chase every passage with brushes and compressed air. On crankshafts with threaded plugs, remove the plugs, extract compacted sludge mechanically, and verify each drilling is fully open from end to end. If plugs are peened, staked, or difficult to replace, machine-shop support may be wiser than improvised methods that scar sealing surfaces.
Precision matters here. Never drive hard tools through galleries without understanding the drilling route because some passages step down in diameter or intersect at angles. I use brass picks, nylon brushes, gauge wire, brake-cleaner-safe containers, and low-lint wipes, followed by compressed air and bright-light confirmation. If the engine suffered bearing distress, the crank should be measured for runout, journal size, taper, and out-of-round using the limits in the service manual. Reassembly without metrology is guesswork, and guesswork is expensive at crank speed.
During reassembly, replace seals, O-rings, tab washers, and any single-use fasteners specified by the manufacturer. Prime the oil pump, pre-lube bearings and cam surfaces with assembly lube appropriate for wet-clutch engines, and rotate the engine by hand to confirm free movement. On first start, verify oil return or pressure according to the model’s design. Then change the oil early after break-in because fresh assembly residue and loosened deposits from previously neglected passages can still circulate during the first heat cycles.
Where Sludge Trap Service Fits in a Complete Metric Classic Rebuild
For restoration guides covering metric classics from 1970 to 2005, sludge trap cleaning belongs in the foundational engine phase, before cosmetic restoration and before performance tuning. The sequence I recommend is consistent: identify the exact model and oiling layout, assess compression and leak-down only as preliminary data, inspect filtration components, open the engine as needed to clean traps and galleries, measure crank and pump condition, rebuild the top end, then address ignition, fueling, charging, brakes, suspension, and finish. This order prevents wasted labor and helps budget realistically.
It also connects directly to companion topics within a maintenance encyclopedia. Once the lubrication system is secure, owners can move confidently to valve seat inspection, cam-chain wear, piston-to-bore clearance, carburetor synchronization, points or electronic ignition setup, alternator output testing, and clutch service. On later metric twins through 2005, the same logic applies even when designs changed. If a model uses cartridge filtration and pressure-fed plain bearings, the article linked from this hub should focus on oil pressure testing and gallery cleanliness. If it uses a centrifugal rotor, the linked guide should emphasize routine cleaning intervals and cover removal techniques.
The larger restoration lesson is practical rather than romantic. Reliability on a classic twin is built from oil control, measured tolerances, and documented service, not from anecdotes about an engine “running fine when parked.” Clean the sludge trap, record what you found, and use that information to guide the rest of the rebuild. That one job protects the crank, validates every other investment, and turns a fragile survivor into a motorcycle you can trust. If you are planning any metric-classic restoration, make lubrication system inspection your first internal task and build the project from there.
Frequently Asked Questions
What is a sludge trap, and why is cleaning it considered non-negotiable on many 1970s parallel twins?
A sludge trap is an internal passage or cavity in the crankshaft designed to catch heavy contaminants carried by the engine oil. In many 1970s parallel twins, it serves as a last-chance collection point for metallic debris, carbon residue, clutch material, and old oil sludge before that contamination reaches critical bearing surfaces. The problem is that the trap does its job so well that, over time, it fills up. Once it is packed with debris, oil flow is restricted or redirected in ways the engine cannot tolerate for long.
That is why cleaning it is not optional during a proper rebuild. On these engines, the sludge trap sits directly in the chain of lubrication that protects the crankshaft and big-end bearings. If the trap is ignored, an engine that sounds decent, has acceptable compression, and even runs well on the bench can still be on borrowed time internally. The result can be catastrophic bearing failure, crank damage, rod damage, and a much more expensive rebuild than the owner expected.
From a restoration standpoint, this is one of those jobs that separates cosmetic refurbishment from true mechanical preservation. Paint, chrome, and polished alloy may impress at first glance, but none of that matters if contaminated oil is starving the crank. For many classic twins, sludge trap service is the single most important internal maintenance decision because it directly affects lubrication reliability, engine survival, and the long-term value of the motorcycle.
How do I know if a sludge trap needs to be cleaned, especially if the engine seems to run fine?
The safest assumption is simple: if the engine is apart and the service history is unknown, the sludge trap needs to be cleaned. Running quality alone is not a reliable indicator. A classic twin can idle cleanly, rev freely, and still have a dangerously loaded sludge trap. That is part of what makes this issue so deceptive. The trap can remain hidden from normal inspection while contamination slowly accumulates over decades of use, storage, neglected oil changes, and partial repairs.
There are, however, warning signs that increase urgency. Dirty oil shortly after a change, metallic residue in drained oil or filters, unexplained bottom-end noise, signs of prior overheating, evidence of long-term neglect, and engines that have sat for years all raise concern. A motor with unknown mileage or undocumented rebuild work should also be treated with caution. Many owners assume a previous rebuild included full crankshaft service, but in the vintage world that is often not a safe assumption.
In practice, the decision is usually based less on symptoms and more on risk management. If the engine falls within a family known for sludge trap issues, cleaning it during overhaul is simply the responsible standard. It is far cheaper to inspect and clean it while the engine is apart than to gamble on an unseen internal cavity that can destroy the crankshaft after the bike is back on the road. On these machines, “it runs fine” is not proof of internal safety; it is often just proof that failure has not happened yet.
What happens if the sludge trap is skipped during a rebuild?
Skipping sludge trap cleaning during a rebuild can undo the value of all the other work you paid for. Fresh pistons, honed cylinders, new seals, valve work, refinished covers, and carefully assembled top-end components do not protect an engine if the crankshaft is being fed contaminated or restricted oil. The most serious consequence is failure of the crankshaft’s bearing surfaces or connecting rod big ends, which can occur surprisingly soon after startup if oil flow is compromised badly enough.
Even when failure is not immediate, an uncleared sludge trap accelerates wear. Debris can remain trapped until changes in oil pressure, engine temperature, or operating speed disturb the buildup. That contamination can then circulate where it does the most damage. The engine may develop knocking, lose oil pressure, shed metal into the lubrication system, or suffer crankshaft damage that requires expensive specialist repair or replacement. In severe cases, what should have been a controlled restoration turns into a full bottom-end rescue.
There is also a financial and credibility cost. For professional builders, omitting sludge trap service on an engine known to depend on it is difficult to justify. For private owners, it can reduce buyer confidence and long-term resale value, because informed buyers know exactly how important this step is. A documented rebuild that includes sludge trap cleaning carries more trust than one that vaguely mentions “engine refreshed” without addressing the crankshaft’s internal oiling system. In other words, skipping it is not saving money; it is deferring risk into the most expensive part of the engine.
Is sludge trap cleaning only relevant to a few British bikes, or does the same logic apply to metric classics from 1970 to 2005?
The term “sludge trap” is strongly associated with certain older British engines, but the underlying decision process applies much more broadly. Across many metric classics built from 1970 to 2005, different engines use different methods to manage contamination and oil flow: centrifugal filters, internal oil galleries, screen systems, rotor traps, plain-bearing oil circuits, and crank-fed lubrication designs. The exact hardware varies, but the principle is the same. If an engine has a known internal contamination point that directly affects lubrication reliability, it deserves serious attention during rebuild work.
That broader relevance is why this topic works as a hub for classic engine restoration. Owners often focus on visible wear items because they are easier to understand: rings, valve seals, gaskets, cam chains, clutch plates. But lubrication integrity is what determines whether the rebuilt engine will actually live. Whether you are dealing with a 1970s parallel twin, a later Japanese twin, or another classic metric design, the right question is not “Does this engine use the exact same sludge trap setup?” The right question is “What internal oil-control or debris-capture system must be serviced to protect the crank and bearings?”
That mindset helps owners make smarter rebuild decisions across brands and eras. It shifts the project from parts replacement to systems thinking. When you understand how oil reaches the crank, where debris collects, and what service intervals or teardown procedures the design requires, you stop treating bottom-end cleaning as optional. That is the real lesson: even when the component is named differently, ignoring critical internal oiling service is one of the fastest ways to destroy an otherwise healthy classic engine.
What should owners and restorers do to make sure sludge trap service is handled correctly?
First, confirm whether your specific engine design includes a sludge trap or an equivalent internal contamination-control feature that requires service. Factory manuals, marque specialists, experienced machinists, and model-specific forums can help, but the goal is to verify the lubrication path rather than rely on general assumptions. Once you know the engine is a candidate, the correct approach is to plan for inspection and cleaning as part of the rebuild budget from the beginning, not as an optional add-on if money is left over.
Second, make sure the work is done thoroughly. Proper sludge trap service is not just a casual rinse or a hopeful blast of solvent. It often requires complete crankshaft disassembly or access to internal passages, removal of hardened deposits, inspection for wear or scoring, and confirmation that all oil routes are fully clear before reassembly. This is precision work. If the crank needs specialist attention, send it to someone who understands that exact engine family and has a track record with classic bottom ends. A superficial cleaning can be nearly as risky as no cleaning at all.
Finally, document everything. Keep receipts, photos, machine shop notes, and parts records showing that the sludge trap or equivalent system was serviced correctly. That documentation protects you, supports future maintenance, and adds credibility to the finished motorcycle. For a restorer, it proves the engine was rebuilt with long-term reliability in mind. For an owner, it creates confidence every time the bike is started and adds real value if the machine is ever sold. On a 1970s twin, few maintenance decisions matter more than this one, and doing it properly is one of the clearest signs of a serious, high-quality restoration.