The Yamaha SR500 is one of the clearest expressions of the big single motorcycle: air cooled, torque rich, mechanically honest, and dependent on a rider who understands the ritual of kickstarting and the realities of old-machine ownership. This restoration guide explains how to bring an SR500 back to reliable road use, what makes the model distinct within metric classics, and how to use the bike as a gateway into the broader world of restoration guides for metric classics from 1970 to 2025. In practical terms, restoration means returning a motorcycle to safe, functional, and historically coherent condition, whether that target is factory correct, lightly improved for regular riding, or carefully preserved with visible age. The SR500 matters because it sits at the intersection of collectible vintage design and usable engineering: parts support remains decent, the chassis is simple, the engine is durable when serviced correctly, and mistakes made by previous owners are usually visible and reversible. I have restored several Japanese singles and twins, and the SR500 consistently rewards methodical work more than expensive parts buying. If you document condition, inspect before disassembly, and rebuild systems in the right order, the finished motorcycle starts easier, leaks less, tracks straighter, and keeps its value better than a rushed cosmetic project ever will.
Why the Yamaha SR500 matters in metric classic restoration
Produced for many markets from the late 1970s onward, the Yamaha SR500 drew heavily from the XT500 engine architecture but placed it in a road-focused chassis with classic tank lines, upright ergonomics, and stripped-back simplicity. For restorers, that combination is ideal. The dry-sump 499 cc SOHC single is well known, workshop literature is widely available, and owner communities have already documented common faults, interchange possibilities, and setup procedures. Compared with many four-cylinder Japanese classics, the SR500 has fewer carburetors, fewer ignition components, easier top-end access, and less bodywork to remove. Compared with British singles, it generally offers better oil control, stronger electrics, and more predictable parts sourcing.
As a hub topic within metric classic restoration, the SR500 also teaches transferable skills. Its rebuild process covers every major discipline that applies across 1970–2025 Japanese, European, and Asian metric motorcycles: title verification, frame inspection, wheel and brake refurbishment, wiring repair, carburetor overhaul, fork service, exhaust evaluation, paint decisions, and authenticity research. If you can assess an SR500 correctly, you can assess an XS650, CB400F, CX500, KZ650, SRX600, W650, or even a fuel-injected retro model with much more confidence. That is why restorers often use simple singles as training platforms before tackling more complex multis.
Project planning: define the restoration standard before turning a wrench
The first practical question is not how to rebuild the engine; it is what finished bike you want. I divide SR500 projects into three restoration standards. A factory-correct restoration aims to match original finishes, fastener styles, warning labels, wheel type, exhaust specification, and market-specific details. A rider restoration prioritizes reliability and visual coherence, allowing upgrades such as modern tires, sealed wheel bearings, improved regulator-rectifier units, stainless spokes, and electronic ignition where appropriate. A preservation restoration keeps original paint, patina, and factory hardware whenever possible while making the machine mechanically sound. Each path affects budget, labor, lead times, and resale value.
Before purchase or teardown, confirm frame and engine numbers, inspect registration documents, and identify the market version. Some bikes have later tanks, aftermarket seats, nonstandard bars, or swapped front ends from XT, XS, or SRX models. None of those changes are automatically bad, but they alter parts lists and may complicate authenticity. Photograph every angle, every cable route, and every electrical connection. Bag and label hardware by subsystem. Build a spreadsheet for missing parts, reusable parts, refinishing needs, and outsourced work. This level of organization sounds excessive until six months later when a special collar, washer, or decompression linkage spring has disappeared.
Initial inspection checklist: what to assess on every SR500
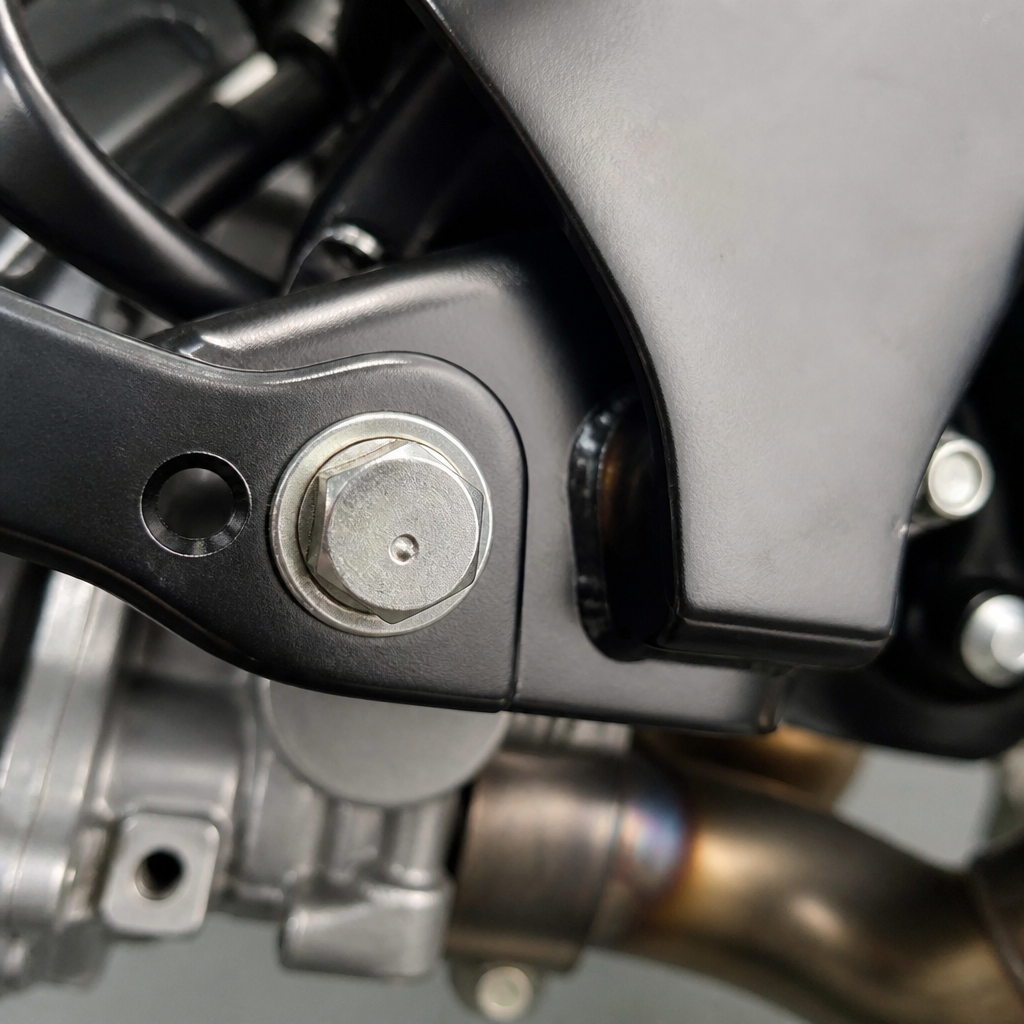
An SR500 restoration begins with condition assessment, not internet shopping. Start with the frame and cycle parts. Check the steering head for cracks, side-stand mount repairs, lower cradle damage, swingarm alignment, and corrosion inside the battery box area. Examine fork tubes for pitting in the seal travel zone, inspect sliders for crash rash, and verify that the rear shocks are matched. Wheel condition matters because many old SR500s sat with low tire pressure, allowing rim corrosion around spoke nipples and bead seats.
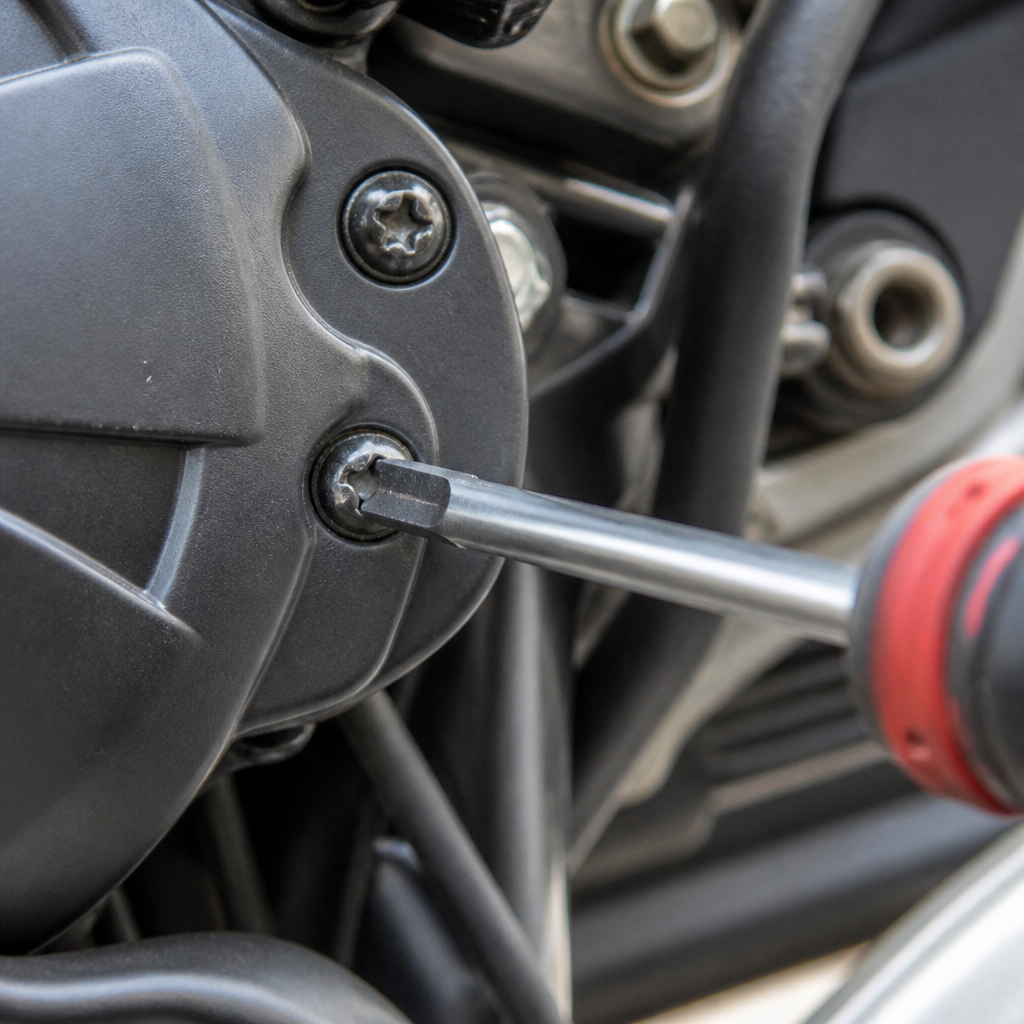
Move next to the engine. Check crankcase mating surfaces, sump plate threads, cylinder base gasket area, rocker cover sealing surfaces, and the oil feed lines associated with the dry-sump system. Oil leaks are common, but severe leakage often points to warped covers, overtightened fasteners, or blocked breathing rather than catastrophic wear. Test the kickstart feel. Healthy compression should be obvious, and the decompression system should operate smoothly. Metallic noises during slow kickover can indicate valve train or cam chain issues.
Electrical inspection is equally important. Many charging problems blamed on “old bikes” actually come from poor grounds, corroded connectors, brittle stator leads, and weak battery maintenance. Use a multimeter, not guesswork. Check continuity, charging output, switchgear function, and resistance values against the service manual. Finally, inspect consumables with skepticism. A shiny chain, fresh paint, or polished alloy can hide unsafe tires, old brake shoes, or stripped drain threads.
| System | Common SR500 faults | Best inspection method | Typical restoration decision |
|---|---|---|---|
| Fuel system | Rust in tank, varnished carb, leaking petcock | Borescope, drain sample, float bowl removal | Clean and seal only if metal is sound |
| Top end | Worn cam, rocker pitting, valve stem seal leakage | Compression test, rocker cover inspection | Rebuild if wear exceeds manual limits |
| Chassis | Steering notch, swingarm play, bent bars | Lift and check free play and alignment | Replace bearings and straighten only within spec |
| Electrical | Weak charging, brittle connectors, poor earths | Multimeter tests and harness visual check | Repair harness before replacing components |
| Brakes and wheels | Glazed shoes, seized pivots, rusty rims | Strip hubs, inspect linings and spoke tension | Rebuild for safety even on low-mile bikes |
Engine and kickstart system restoration
The SR500 engine is tough, but age and neglect show up in predictable ways. The most important principle is to measure everything. Do not order piston, valve, and cam-chain parts solely on mileage claims. Strip the top end, inspect the cam lobes and rocker pads for pitting or scoring, and measure bore wear, piston clearance, ring end gap, and valve guide play. Yamaha’s service manual and a quality micrometer set will save money by preventing unnecessary replacement and by identifying the components that actually control longevity.
Pay close attention to lubrication. Because the SR500 uses a dry-sump arrangement, oil circulation depends on clean passages, correct routing, and healthy pump function. Sludge in the oil tank, blocked filters, or damaged oil lines can destroy a freshly rebuilt top end quickly. Replace hardened seals and suspect hoses. Check the sump strainer and frame or reservoir tank for debris after initial startup. If metal particles appear, stop and investigate rather than hoping they will “clear out.”
The kickstart mechanism deserves special care because it defines the ownership experience. Worn shafts, tired return springs, maladjusted decompression cables, and poor ignition timing can make a good engine seem difficult. Set valve clearances accurately, time the ignition to specification, confirm decompressor adjustment, and teach the correct starting drill: find compression, move just past top dead center with the decompressor, return the lever, then deliver a full committed stroke. When restored correctly, an SR500 should not feel temperamental; it should feel deliberate.
Fuel, ignition, and exhaust: making a restored SR500 run cleanly
Most poor-running SR500s suffer from old fuel system contamination or nonstandard jetting. The stock carburetor, whether Mikuni VM or later constant-velocity type depending on market and year, responds well to careful cleaning and baseline setup. Ultrasonic cleaning helps, but only if all passages, jets, emulsion tubes, float valves, and air screws are removed first. Inspect throttle shaft wear, choke plunger condition, and float height. If the bike has a pod filter and open megaphone, expect compromised low-speed manners unless jetting has been developed carefully. For a road restoration, a standard airbox and correctly packed exhaust almost always produce the broadest, most stable tune.
Ignition upgrades can be sensible, but they should solve a real problem. Points systems in good condition are reliable when adjusted properly, while modern electronic conversions reduce maintenance and improve consistency. I recommend keeping original components boxed and labeled if you upgrade. That preserves the bike’s historical value and makes later troubleshooting easier. Exhaust choice also matters. Original systems are often expensive but give the right back pressure and sound character. Cheap pattern pipes can crack, discolor quickly, and flatten midrange torque.
Chassis, suspension, brakes, and wheels
Many restorers obsess over paint and neglect the chassis, yet this is where an SR500 either feels crisp or disappointing. Replace steering head bearings if there is any notchiness; tapered roller conversions are common and work well when installed correctly. Rebuild the forks with straight tubes, fresh seals, verified bush condition, and oil set to a known level and viscosity. The rear swingarm often benefits from bushing or bearing service, and wheel bearings should be replaced as routine on unknown bikes.
Brakes on the SR500 are simple but need proper setup. Drum brake models depend on clean pivot points, round drums, quality linings, and correct cable adjustment. Disc brake variants need caliper overhaul, fresh seals, a clean master cylinder, and modern brake hose material. Tire choice transforms the bike. A period-looking tire from Avon Roadrider, Bridgestone Battlax BT46, or similar modern classic range can preserve appearance while delivering far better grip than old-pattern rubber. Check rim runout and spoke tension before mounting anything. Stainless spokes are practical for riders, but cad-plated originals better suit factory-correct builds.
Cosmetics, originality, and parts sourcing across the metric classics landscape
The visual side of SR500 restoration is where restraint pays. Original paint with light wear is often worth more than over-restored bodywork in the wrong shade. Yamaha pinstripes, decals, fastener finishes, seat grain, and instrument faces should be matched to the bike’s year and market. Use factory parts books, brochures, and period road tests to verify details. Powder coating is durable, but certain brackets, stands, and yokes look more authentic in painted or plated finishes. Zinc, black oxide, cadmium-look plating, and vapor blasting each have a place if used intelligently.
Parts sourcing for SR500s mirrors the broader metric classics ecosystem from 1970 to 2025. OEM new old stock still appears through dealers and specialist inventories, while pattern parts range from excellent to unusable. Reputable sources include CMSNL, Kedo, Yambits, Webike, and marque-specific breakers, but every part should be compared against original dimensions before installation. This applies across the subtopic hub as well. Restoration guides for metric classics share common sourcing rules: buy manuals before chrome, prioritize safety-critical parts, verify interchange claims, and assume that reproduction rubber, cables, and trim may need fettling. For readers exploring related projects, these same methods apply to Honda CB, Kawasaki Z, Suzuki GS, and later retro-inspired metric models built through 2025.
Conclusion: restore the SR500 as a rider, not a rumor
A successful Yamaha SR500 restoration is not about chasing perfection in isolation; it is about rebuilding a coherent machine whose engine, chassis, electrics, and appearance all support the same goal. Start with documentation, choose your restoration standard early, inspect every system methodically, and measure before replacing parts. Focus first on oil circulation, kickstart setup, carburetion, wheel and brake safety, and electrical integrity. Cosmetic work should finish the project, not define it. That approach saves money, improves reliability, and produces a motorcycle that feels authentically Yamaha rather than generically “restored.”
As the hub for restoration guides covering metric classics from 1970 to 2025, the SR500 offers the ideal template: simple enough to understand fully, significant enough to preserve carefully, and broad enough to teach skills that transfer to many other machines. If you are planning a project, begin by obtaining the factory service manual, photographing the bike in detail, and building an honest parts-and-labor plan before disassembly. Done properly, an SR500 rewards every careful hour with one of motorcycling’s most satisfying experiences: a single clean kick, a deep thump from the exhaust, and a classic machine returned to purposeful life.
Frequently Asked Questions
What makes the Yamaha SR500 unique among metric classic motorcycles?
The Yamaha SR500 stands out because it delivers an unusually pure version of the classic big-single experience. Unlike multi-cylinder Japanese bikes of the same era that often chased higher revs, more complexity, and greater outright speed, the SR500 focused on simplicity, torque, and rider involvement. Its air-cooled single-cylinder engine, upright riding position, exposed mechanical layout, and kickstart-only operation give it a direct, unfiltered character that many restorers and riders find deeply appealing. It feels less like a machine that hides its workings and more like one that invites you to understand them.
That simplicity matters in restoration. The SR500 is mechanically honest, meaning most of its systems are accessible, understandable, and serviceable without excessive disassembly or specialized electronics knowledge. The engine architecture is robust, the chassis is straightforward, and the bike’s overall design rewards careful setup rather than expensive modernization. For someone entering the world of metric classic restoration, it offers a practical balance: simple enough to learn on, but distinctive enough to feel special when complete.
It is also unique culturally. The SR500 became a foundation for roadster, desert sled, flat-track, and café-inspired builds, but in original or properly restored form it represents something more durable than fashion. It is a reminder of a period when Japanese motorcycles could be dependable and charismatic at the same time. That combination helps explain why the SR500 remains a respected gateway bike within restoration guides covering metric classics from the 1970s through modern-era retrospectives.
What should I inspect first before starting a Yamaha SR500 restoration?
Begin with a complete condition assessment before buying parts or taking anything apart. The first priority is establishing whether the machine is complete, whether the engine turns over, and whether the frame and major components are fundamentally sound. A missing side cover or damaged seat is usually manageable; a cracked crankcase, heavily altered frame, missing title, or badly corroded fuel tank can change the economics of the entire project. On an SR500, originality and completeness often matter more than cosmetic appearance because hard-to-find model-specific pieces can be more troublesome than worn consumables.
Mechanically, check engine compression, kickstart feel, oil condition, visible leaks, cam and valve train noise if the bike can be run, and signs of neglect around the top end. Pay close attention to the decompression system and kickstart mechanism, since both are central to the SR500’s usability. Inspect the carburetor for varnish, stripped screws, and evidence of poor tuning attempts. The fuel tank should be checked internally for rust, liner failure, or petcock contamination. The electrical system deserves equal attention, especially the condition of the wiring harness, charging components, ignition parts, switches, and all grounding points.
From a chassis standpoint, inspect the frame for accident damage or amateur modifications, especially around the steering head, rear loop, footrest mounts, and engine mounts. Look at fork stanchions for pitting, the swingarm for play, wheels for corrosion and true running, hubs and spokes for fatigue, and brakes for seizure or wear. A methodical inspection allows you to divide the restoration into systems: engine, fuel, ignition, charging, suspension, brakes, cosmetics, and fasteners. That approach keeps the project organized and prevents the common mistake of chasing symptoms before understanding the bike as a whole.
Why is kickstarting such an important part of owning and restoring an SR500?
Kickstarting is not just how the SR500 starts; it is part of how the motorcycle communicates with its rider. This is a big single with a substantial piston, strong compression, and a starting ritual that depends on proper technique. When the bike is well tuned, the process is satisfying and predictable. When it is not, kickstarting immediately reveals issues with carburetion, ignition timing, valve adjustment, decompression setup, or engine health. In that sense, the starting procedure is also a diagnostic tool.
During restoration, getting the kickstart experience right should be treated as a major benchmark of success. That means setting valve clearances correctly, ensuring the carburetor is clean and correctly jetted, confirming spark quality, verifying timing and advance operation where applicable, and making sure the decompression system works smoothly. The kick lever, return spring, shaft mechanism, and related internal parts must also be in sound condition. An SR500 that is cosmetically beautiful but difficult to start is not truly sorted, because the bike’s core identity depends on reliable, repeatable starting behavior.
For new owners, learning the correct technique matters as much as the mechanical condition. You bring the engine to the correct point in the compression cycle, use the decompression control as intended, position the piston properly, and then give a deliberate, full kick rather than a rushed stab. Once learned, the routine becomes second nature. That ritual is one of the reasons the SR500 earns such loyalty: it asks for involvement, but gives back a sense of connection that many later motorcycles simply do not offer.
What are the most common reliability issues on a Yamaha SR500, and how do you fix them during restoration?
The most common problems usually come from age, storage, and improvised past repairs rather than any fatal design flaw. Fuel-system contamination is high on the list. Old petrol residue, rust in the tank, blocked petcocks, hardened fuel lines, and dirty carburetor passages can make an SR500 hard to start, inconsistent at idle, and weak under load. The correct approach is to clean the tank properly, rebuild or replace the petcock if needed, fully service the carburetor, replace soft fuel components, and return jetting and settings to a known baseline before making any tuning changes.
Electrical issues are another frequent source of trouble. Corroded connectors, poor earths, tired coils, weak charging output, brittle wiring, and failing ignition components can all create symptoms that mimic carburetor problems. A proper restoration should include cleaning every connector, checking continuity and resistance values against specifications, inspecting insulation, testing charging performance, and replacing compromised components with quality parts. Reliability on an old single often comes not from one dramatic repair, but from eliminating dozens of small weaknesses in the electrical path.
Oil leaks and top-end wear also deserve attention. The SR500’s engine is durable, but old seals, neglected oil changes, and prolonged storage can lead to seepage, smoke, noise, or reduced performance. Common restoration tasks may include replacing gaskets and seals, inspecting the camshaft and rocker surfaces, checking timing components, setting valve clearances, and verifying oil feed integrity. Chassis reliability should not be overlooked either: old tires, weak wheel bearings, seized brake parts, worn swingarm bushes, tired shocks, and contaminated fork oil can make an otherwise healthy engine feel disappointing on the road. The best fix is comprehensive recommissioning, not selective patching. A fully restored SR500 should start consistently, charge properly, run cool and clean, stop safely, and feel planted and predictable in normal use.
Is the Yamaha SR500 a good first restoration project, and how does it connect to the wider world of metric classics?
Yes, for the right person, the SR500 is an excellent first restoration project. It is approachable because the engineering is clear, the layout is logical, and the bike does not bury the restorer under unnecessary complexity. You can learn core vintage-motorcycle skills on an SR500 that transfer directly to many other metric classics: compression testing, carburetor service, valve adjustment, ignition diagnosis, wiring repair, oil-system maintenance, brake rebuilding, suspension service, and sympathetic cosmetic renewal. That makes it especially valuable for someone who wants to move beyond ownership into genuine mechanical understanding.
It is also a forgiving teacher in the sense that progress is visible. Small improvements in tune, sealing, electrical integrity, or chassis setup are easy to feel from the saddle. At the same time, the SR500 is demanding enough to build good habits. You must pay attention to starting procedure, maintenance intervals, fastener quality, and adjustment accuracy. It teaches patience, method, and respect for baseline settings rather than random modification. Those are exactly the habits that make future restorations more successful.
As a gateway into the larger metric-classic world from 1970 to 2025, the SR500 occupies a useful middle ground. It has the charm and analog purity associated with older machines, but it also benefits from Japanese design logic and durable construction. That makes it easier to understand than many exotic European singles and more characterful, in a traditional sense, than some later retro-themed motorcycles. Once someone restores an SR500 properly, they are often much better prepared to evaluate other classic Japanese projects, whether that means a parallel twin, an air-cooled four, or another single-cylinder roadster. In that way, the SR500 is more than a model-specific restoration subject; it is a practical entry point into the broader discipline of preserving and using metric classics well.