The 1990 Suzuki DR650S sits in a sweet spot for riders who value simplicity, durability, and true dual-sport versatility. It was built before adventure bikes became heavy, electronics-dependent machines, yet it offers enough displacement, suspension travel, and street legality to cover commuting, backroad touring, and trail work in one package. Restoring a 1990 Suzuki DR650S means preserving a machine that represents an important phase in metric-classic motorcycle design: air-cooled, single-cylinder, serviceable with hand tools, and engineered for riders who expected function first.
In practical terms, restoration is the process of returning a motorcycle to safe, reliable, and visually coherent condition while respecting originality where it matters. On a 1990 Suzuki DR650S, that usually includes evaluating the engine top end, carburetion, electrical system, chassis bearings, suspension, wheels, brakes, plastics, and hardware finishes. Because this model belongs to the broader world of metric classics from 1970 to 2010, it also serves as an ideal hub for restoration methods that apply across Japanese motorcycles: careful parts sourcing, workshop documentation, fastener standards, corrosion control, and sensible upgrades that do not erase character.
I have found that the best restorations start with honesty about the bike’s intended use. A concours build, a reliable rider, and a period-correct trail machine require different decisions. That matters because DR650S values are supported less by museum originality than by condition, completeness, and mechanical confidence. If you restore one thoughtfully, you preserve not only a useful motorcycle but also a template for restoring other metric classics from Suzuki, Honda, Yamaha, and Kawasaki built in the same era.
This guide explains how to approach a 1990 Suzuki DR650S restoration, what to inspect first, which faults are common, and how to balance originality with usability. It also functions as a sub-pillar hub for restoration guides covering metric classics from 1970 through 2010, so the principles here are intentionally broad enough to support projects far beyond this single model while remaining specific enough to help you make good decisions on a DR650S.
Why the 1990 Suzuki DR650S matters in metric-classic restoration
The DR650S matters because it bridges two restoration worlds. On one side are vintage motorcycles that demand constant specialist hunting for obsolete parts. On the other are modern dual-sports with abundant aftermarket support but less historical distinctiveness. The 1990 model sits between them. It is old enough to require methodical restoration planning, yet modern enough to reward that effort with genuine rideability.
Its air-cooled single, steel frame, conventional carburetor, and straightforward wiring make it one of the more approachable Japanese classics to revive. Those traits also mirror many metric motorcycles built between 1970 and 2010. If you understand how to restore this Suzuki, you also learn transferable skills for XL and XR Hondas, XT and TT Yamahas, and KLR or KLX Kawasakis: reading factory service manuals, identifying wear patterns in chassis bearings, correcting carburetor varnish damage, and deciding when zinc plating, repainting, or replacement is the right answer for aged hardware.
As a hub topic, restoration guides for metric classics should always begin with documentation. Use the factory service manual first, then period parts fiches, Suzuki microfiche references, and supplier diagrams from sources such as CMSNL, Partzilla, or specialist breakers. Confirm frame and engine numbers before ordering anything. Japanese manufacturers often changed brackets, electrical connectors, and jetting within a production run, and assuming interchangeability is one of the most expensive mistakes restorers make.
Start with assessment, documentation, and project scope
Before turning a wrench, document the motorcycle completely. Photograph every side, every cable route, every clamp orientation, every warning decal, and every harness connector. Create a spreadsheet with four columns: present, missing, damaged, and modified. Include obvious items such as side panels and silencers, but also note smaller components including chain guides, intake boots, battery straps, heat shields, tool trays, cable adjusters, and rubber grommets. On older Japanese dual-sports, the small missing pieces usually consume more time than major engine work.
A proper assessment includes compression testing, leak-down if possible, oil inspection, charging-voltage checks, steering-head play, swingarm movement, wheel-bearing roughness, fork seal leakage, rim trueness, and brake system condition. If the bike runs, listen for cam-chain noise, decompression issues, exhaust leaks, and knocking under load. If it does not run, resist the urge to tear it down immediately. Many neglected DR650S machines have simple faults: stale fuel, blocked pilot circuits, cracked intake manifolds, corroded ground points, or weak ignition components.
| Restoration area | Typical DR650S issue | Best first action | Decision point |
|---|---|---|---|
| Fuel system | Varnished carburetor, rusty tank, cracked petcock seals | Inspect tank interior and strip carburetor fully | Rebuild original parts or replace damaged internals |
| Engine | Low compression, oil leaks, noisy valvetrain | Compression test and valve-clearance check | Top-end refresh or complete teardown |
| Electrical | Weak charging, brittle connectors, bad grounds | Load-test battery and measure stator/regulator output | Repair harness or replace charging components |
| Chassis | Dry linkage bearings, worn swingarm pivots | Disassemble and inspect all bearings | Grease, sleeve, or replace |
| Cosmetics | Faded plastics, rusted fasteners, damaged decals | Determine originality goals before refinishing | Preservation, repaint, or reproduction parts |
Scope is the next critical choice. A rider restoration prioritizes safety and reliability: wheel bearings, tires, brakes, cables, charging system, carburetor, and suspension service. A full restoration goes farther into frame refinishing, engine detailing, replating fasteners, decal accuracy, and OEM-correct finishes. Write the scope down. Without that discipline, projects drift, budgets double, and months disappear into unnecessary polishing.
Engine, carburetion, and intake system restoration
The heart of the 1990 Suzuki DR650S is its large air-cooled single, and most successful restorations focus here early. Start by checking valve clearances to establish a baseline. Tight valves can mimic larger problems and make cold starting difficult. Follow with a compression test. Low compression may point to ring wear, valve-seat leakage, or top-end carbon issues. Because these engines are durable, low readings on a long-stored bike do not always mean catastrophe, but they do justify a closer look before money goes elsewhere.
The carburetor deserves careful, patient work. Strip it completely, remove jets, emulsifier tube, float valve, mixture screw components, and all rubber parts that should not see aggressive solvent. Ultrasonic cleaning helps, but only after manual verification that every passage is open. I have rescued several dormant Japanese singles where the main jet looked acceptable but the pilot circuit was fully blocked, causing impossible starting and weak off-idle response. Replace O-rings, float-valve components, and gaskets with quality kits from reputable suppliers rather than anonymous bargain sets with incorrect sizing.
Inspect the intake manifold for cracking and hardening, because air leaks turn tuning into guesswork. Check the airbox for previous-owner modifications, missing snorkels, deteriorated foam, and rodent damage. If the machine still has its stock intake and exhaust, keep jetting close to factory specification unless altitude or proven running evidence says otherwise. Restorers often create problems by “upgrading” jetting based on forum folklore rather than plug reading, throttle response, and measured engine behavior.
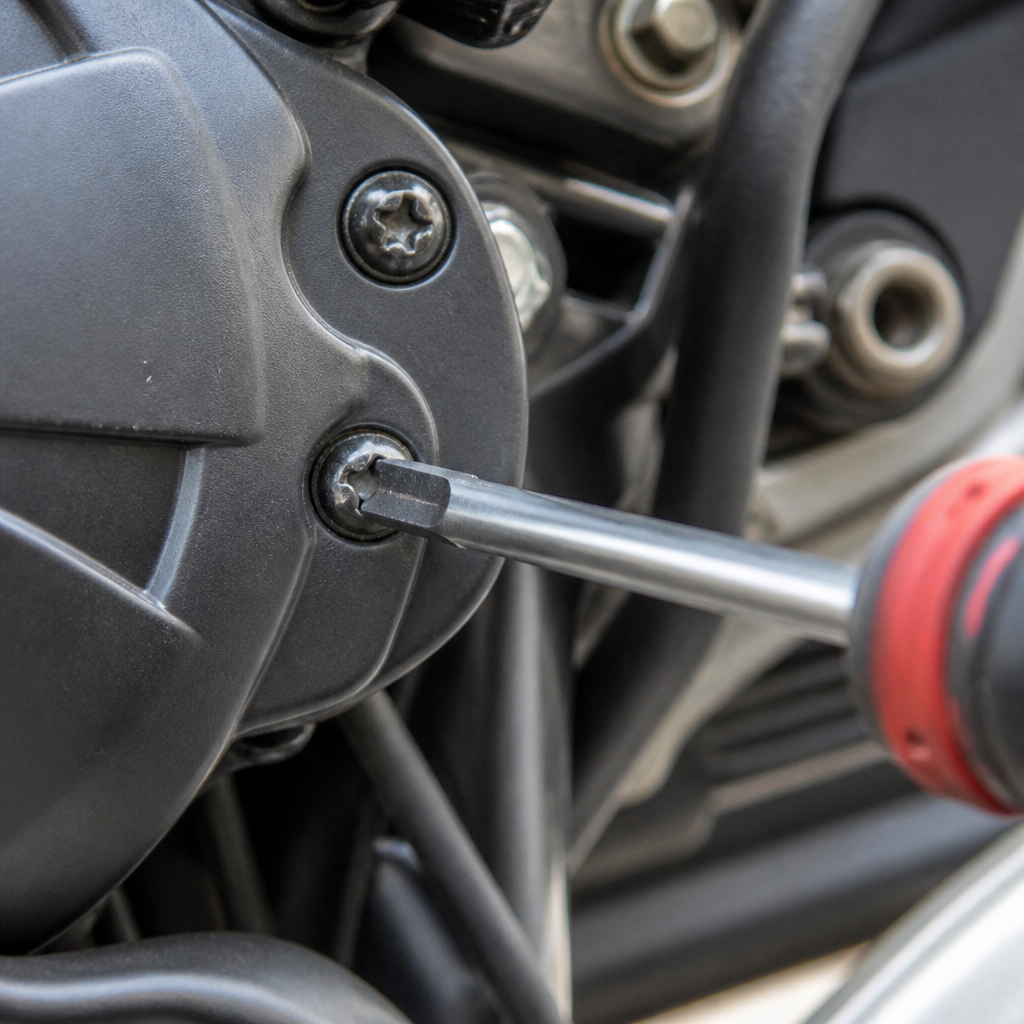
Oil leaks on a DR650S are usually manageable if addressed systematically. Replace aged gaskets and seals, inspect the countershaft area, and verify that crankcase breathers are clear. Use a torque wrench on cover fasteners; many Japanese singles carry scars from overtightened bolts pulled from aluminum threads. When threads are damaged, install a proper thread repair such as Time-Sert or Helicoil rather than relying on oversized self-tapping fixes. Done correctly, a thread repair is durable and often stronger than the original material.
Electrical system, charging faults, and ignition reliability
Electrical restoration on a 1990 dual-sport is usually less dramatic than engine work but just as important. Begin with the wiring harness laid out and inspected section by section. Look for brittle insulation near the steering head, green corrosion inside bullet connectors, amateur crimp joints, and ground points hidden under oxidized paint. Suzuki harnesses of this era are generally logical, but age, vibration, and moisture can degrade even well-built circuits.
The standard charging-system workflow is simple and effective. Install a known-good battery, check charging voltage at idle and at moderate rpm, then test stator resistance and output according to the service manual. Verify regulator/rectifier ground integrity before condemning components. Many charging complaints are actually caused by weak connections, not failed major parts. Clean every terminal with contact cleaner, use dielectric grease sparingly where appropriate, and replace overheated connectors instead of trying to reuse discolored plastic housings.
Ignition issues usually trace to basics: poor battery health, corroded switches, degraded connectors, or failed consumables. Check the kill switch and ignition switch for continuity, examine the plug cap and lead, and fit a fresh spark plug of the correct heat range. If the bike has intermittent spark, move connectors while testing; vibration-related faults often reveal themselves only under slight harness movement. This disciplined method applies across metric classics, from UJMs to enduros, and prevents expensive guess-based parts swapping.
Suspension, chassis, wheels, and brakes
Few old dual-sports need only cosmetic attention underneath. The DR650S chassis must be disassembled and inspected thoroughly if you want it to ride as intended. Steering-head bearings commonly develop notches from years of straight-line road use and impact loading. Swingarm and linkage bearings often suffer from dried grease or water intrusion. Fork seals harden with age, and rear shocks lose damping even when they show no external leak. A motorcycle can look tidy and still handle poorly because the hidden wear points were ignored.
Fork restoration starts with straightness checks, bushing inspection, seal replacement, and fresh oil set to the correct level and viscosity. If the tubes are pitted where they pass through the seals, repair or replacement is necessary; otherwise new seals will fail quickly. At the rear, inspect the shock body, bushings, and linkage components. Some owners choose modern aftermarket shocks for practical use, which is reasonable on a rider restoration, but keep the original unit if originality matters or future rebuilding becomes viable.
Wheel work is often underestimated. Check spoke tension, rim runout, hub bearing fit, and corrosion around spoke nipples. Replace wheel bearings and seals if there is any doubt; they are inexpensive compared with the consequences of failure. Brake systems deserve total attention: rebuild calipers and master cylinders as needed, replace old rubber lines if age is unknown, inspect rotor thickness against service limits, and fit modern tires appropriate for the intended mix of pavement and dirt. Safety items are not the place to preserve patina.
Cosmetics, parts sourcing, and originality decisions
Cosmetic restoration on a 1990 Suzuki DR650S requires restraint. Over-restoring a utilitarian dual-sport can erase the honest character that makes it appealing. Start by preserving what you can. Original plastics with light fading often respond well to deep cleaning, plastic-safe polishing, and gentle heat treatment, while reproduction graphics can restore visual clarity without making the bike look artificial. Severely cracked panels, however, may be better replaced than repaired if the motorcycle will be ridden regularly.
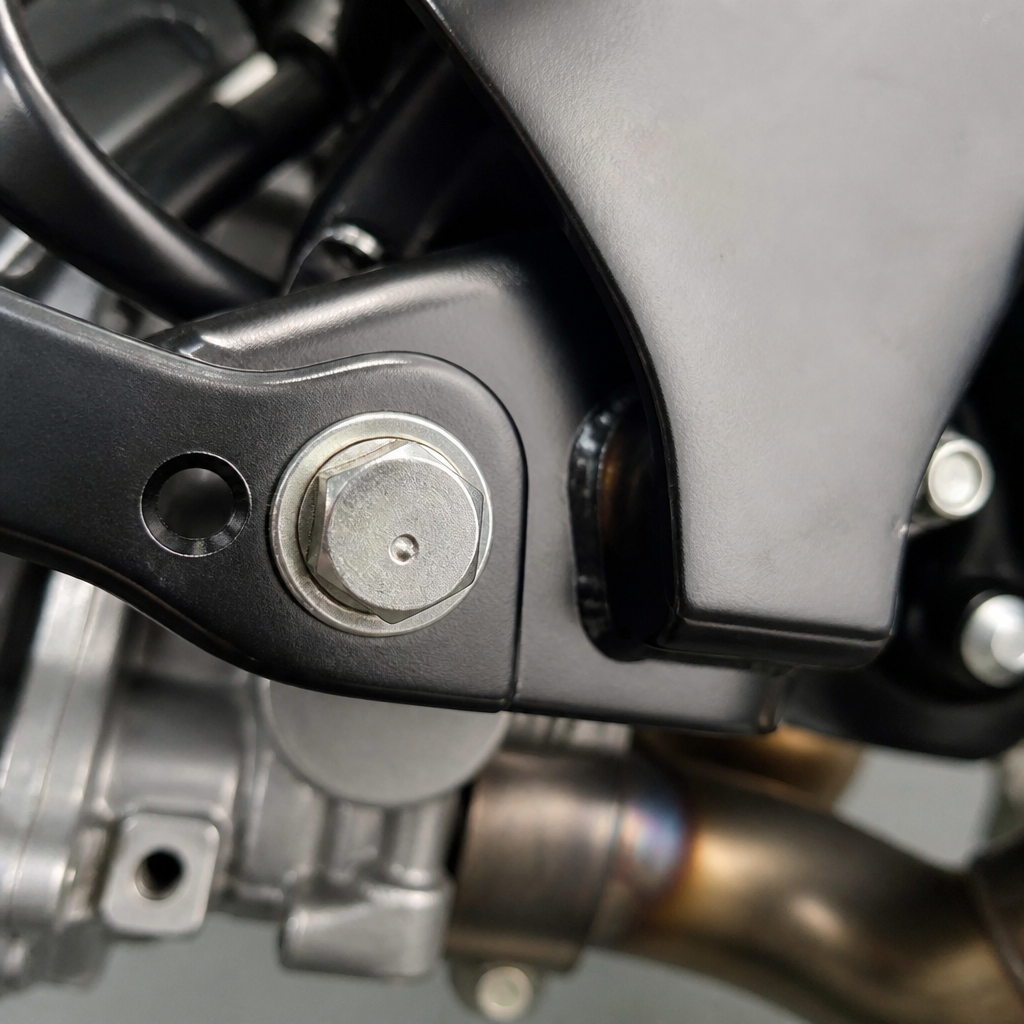
For metal finishes, match function to appearance. Cadmium-style or zinc-plated hardware looks right on many Japanese motorcycles of this period, but use modern environmentally safer plating services. Powder coating frames is durable, though a correctly prepared two-part epoxy paint can look closer to factory in some cases and is easier to touch up after off-road use. Exhausts, heat shields, and engine covers should be evaluated individually; sometimes careful bead blasting and high-temperature coating produce a better result than chasing unobtainable new-old-stock pieces.
Parts sourcing is where hub-level restoration knowledge pays off. Use OEM fiche numbers first, then cross-reference supersessions and interchange possibilities. Search owner forums, salvage specialists, auction listings, and regional breakers, but verify details visually before purchase. Metric classics from 1970 to 2010 often share hardware dimensions yet differ in brackets, offsets, or connector styles. The best restorers build a sourcing map: what must be OEM, what can be quality aftermarket, and what can be refurbished in-house. That approach controls cost without compromising reliability or historical integrity.
Final assembly, testing, and long-term preservation
A restored DR650S should go back together with the same discipline used in aircraft-style maintenance records, even if the project is modest. Torque critical fasteners to specification, use anti-seize only where appropriate, route cables exactly, and confirm free movement lock to lock. Prime the oil system if it has been apart, heat-cycle the engine gently, and retorque or recheck items specified by the manual. Then road-test in stages: neighborhood speeds, secondary roads, then longer mixed-surface rides.
The payoff of doing this work properly is not just a better Suzuki. It is a repeatable restoration method for metric classics across four decades. Start with documentation, restore mechanical integrity before cosmetics, preserve originality where it adds value, and upgrade only when the benefit is clear and reversible. If you are building out a broader maintenance and technical encyclopedia, use the 1990 Suzuki DR650S as a reference point for every other restoration guide in this category. It teaches the right lessons: inspect carefully, source intelligently, assemble accurately, and ride the machine often enough to keep the restoration alive.
If you own a 1990 Suzuki DR650S, begin with a full inspection and a written parts plan today. That simple first step will save money, prevent mistakes, and turn a neglected dual-sport into a dependable metric classic worth keeping.
Frequently Asked Questions
What should I inspect first when starting a 1990 Suzuki DR650S restoration?
Start with the fundamentals that determine whether the bike is structurally sound and worth restoring in depth. On a 1990 Suzuki DR650S, that means checking the frame for cracks, bends, poor repairs, and corrosion, especially around high-stress areas such as the steering head, footpeg mounts, subframe junctions, and skid plate mounting points. Because these bikes were often used exactly as intended, many have seen trail drops, luggage loads, and years of vibration. A careful frame inspection tells you whether you are dealing with honest wear or hidden damage.
Next, evaluate the engine as a complete system before tearing anything apart. Check compression, look for oil leaks around the cylinder base, valve cover, and side covers, and listen for signs of top-end noise or cam-chain-related wear if the engine can be run. Since the DR650S is air-cooled and single-cylinder, it rewards regular maintenance but will show neglect quickly through noisy valvetrain operation, smoky exhaust, hard starting, or oil seepage. Also inspect the carburetor for varnish, cracked boots, and stripped fasteners, because fuel-system neglect is common on long-stored dual-sports.
Finally, assess the rolling chassis and electrical system. Look at fork tubes for pitting, inspect the rear shock for leakage, spin the wheels to check rim trueness, and examine spokes for looseness or corrosion. On the electrical side, verify that the charging system works, inspect the harness for brittle insulation or amateur splices, and confirm that all street-legal equipment such as lights, horn, and switches is present. Beginning with a full inspection helps you plan the project correctly, avoid overspending, and prioritize safety-critical repairs before cosmetics.
Which parts of the 1990 DR650S usually need the most attention during restoration?
The most common trouble areas are the fuel system, suspension, brakes, intake components, and age-sensitive rubber parts. The carburetor is frequently one of the first assemblies that needs attention because old fuel leaves varnish, clogged jets, and stuck floats. If the bike has been sitting for years, assume the carb will need a complete cleaning and a rebuild using quality components. At the same time, inspect the petcock, fuel lines, and tank interior for rust or contamination, since fresh carb work can be undone quickly by debris from the tank.
Suspension is another major restoration category. Fork seals, bushings, and fork oil are usually overdue, and the rear shock may be tired even if it is not visibly leaking. A restored DR650S should feel controlled and balanced both on pavement and on rough trails, so suspension service is not optional if you want the bike to ride the way Suzuki intended. Wheel bearings, steering-head bearings, and swingarm linkage bearings also deserve close inspection, as dried grease and water intrusion are common on older dual-sports.
Brakes often need comprehensive renewal as well. Expect to inspect or replace pads, rebuild calipers if they are sticking, flush all old brake fluid, and examine hoses for age cracks or swelling. Intake boots, airbox seals, and other rubber components can harden and crack with time, creating tuning issues and unreliable running. Finally, electrical connectors, cables, and controls often need cleaning, lubrication, or replacement. On a machine like the 1990 DR650S, restoring reliability usually comes down to correcting decades of deferred maintenance rather than fixing a single dramatic failure.
Is it better to keep a 1990 Suzuki DR650S original or upgrade it during restoration?
That depends on your goal, but in most cases the smartest approach is a restoration that respects originality while allowing a few reversible reliability upgrades. The 1990 DR650S has growing appeal precisely because it represents a lighter, simpler era of dual-sport design. Keeping original bodywork, factory-style finishes, stock lighting, and correct controls helps preserve its character and makes the bike more interesting to enthusiasts who value period-correct machines. If your goal is historical authenticity or future collector appeal, originality matters.
That said, not every upgrade harms the bike. Sensible improvements such as modern tires in the correct sizes, stainless brake hardware where appropriate, fresh wheel bearings, improved battery technology, and upgraded cables or chain components can make the motorcycle safer and more enjoyable without changing its identity. If the original suspension is badly worn, restoring it to proper function is more important than preserving every tired internal part. Likewise, replacing cracked intake boots or degraded electrical connectors with quality modern equivalents is simply good stewardship.
The key is to avoid modifications that are difficult to reverse unless the bike is being built for a specific purpose, such as long-distance dual-sport travel or regular trail use. Cut subframes, improvised wiring, non-stock carb swaps without proper tuning, and random aftermarket parts can make future maintenance harder and reduce the bike’s long-term appeal. A well-restored DR650S should feel honest: true to the original machine, but dependable enough to be ridden regularly. For most owners, that balance is the ideal outcome.
How difficult is it to find parts for a 1990 DR650S, and what should restorers prioritize sourcing early?
Parts availability is mixed, but the bike is generally restorable if you are patient and strategic. Basic service items such as filters, cables, chains, sprockets, brake components, bearings, seals, and many carburetor parts are usually still obtainable through aftermarket suppliers or cross-referenced sources. Because the DR650S belongs to a long-running Suzuki lineage, some maintenance parts can be sourced more easily than model-specific cosmetic pieces. That makes mechanical revival realistic even when a project bike looks rough at first glance.
The harder items to find are often model-specific plastics, original exhaust components, instrument pieces, stock airbox parts, side panels, seat pans, and certain electrical or trim details. These are the pieces you should prioritize early if originality matters to you. Before spending heavily on paint or engine work, confirm that the hard-to-find visual and model-correct parts are available or already present. A mechanically perfect restoration can still stall if you cannot locate important bodywork or street-legal equipment needed to finish the bike properly.
It is also wise to source a factory service manual or a high-quality equivalent as early as possible. Accurate torque specs, assembly diagrams, and adjustment procedures save time and prevent expensive mistakes. When shopping for used parts, inspect photos closely for damage, corrosion, and previous repairs, and ask sellers about mounting tabs, threads, and internal wear. On older dual-sports, buying the best-condition part first is often cheaper than trying to rescue heavily worn pieces later. Good planning and selective purchasing make a major difference on a 1990 DR650S project.
What makes a restored 1990 Suzuki DR650S especially worth preserving and riding today?
A restored 1990 Suzuki DR650S is worth preserving because it captures a practical, highly usable moment in motorcycle design that has become increasingly rare. It offers the straightforward appeal of an air-cooled single-cylinder engine, real dual-sport proportions, and street-legal versatility without the size, weight, and electronic complexity that define many later adventure bikes. That combination gives the DR650S a very direct riding experience. It is simple enough to understand, rugged enough to use, and flexible enough to handle commuting, gravel roads, and weekend exploring with equal honesty.
From a restoration standpoint, the bike also represents the kind of machine that rewards effort rather than demanding perfection. You are not preserving a fragile showpiece. You are bringing back a motorcycle that was designed to work, and that practical DNA is a big part of its charm. When restored properly, the DR650S remains easy to service, approachable for home mechanics, and satisfying to ride in the real world. It can still do the things it was built to do, which gives the restoration a deeper purpose than simply polishing an old motorcycle.
There is also historical value in preserving bikes like this. The 1990 DR650S reflects an era when Japanese dual-sports prioritized lightness, durability, mechanical accessibility, and broad usefulness. Restoring one helps keep that chapter of metric-classic motorcycle history alive. More importantly, it lets modern riders experience a machine that feels connected, capable, and refreshingly uncomplicated. That is why a well-restored DR650S is not just worth owning. It is worth riding often, maintaining carefully, and passing on in better condition than you found it.